The Witcher 3 Hearts of Stone Guide: When to Start, the Runewright, and Beating Gaunter O'Dimm
Hearts of Stone charges you 30,000 crowns before it gives you anything, hides its best sword behind a riddle, and locks the good ending behind a conversation most players walk past. Here is the order to do it in.
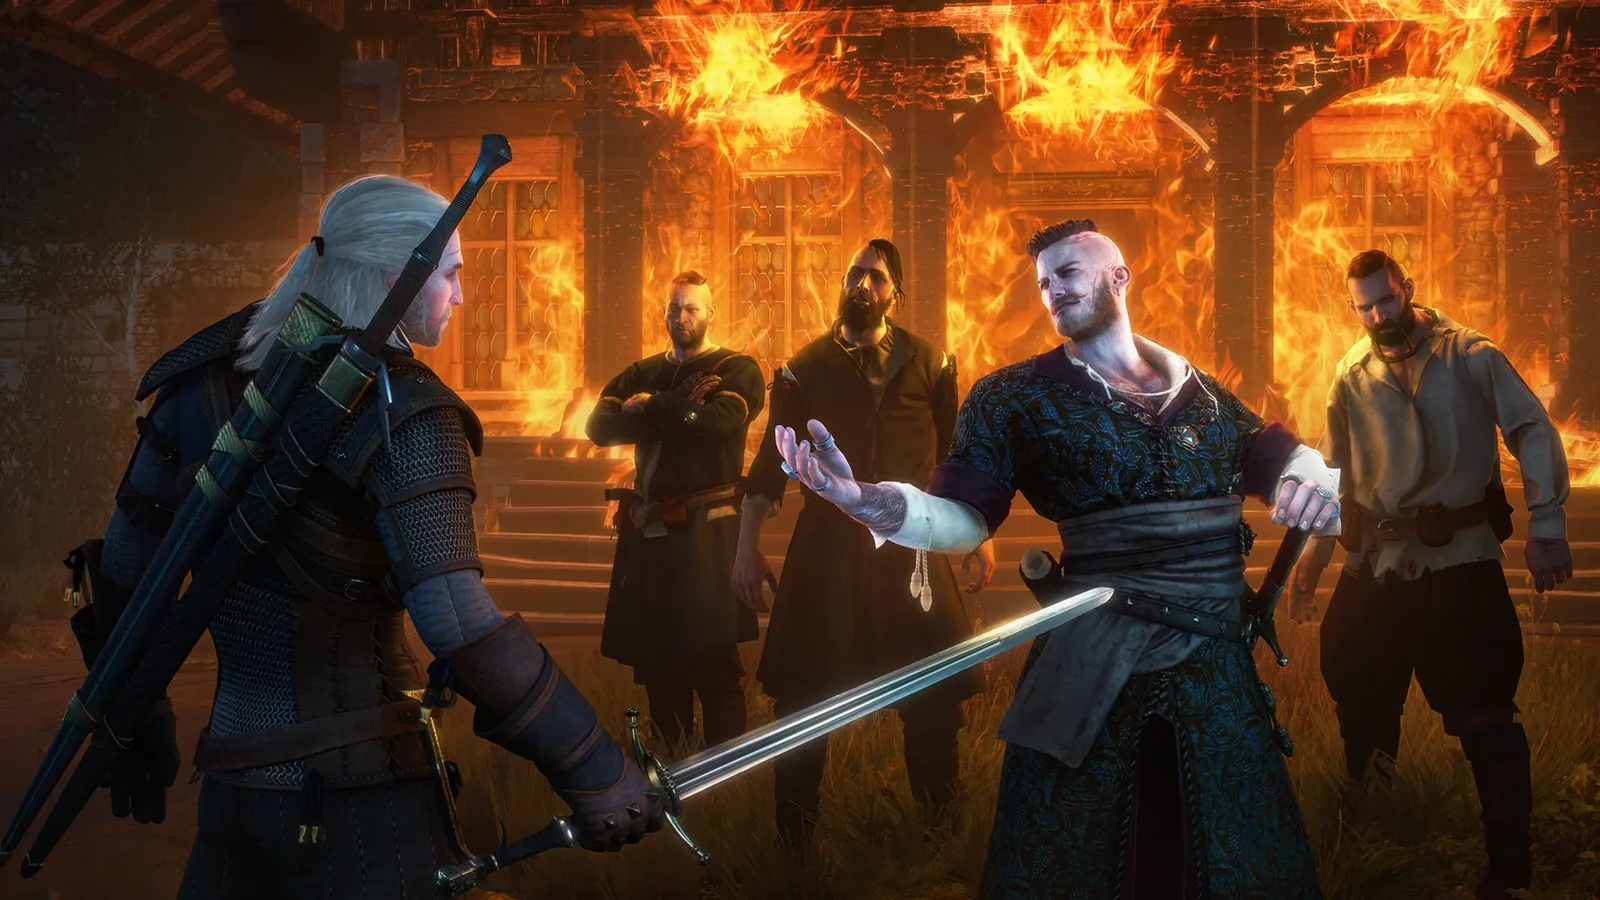
Olgierd von Everec haggles Geralt down to 450 crowns for a sewer contract. Four hundred and fifty. That is pocket change by the time you are level 32, and it buys the most sadistic opening boss CD Projekt Red ever put in front of a player who assumed this game had stopped surprising them.
Hearts of Stone shipped on 13 October 2015 as the first expansion, roughly ten hours by CD Projekt Red's own description. Unlike Blood and Wine it gives you no new region, no new skill system and no vineyard. What it gives you instead is five main quests, a merchant who wants 30,000 crowns before he will sell you a menu, and an ending most players never see because they walked past one conversation.
When to start Hearts of Stone
CD Projekt Red pitched the expansion at level 30 and up, and the main quest chain confirms it: Evil's Soft First Touches is level 32, Dead Man's Party 33, Open Sesame! 34, Scenes From a Marriage 35, and Whatsoever a Man Soweth... 36. Nothing here scales down to meet you.
There is no new map. Everything happens around Novigrad, Oxenfurt, the Gustfields and eastern Velen, so Hearts of Stone slots into a base-game playthrough rather than interrupting it. My timing advice is narrower than "level 30 plus," though:
- Start it after the Novigrad main-story block, and finish it before The Isle of Mists. Gaunter O'Dimm can hand you advice about getting a better outcome for Ciri, but that dialogue is only available before The Isle of Mists fires. Do the expansion later and you lose it.
- Do not walk in at exactly 32. The Toad Prince at level 32 with base-tier oils is a wall. At 35 or 36 it is a fight.
You start it by reading the notice board at the Seven Cats Inn, which posts Contract: Monster in the Sewers. If you are still assembling your character sheet, the Witcher 3 build guide covers what a level 35 Geralt should look like.
The Toad Prince is the difficulty check
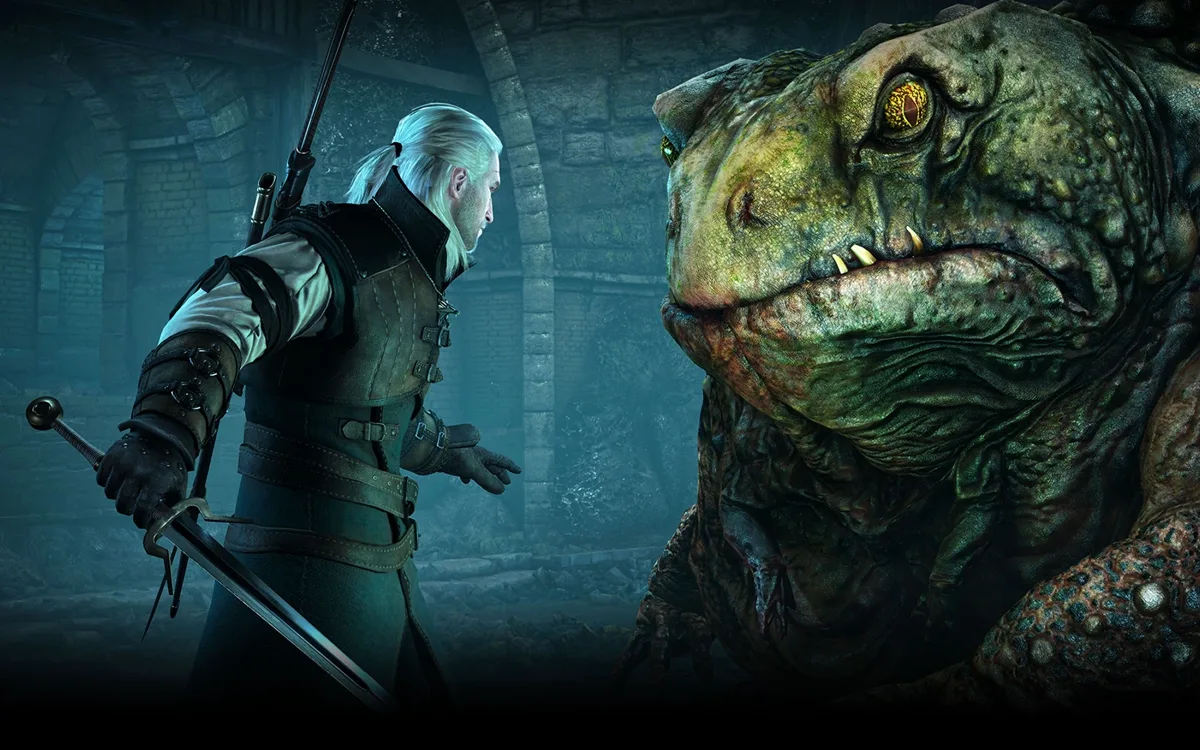
The bestiary files it as a cursed one, susceptible to Cursed oil, the Yrden sign, Northern Wind and Golden Oriole. That last one is not a suggestion. The Toad spits venom almost like artillery, and even the shots you dodge leave lingering poison clouds on the floor. Superior Golden Oriole inverts the whole mechanic — poison heals you for 180 seconds — and turns the arena hazard into a health bar.
Everything else is a patience problem:
- Yrden is the pin. Northern Wind freezes it too, but you have a handful of charges and this fight is long. Yrden is repeatable, and you can keep a standard trap and an enhanced Magic Trap out at once.
- Archgriffin decoction is the shortcut. It shaves 5% off the target's Vitality on every strong attack after normal damage, and the Toad has an enormous pool. One landed strong attack per pin beats any combo you grind out.
- Cursed oil is a defensive pick here. Its damage contribution is unimpressive without Archgriffin, but paired with Protective Coating it cuts what the Toad does to you.
- The fight ends in a cutscene at roughly 5% health, so do not panic when the bar refuses to empty.
Your reward is being knocked unconscious and hauled onto an Ofieri ship in chains. In the cell a fellow prisoner teaches Geralt the phrase Vhajlth alle'khe uhl eghullath, then you get a timed three-option prompt to recall it. The third option — ...alle'khe uhl eghullath! — is correct and pays 200 XP. Getting it wrong just makes the guards laugh.
Pay the Runewright before anything else

The most build-relevant thing in Hearts of Stone is a shipwrecked Ofieri craftsman camped behind the windmill at Upper Mill, near Brunwich. His notice, A Runewright Upon Your Shores Has Landed, goes up on the Seven Cats Inn board long before you have any reason to ride out there. He is also expensive in a way the game never warns you about:
| Step | Cost | What it unlocks |
|---|---|---|
| Enchanting: Start-up Costs | 5,000 crowns | He sets up shop, basic runes and glyphs |
| Enchanting: Quality Has Its Price | A hunk of jade | Level 1 enchantments, amateur craftsman |
| Pay him again | 10,000 crowns | Level 2 enchantments, journeyman craftsman |
| Pay him again | 15,000 crowns | Level 3 enchantments, master craftsman |
30,000 crowns total. Each of the two later payments also pays out 100 XP as a quest reward, which triples the base reward for a quest that on paper gives 100.
The jade errand marks three locations but only one works: Bloodrot Pit, the middle marker, guarded by arachnomorphs well above your level. There is a legitimate rush strategy here if you want early enchanting — Geralt is invulnerable while extracting the jade, so the problem is only surviving the run in and the sprint out. Meditating outside the cave re-rolls the spawns, and Northern Wind buys you a corridor.
One quiet perk: his craftsman rank tracks his enchanting rank, amateur to journeyman to master. Fully paid, he does everything a master smith and armorer can from one map marker, just at worse prices. And if you bring the three runestones or glyphs yourself, the enchanting is free.
The runewords and glyphwords worth 30,000 crowns
Read the rules before you spend, because two of them are genuinely destructive:
- Runewords go on swords, glyphwords on chest armor, and both need an item with 3 slots. The runewright adds up to 3 slots to swords and chest armor for a fee; other pieces cap at 2, and most gauntlets are capped at 1. Enchanting strips any existing runes for free and fills every slot.
- Upgrading witcher gear to a higher tier destroys the enchantment. Enchant a Mastercrafted Feline chest, upgrade it to Grandmaster, and the glyphword is gone. Inset stones survive; enchantments do not. Finish your witcher gear upgrades first.
- A runeword only fires on the sword currently drawn. Want it on steel and silver, you pay twice. Preservation is the one exception.
The ones actually worth the slot:
| Enchantment | Level | Type | Effect |
|---|---|---|---|
| Severance | 2 | Runeword | Increases Whirl range by 1.1 yards and Rend by 1.9 yards |
| Levity | 3 | Glyphword | Every equipped armor item is treated as Light Armor |
| Protection | 2 | Glyphword | 100% chance of a free Quen shield on entering combat, no Stamina cost |
| Replenishment | 3 | Runeword | After a Sign, spend an Adrenaline Point to charge your next sword attack with it |
| Invigoration | 3 | Runeword | At full Vitality, health regeneration converts into up to +50% damage on your next strike |
| Rejuvenation | 2 | Runeword | Fatal blows restore Stamina — 100% since patch 4.0, up from 25% |
| Preservation | 1 | Runeword | Grindstone and armorer's table bonuses never expire |
| Deflection | 1 | Glyphword | Armor deflects all arrows |
| Dumplings | 1 | Runeword | Food regenerates 400% more Vitality since patch 4.0, up from 100% |
Severance is the headline. Whirl and Rend both have famously stingy reach, and 1.1 and 1.9 yards is the difference between a crowd-control tool and a whiff animation. If you have ever wondered why Whirl builds look so much better in other people's footage, this is usually why.
Levity is the sneaky one. Every piece you are wearing counts as light armor, which means Cat School Techniques pays out in full while you are in Grandmaster Ursine, and heavy armor's Stamina penalty disappears. Heft and Balance do the same trick in the opposite directions.
Replenishment is the most interesting. Quen-charged hits heal you for 50% of the damage dealt, Igni-charged hits add 100% of the pre-resistance damage as fire, and Aard-charged hits apply an unblockable stagger — a whole extra layer on the signs system for one Adrenaline Point a swing. Invigoration pairs with the water hag decoction, since both want you at full health, but it will not fire while toxicity damage is ticking, because Geralt sits permanently one point below max. Heightened Tolerance fixes that; the alchemy guide has the rest of the toxicity math.
The one I would talk you out of is Retribution. It returns damage on 30% of hits, but the figure is based on your armor rating rather than the hit you took, and it does nothing at all while Quen is up. Any build that survives is running Quen.
The Caretaker heals off every mistake
Scenes From a Marriage (level 35) opens with the fight people still complain about. The Caretaker is a relict, so relict oil and Quen are the listed weaknesses, and the reason is mechanical rather than elemental: every blow he lands heals him, substantially — but a hit absorbed by Quen does not.
That single line dictates the fight. Yrden, Igni and Axii do nothing. Aard staggers him slightly and that is it. So:
- Keep Quen up permanently. Quen Discharge and Exploding Shield are excellent here.
- When he plants the spade for a shockwave he cannot pull it out for a few seconds. That is your only reliable window.
- When he summons the ring of dark spirits, kill the spirits. He summons them purely to absorb and heal, and he will go from half health to full if you ignore them. Northern Wind freezes him while you clear them.
- Dodge rather than roll. Rolling costs you the follow-up.
Loot The Caretaker's spade off the body afterwards — it does not glow under Witcher Senses, so most players walk past it.

Inside the manor, the Wraith from the Painting is a straight Yrden-and-specter-oil fight with one gimmick: when she floats up and screams, a random painting glows green. Hit the painting. If she reaches it she enters and re-emerges from another at full health, and Geralt's auto-target will fight you the whole time.
In the painted world there are seven required memories and an eighth optional one, the courtyard gazebo. Do the optional one; it is required for the Curator of Nightmares achievement. Before Iris' funeral you pick one of three keepsakes for the grave — the ornamented brush, her sketchbook, or the portrait — and the other two turn into worthless junk when the quest ends. Iris comments on your choice either way; none is mechanically better.
Open Sesame and the choices that stick
The auction-house heist (level 34) is the best set piece in the expansion, and it is riddled with one-time conversations.
Talk to every one of Vimme Vivaldi's associates. Each has a mini-challenge with bonus XP and each is a single opportunity. Countess Mignole sells the Viper School armor diagrams, and there is no scavenger hunt to fall back on — decline her and the set is gone for that playthrough. The art dealer matters too: pick the Portrait of a Merchant, and Yaromir tips you off about a van Rogh painting going to auction. Buying it is the only way to unlock the secondary quest Avid Collector. A note down in the vault later reveals "van Rogh" was Iris von Everec's pseudonym.
Then the safecracker. Quinto or Casimir Bassi, and the trade is real:
- Quinto works quietly. Negotiate correctly with the guards outside — "Pull back...", "Bring us a wagon...", "Doesn't matter...", "Release one..." — and you skip the fight entirely. But he misses the trapdoor, so the floor collapses and drops you into a pit of arachnomorphs. He also sides with Horst at the vault.
- Casimir blows the door. You fight the guards upstairs no matter how well you negotiate, but the blast wrecks the floor-trap mechanism, so there is no spider pit. He stays loyal to Ewald.
At the vault door you must back Ewald or Horst; the neutral option gets shot down. Whoever you back kills their brother and hands you Maximilian Borsodi's House either way. The choice changes who does the killing, not the outcome.
How to beat Gaunter O'Dimm
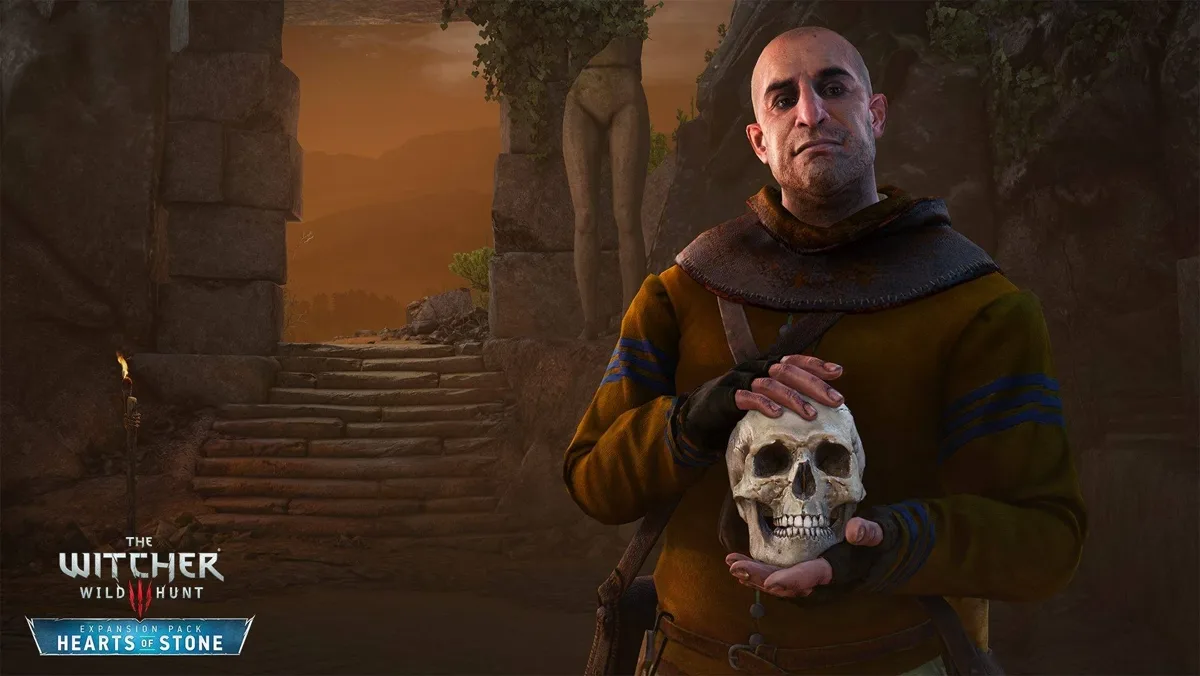
Story spoilers for the finale of Hearts of Stone from here.
Whatsoever a Man Soweth... (level 36) has one missable step that decides everything. When Olgierd's man at the Alchemy inn mentions that Shani wants to see you — go. That thread leads through the Oxenfurt Academy to Professor Premethine Shakeslock, the only source in the game for the fact that O'Dimm is a gambler who can be challenged to a game of wits with a soul as the stake.
Skip it and at the Temple of Lilvani you stand there and watch Master Mirror take Olgierd's soul. No prompt, no second chance, no dialogue check. The option does not exist. (Shakeslock dies either way — the Aard blast you use to get into his house cracks a support beam. Loot his journal.)
If you let O'Dimm collect, he offers a parting gift: the Caparison of Lament, the Horn of Plenty, a bottomless carafe, or crowns — 5,000 originally, raised to 10,000 by patch 4.0. You can refuse everything, and you can ask him about Ciri, which is where that ending advice lives.
If you challenge him, he drops you into a miniature world with a timed riddle. Two things to know going in. The clock drains faster every time you investigate a point of interest, and most of them are decoys built to waste it — the specters use Foglet, Hym and Gargoyle templates and can be run past. And on the way through there is a sword stuck in a stone: the Viper venomous silver sword, level 39, 463-565 damage, +75% critical hit damage, +10% critical hit chance, +25% Aard intensity. It has no obtainable diagram. This world is the only place it exists.
The solution is not a mirror, which is what the arena wants you to think. Go to the house on the hill, head downstairs, then find the dry fountain in the courtyard, examine the dry steps by the cracked wall, and hit the wall with Aard. Quen does nothing in that room, so arrive with at least half your health.
Win and Olgierd hands you Iris, his sabre: a relic steel sword at level 37 doing 327-399.8 damage. It charges after roughly three fast hits, then a strong attack releases the stored energy for 15% of your maximum Vitality. Strong attacks with Iris hit twice charged or not, which makes it a strong-attack weapon first and a burst weapon second.
The gear you can permanently miss
Hearts of Stone hides more behind one-time conversations than any other part of the game.
- Viper School armor set. Three separate sources, no scavenger hunt to guide you: armor diagrams from Countess Mignole at the auction, the venomous steel sword diagram inside the Borsodi vault, and the venomous silver sword from the stone in Gaunter's world.
- Ofieri armor set. The treasure hunt From Ofier's Distant Shores (level 33) sends you through three Fallen Knight camps — the last two hold 10 to 15 knights each — for four untranslated diagrams: scale armor, sharovary, gauntlets and boots. Dulla kh'Amanni translates them in one in-game day, so meditate and come back.
- King of Swineherd's crown. Won at the wedding by herding two pigs into a pen. Only the black pigs with yellow paint on their backs count, and do not use Axii — the peasants call it cheating and you drop from 200 XP and the trophy to 50 XP and nothing. It carries the largest extra-gold bonus of any trophy in the game.
- Shani's romance. A Midnight Clear (level 33) fails permanently if you leave the wedding area during Dead Man's Party. It does not affect an existing relationship with Yennefer or Triss. Gift options are a rowan branch, chamomile, rowanberry brandy or mead; the branch pays 150 XP and she wears it. Give her alcohol and the boat scene ends with her throwing up over the side.
One last piece of housekeeping: oil your steel sword with beast oil before the wedding starts. Your inventory is locked for the entire sequence — you are stuffed into an Ornate robe and the starting Hunting trousers, and you cannot change a thing until it ends.
Quick Action Checklist
- Start at level 34 or 35, not 32. The main quests are levelled 32, 33, 34, 35 and 36.
- Finish the expansion before The Isle of Mists if you want O'Dimm's advice on Ciri.
- Take Superior Golden Oriole, Yrden and the Archgriffin decoction into the Toad Prince.
- Budget 30,000 crowns for the Runewright: 5,000 to start, then 10,000 and 15,000.
- Get your witcher gear to its final tier before enchanting it — upgrading destroys the enchantment.
- Severance for Whirl and Rend range, Levity for light-armor bonuses in heavy plate, Protection for a free Quen every fight.
- Keep Quen up for the whole Caretaker fight and kill the summoned spirits before he absorbs them.
- Talk to every one of Vivaldi's associates at the auction, especially Countess Mignole, or lose the Viper set.
- Go see Shani and Professor Shakeslock before the Temple of Lilvani, or you cannot challenge Gaunter O'Dimm at all.
Frequently Asked Questions
What level should I be for Hearts of Stone in The Witcher 3?
How do you start Hearts of Stone?
How much does the Runewright cost in Hearts of Stone?
How do you beat the Toad Prince in The Witcher 3?
What is the best runeword in Hearts of Stone?
How do you beat Gaunter O'Dimm at the end of Hearts of Stone?
What do you get for saving Olgierd von Everec?
Can you miss the Viper School gear in Hearts of Stone?
Does romancing Shani affect Yennefer or Triss?
Keep Reading
- Witcher Wiki — Hearts of Stone main quest list and levels
- Witcher Wiki — enchanting rules, slot requirements and runeword list
- Witcher Wiki — Runewright unlock costs and the jade errand
- Witcher Wiki — the O'Dimm challenge, rewards and the Iris sword
- Witcher Wiki — Caretaker susceptibilities and combat tactics
Related Guides

The Witcher 3 Blood and Wine Guide: When to Start, Mutations, and the Good Ending
Blood and Wine is the rare expansion that outclasses the game it is attached to. It also quietly reworks your character sheet, hands you a house, and hides its best ending behind five requirements nobody tells you about.
The Witcher 3 Remastered Rewards: Fire Horse, Scarlet Crest
Ninety minutes of Twitch buys Roach a 90-Stamina saddle that only one saddle in the game beats, and you can loot it before the prologue ends. Here is every Remastered reward in the Vizima chest, how to claim each one before the Twitch drops close on 27 October, and what the Fire Horse and Scarlet Crest sets are actually worth.
The Witcher 3 Remastered Skill Tree: What Unlocks What
CD PROJEKT RED described the Remastered skill overhaul in three bullet points and has published no skill list. The Witcher wiki has since filled in all four trees. Here is how unlocking works now, what every skill needs and does at rank 1 and rank 3, and which old skills are gone.

The Witcher 3 Remastered PC Requirements: All Six Tiers
CD PROJEKT RED's Remastered patch notes carry a six-column PC spec table, from a GTX 1660 at 1080p on Low up to an RTX 5080 for path tracing at 4K. Here is every tier, which upscaler your graphics card actually gets, why CDPR's own storage figures disagree, and the PC settings its patches and support pages have touched since launch.

The Witcher 3 Beginner's Guide: Your First 20 Hours
Most people who bounce off The Witcher 3 do it in White Orchard, and it is almost always the same three reasons: they never learned Quen, they never applied an oil, and they treated the skill tree like a shopping list. Here is the fix.
The Witcher 3 Fist Fights: Every Circuit and Brawl Master
Skellige's fistfighting champion is a bear, the Champion of Champions is a rock troll, and before the troll will fight you at all you have to lose a fight to a ghost on purpose. Here is every fistfighting circuit opponent across Velen, Novigrad, Skellige and Toussaint, what each one pays, and the single loss that makes Brawl Master unobtainable.