The Witcher 3 Runestones and Glyphs: What Every Upgrade Slot Is Worth
Two greater runestones sit side by side in the same shop. Both say five percent. One costs 440 crowns and the other 980. Here is the full stat table, the crafting maths behind that gap, and which slots are worth filling.
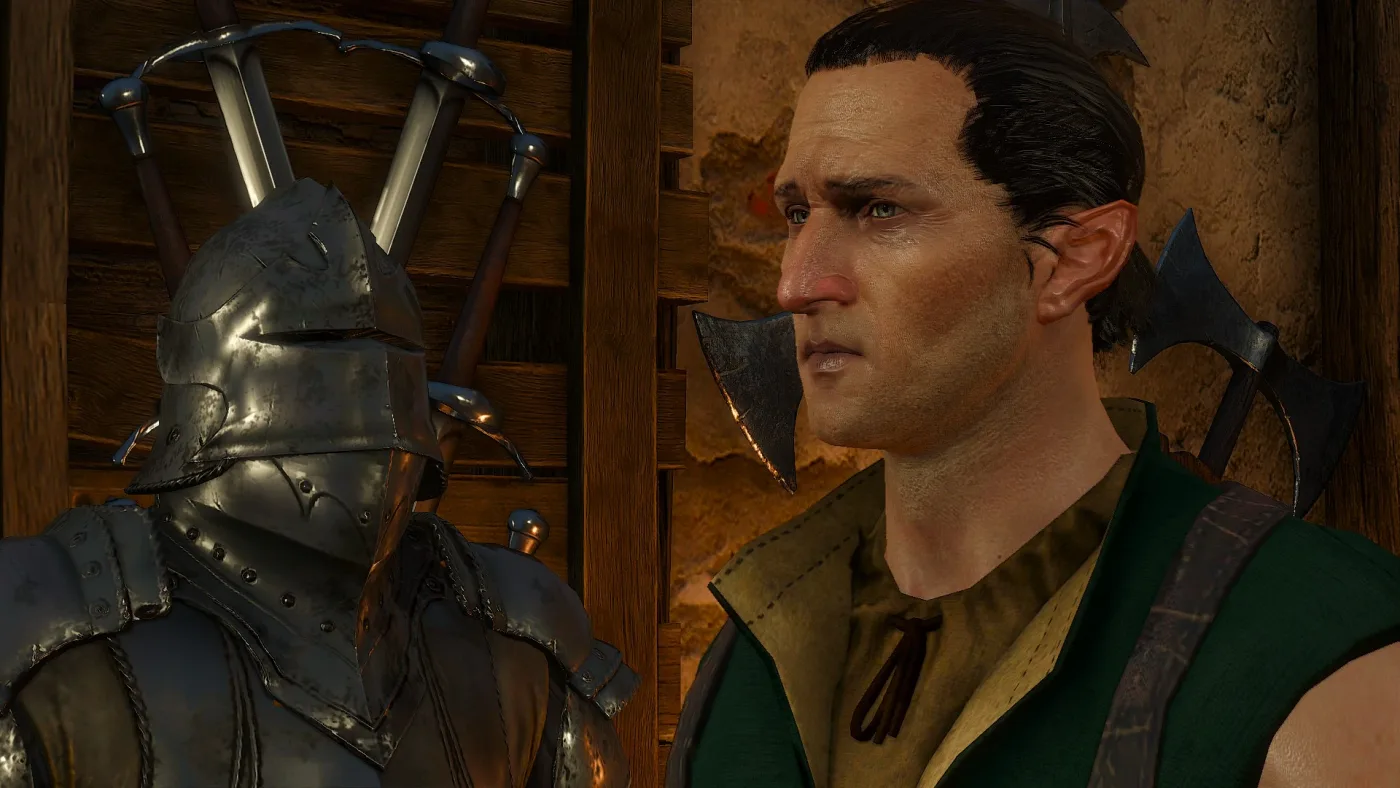
Two greater runestones sit next to each other in the same Novigrad shop. Greater Chernobog gives 5% Attack Power and carries a base value of 440 crowns. Greater Triglav gives a 5% chance to stun and carries a base value of 980. Same tier, same headline number, more than double the price.
The game does not explain the gap, and the explanation is not that stun is worth twice as much as attack power. It is that Triglav is made out of diamond dust and Chernobog is made out of monster guts. Once you see that, the whole upgrade system stops looking like a shrug and starts looking like a shopping list with the prices printed upside down.
Where your upgrade slots actually live
Runestones go in swords. Glyphs go in armour. Both are permanent in the sense that matters: per the wiki's upgrades page, only blacksmiths and armorers can pull a socketed stone back out, and doing so destroys the stone while leaving the gear intact. If it is the stone you want back rather than the gear, dismantle the item instead.
So the resource to think about is not stones, it is slots. And your slot count is not fixed — it climbs with your gear tier. Take one chest piece up the Cat School ladder and watch it happen:
| Feline chest armour | Level | Armour | Upgrade slots |
|---|---|---|---|
| Feline armor | 17 | 120 | 1 |
| Enhanced Feline armor | 23 | 150 | 2 |
| Superior Feline armor | 29 | 180 | 3 |
| Mastercrafted Feline armor | 34 | 205 | 3 |
| Grandmaster Feline armor | 40 | 240 | 3 |
Three is the documented ceiling for a chest piece — it is also where the runewright's paid slot-adding service tops out for swords and chest armour, with two the limit on every other armour piece and most gauntlets capped at one. You reach that ceiling earlier than the tier names suggest: Superior Griffin armor has three slots at level 26, well inside a normal base-game run.
Legs and extremities cap lower. Feline trousers start with zero slots at level 17, reach two at the Superior tier, and stay at two through Grandmaster. Grandmaster Feline gauntlets and boots carry two each as well.
Add up a finished Grandmaster Feline set and you are looking at nine armour slots, plus three on the Grandmaster Feline silver sword and three on whatever steel sword you are carrying. Patch 4.0 helped there: Winter's Blade went from two slots to three and the relic Blade from the Bits went from one to three, and both now scale their damage with your level as long as you carry them.
One more thing to settle before you spend a crown. Crafting witcher gear up a tier keeps your stones. The official Witcher wiki says it flatly: runestones and glyphs in the original item are retained in the upgraded item. A rune you socket into Superior Griffin armour rides along to Mastercrafted and to Grandmaster. It is not a rental.
The ten runestones
Ten families, three tiers each. The pattern is identical across all of them — 2%, 3%, 5% — with Svarog the odd one out because armour piercing is a flat number rather than a percentage.
| Runestone | Effect | Lesser | Standard | Greater |
|---|---|---|---|---|
| Chernobog | Attack Power | 2% | 3% | 5% |
| Veles | Sign intensity | 2% | 3% | 5% |
| Svarog | Armor piercing | +10 | +20 | +30 |
| Perun | Adrenaline Point gain | 2% | 3% | 5% |
| Stribog | Chance to stagger | 2% | 3% | 5% |
| Dazhbog | Chance to cause burning | 2% | 3% | 5% |
| Devana | Chance to cause bleeding | 2% | 3% | 5% |
| Zoria | Chance to freeze | 2% | 3% | 5% |
| Morana | Chance to poison | 2% | 3% | 5% |
| Triglav | Chance to stun | 2% | 3% | 5% |
The split that matters is in the middle column, not the right one. The top four are flat modifiers that apply to every swing you take. The bottom six are dice rolls that fire 5% of the time at best. A 5% chance to stun is a stun once in twenty hits; 5% Attack Power is 5% more damage on all twenty.
Hearts of Stone adds two more runestones, Pyerog and Tvarog, but they are not general upgrades. Both exist purely as ingredients for the Dumplings runeword, both must be crafted, and their diagrams are found in specific locations rather than sold on the open market.
The nine glyphs and the scaling gap
The base game ships five glyphs, one per sign. Hearts of Stone adds four more that behave completely differently.
| Glyph | Effect | Lesser | Standard | Greater |
|---|---|---|---|---|
| Aard | Aard Sign intensity | 2% | 5% | 10% |
| Axii | Axii Sign intensity | 2% | 5% | 10% |
| Igni | Igni Sign intensity | 2% | 5% | 10% |
| Quen | Quen Sign intensity | 2% | 5% | 10% |
| Yrden | Yrden Sign intensity | 2% | 5% | 10% |
| Binding | Resistance to bleeding | +2% | +3% | +5% |
| Mending | Vitality regeneration | +1 | +2 | +3 |
| Reinforcement | Reduction in item durability loss | +33% | +50% | +100% |
| Warding | Resistance to elemental damage | +1% | +2% | +3% |
Read the two tables side by side and the asymmetry jumps out. A runestone goes 2% to 5% across its three tiers — two and a half times. A base-game sign glyph goes 2% to 10% — five times. Both ladders are built the same way, two lessers into a standard and two standards into a greater, so upgrading a sign glyph to its greater form buys you far more per unit of effort than upgrading a runestone does.
That also reframes the sign-intensity choice. Greater Veles gives 5% intensity to all five signs from a sword slot. A greater sign glyph gives 10% to exactly one sign from an armour slot. If you have already committed to the Igni-and-Yrden shape our Witcher 3 signs guide argues for, the specialist glyph is doing twice the work per slot. If you spread your points, Veles keeps covering everything.
The four Hearts of Stone glyphs all scale far more slowly than the sign glyphs' 2/5/10, and only one of them — Binding, at +2/+3/+5% resistance to bleeding — actually matches the runestone-style 2/3/5. The other three each go their own way. Reinforcement runs 33/50/100% reduction in item durability loss, tripling rather than doubling-and-a-bit. Warding crawls along at +1/+2/+3% resistance to elemental damage. Mending gives a flat +1/+2/+3 Vitality regeneration rather than a percentage, which quietly makes it more interesting on Blood and Broken Bones and Death March, where meditation stops restoring health at all.
Unlike base-game glyphs, all four are runewright-only: crafted, or bought from him, with him as the sole source of the diagrams too.
The price list runs backwards
Here is every greater runestone by base value, with the merchant buy range beside it. Prices in The Witcher 3 are dynamic and vary by vendor, so the range is what you should expect to actually pay.
| Greater runestone | Effect | Base value | Buy range |
|---|---|---|---|
| Chernobog | 5% Attack Power | 440 | 707–1,210 |
| Veles | 5% Sign intensity | 440 | 707–1,210 |
| Svarog | +30 Armor piercing | 440 | 707–1,210 |
| Perun | 5% Adrenaline Point gain | 440 | 707–1,210 |
| Stribog | 5% chance to stagger | 620 | 997–1,705 |
| Dazhbog | 5% chance to cause burning | 680 | 1,093–1,870 |
| Devana | 5% chance to cause bleeding | 780 | 1,254–2,145 |
| Zoria | 5% chance to freeze | 820 | 1,318–2,255 |
| Morana | 5% chance to poison | 880 | 1,414–2,420 |
| Triglav | 5% chance to stun | 980 | 1,575–2,695 |
The four flat-modifier runestones — the ones that hit on every swing — are the four cheapest rows in that table, all sharing an identical 440 base value. The six proc runestones climb from 620 to 980. Triglav costs 2.2 times what Chernobog does for a bonus that fires one hit in twenty.
The sign glyphs run the same way. Same +10% intensity, wildly different prices:
| Greater sign glyph | Base value | Buy range |
|---|---|---|
| Yrden | 756 | 1,215–2,079 |
| Igni | 816 | 1,310–2,244 |
| Quen | 916 | 1,472–2,519 |
| Aard | 956 | 1,536–2,629 |
| Axii | 1,016 | 1,633–2,794 |
Greater Glyph of Yrden is the cheapest of the five and Greater Glyph of Axii the dearest, a 260-crown gap for an identical stat line. Yrden being the bargain is a small gift, because Yrden is the sign that drags specters back into a state your silver sword can hurt — the class our monster weaknesses guide files under Yrden or nothing.
The crafting chain: four lessers make a greater
None of that pricing is arbitrary. Every item in the tables above is valued at the exact sum of its ingredients, and you can watch the arithmetic work.
The base component is a Lesser runestone: 1 Black pearl dust (65) plus 1 Infused dust (30), craftable by an apprentice blacksmith or armorer, base value 95. Add one reagent to that and you get a named lesser runestone. Which reagent you add is the entire story:
| Lesser runestone | Reagent | Reagent value | Result value |
|---|---|---|---|
| Chernobog | Monster essence | 15 | 110 |
| Svarog | Monster saliva | 15 | 110 |
| Perun | Monster brain | 15 | 110 |
| Veles | Powdered monster tissue | 15 | 110 |
| Stribog | Amethyst dust | 60 | 155 |
| Dazhbog | Amber dust | 75 | 170 |
| Devana | Ruby dust | 100 | 195 |
| Zoria | Sapphire dust | 110 | 205 |
| Morana | Emerald dust | 125 | 220 |
| Triglav | Diamond dust | 150 | 245 |
The four you actually want run on 15-crown monster parts that pile up in your inventory and rot there. The six you probably do not want run on gemstone dust worth 60 to 150 a piece, and Diamond dust alone buys for 430 to 811 from a merchant.
From there the ladder is mechanical: two lessers make a standard at journeyman rank, two standards make a greater at master rank. Four lessers per greater, and the value multiplies by exactly four. Lesser Chernobog at 110 becomes a standard at 220 and a greater at 440. Lesser Triglav at 245 becomes a greater at 980.
Glyphs work identically off a different base. The Lesser Glyph of Infusion is 1 Silk (32) plus 1 Powdered pearl (50) plus 1 Feather (2) plus 1 Monster blood (15), for a value of 99. Add a gemstone dust and an Infused dust and you have a lesser sign glyph:
| Lesser sign glyph | Dust | Result value | Greater value |
|---|---|---|---|
| Yrden | Amethyst (60) | 189 | 756 |
| Igni | Amber (75) | 204 | 816 |
| Quen | Ruby (100) | 229 | 916 |
| Aard | Sapphire (110) | 239 | 956 |
| Axii | Emerald (125) | 254 | 1,016 |
The five sign glyphs share an identical base and differ only by which gemstone dust goes in, so the entire price spread across them is that one ingredient. The four Hearts of Stone glyphs break the pattern by using ore instead — Binding takes meteorite ore, Reinforcement dark iron ore, Warding silver ore, and Mending three gold nuggets — which is why all four land at a lower base value than any sign glyph, between 608 and 636 in their greater form. That does not make them cheap to buy, because the runewright is the only person who sells them.
Where to actually get them
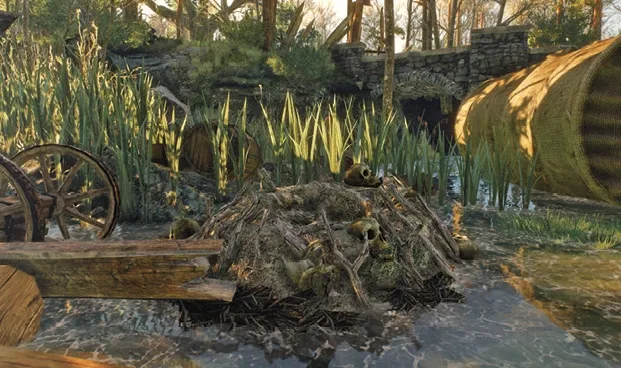
Merchants are the boring, reliable route, and the wiki's stock lists are wider than the map suggests. Lesser runestones are carried by every blacksmith bar the one at Ardaiso Quarry, and by every alchemist bar Jonna in Rannvaig and the Freya Priestess on Hindarsfjall. Greater runestones narrow to blacksmiths in Novigrad, Oxenfurt, Skellige and Toussaint — again minus Ardaiso Quarry — plus that same alchemist list. Glyphs follow the same shape through armorers rather than blacksmiths. The official wiki singles out the Oxenfurt armorer as offering good prices on both.
Monster nests are listed as a source on the base-game runestone and sign glyph pages — every tier of all ten runestone families and all five sign glyphs — which makes clearing them a steady no-cost supply. They are already worth clearing for the reasons our contracts guide lays out; the upgrade drops are a second reason.
Specific monsters drop specific greater stones. Fire elementals drop Greater Dazhbog. Golems drop Greater Stribog. Grave hags, wights and spotted wights drop Greater Triglav. Slyzards and slyzard matriarchs drop the Greater Glyph of Igni. The Crones are listed as a source for both the Lesser Glyph of Igni and the Lesser Triglav runestone.
The dusts themselves have monster sources, which is what makes crafting cheap if you are patient. Amethyst dust drops from wraiths, noonwraiths, penitents and the White Lady. Sapphire dust drops from barghests; emerald dust from barghests and noonwraiths; amber dust from archgriffins and the opinicus; ruby dust from the Guardians in Turn and Face the Strange. Diamond dust, the most expensive of the lot, is a guaranteed drop from the ulfhedinn on Ard Skellig.
Two greater runestones also arrive as quest rewards rather than loot: Greater Devana from Brothers In Arms: Novigrad, and Greater Morana from Tough Luck.
Runes versus runewords: the endgame decision
Once Hearts of Stone is installed there is a second thing you can do with those slots, and it is exclusive with the first.
Enchanting fills every slot on an item with a single named effect. The rules, straight off the wiki's enchanting page:
- Runewords go on swords, glyphwords on chest armour, and both need an item with at least three slots.
- Enchanting destroys any upgrades already set into the item and fills all the slots, so no new runes can be added afterwards.
- Regular runes are removed automatically at no extra charge as part of the process.
- A runeword only fires on the sword currently drawn, so covering steel and silver means paying twice. Preservation is the exception.
- Enchant witcher gear and then upgrade it a tier and the enchantment is destroyed, freeing the slots. Inset stones survive that same upgrade.
That last pair of lines is the decision, and it points one way for most of a playthrough. While you are still climbing the witcher gear ladder — and the ladder runs from level 17 to level 40 on the Feline line alone — stones follow you up and enchantments do not. Rune your gear during the climb. Save the runewright for kit you have stopped upgrading.
The money argues the same way. The runewright wants 30,000 crowns across three payments before his full menu opens, which our Hearts of Stone guide breaks down and our money guide explains how to fund. Three Greater Chernobog runestones bought outright top out around 3,630 crowns at worst-case prices, and cost roughly nothing if you craft them from monster parts you are already carrying.
Quick Action Checklist
- Treat slots as the resource, not stones. Removing a socketed rune destroys it, so socket deliberately.
- Do not wait for grandmaster gear. A base-game Superior chest piece already has three slots — Superior Griffin armor at level 26, Superior Feline armor at 29.
- Rune your gear during the climb. Stones carry across a witcher gear tier upgrade; enchantments do not.
- Prefer the four 440-crown greater runestones — Chernobog, Veles, Svarog, Perun. Of the ten families in the table above they are the cheapest, and the only four whose bonus applies to every swing rather than rolling a chance.
- Craft rather than buy where you can. All four of those run on 15-crown monster parts you already have, against 60 to 150 for the gemstone dusts the proc runestones need.
- Upgrade sign glyphs before you upgrade runestones. Glyphs go 2/5/10 across their tiers while runestones go 2/3/5, for the same two-into-one crafting cost at every step.
- Pick Greater Veles on a sword if your sign points are spread, and a specific greater sign glyph on armour if they are not.
- Clear monster nests. They are listed as a source on every base-game runestone and sign glyph page, and on the crafting components that feed them.
- Leave the runewright until your gear has stopped moving. Enchanting wipes every stone in the item and needs three slots to begin with.
Frequently Asked Questions
What are the best runestones in The Witcher 3?
How many upgrade slots can Witcher 3 armor and swords have?
Do runestones and glyphs carry over when you upgrade witcher gear?
Can you remove a runestone or glyph in The Witcher 3?
How do you craft a greater runestone in The Witcher 3?
Which glyph gives the most sign intensity in The Witcher 3?
Should I use runestones or Hearts of Stone runewords?
Keep Reading
- Witcher Wiki — full runestone list with lesser, standard and greater values
- Witcher Wiki — full glyph list including the four Hearts of Stone glyphs
- Witcher Wiki — enchanting rules, slot requirements and what enchanting destroys
- Official Witcher Wiki — stones are retained when witcher gear is crafted to the next tier
- The Witcher 3 Wiki (Fextralife) — slot limits and rune removal destroying the stone
- Witcher Wiki — Greater Chernobog runestone value, buy range and merchant list
- Witcher Wiki — Greater Glyph of Igni value, components and drop sources
- Witcher Wiki — Lesser runestone components and base value
- Witcher Wiki — Superior Feline armor slot count at the base-game tier
Related Guides
The Witcher 3 Crafting Guide: Diagrams, Craftsmen and Gear
Crafting in The Witcher 3 is not one system, it is three tiers, four craftsman ranks and a diagram supply that is deliberately capped by your level. Here is who can actually make what, where the one Grandmaster in the game is hiding, and whether any of the 49 Relic-tier diagrams are worth the trip.
The Witcher 3 Money Guide: How to Make Crowns Without Cheesing It
Witcher 3 trading has real, knowable numbers behind it, and almost nobody reads them. Merchants pay between 20% and 41.5% of face value depending on who and where they are, dismantling beats selling more often than you think, and the game literally taxes you for exploiting it.
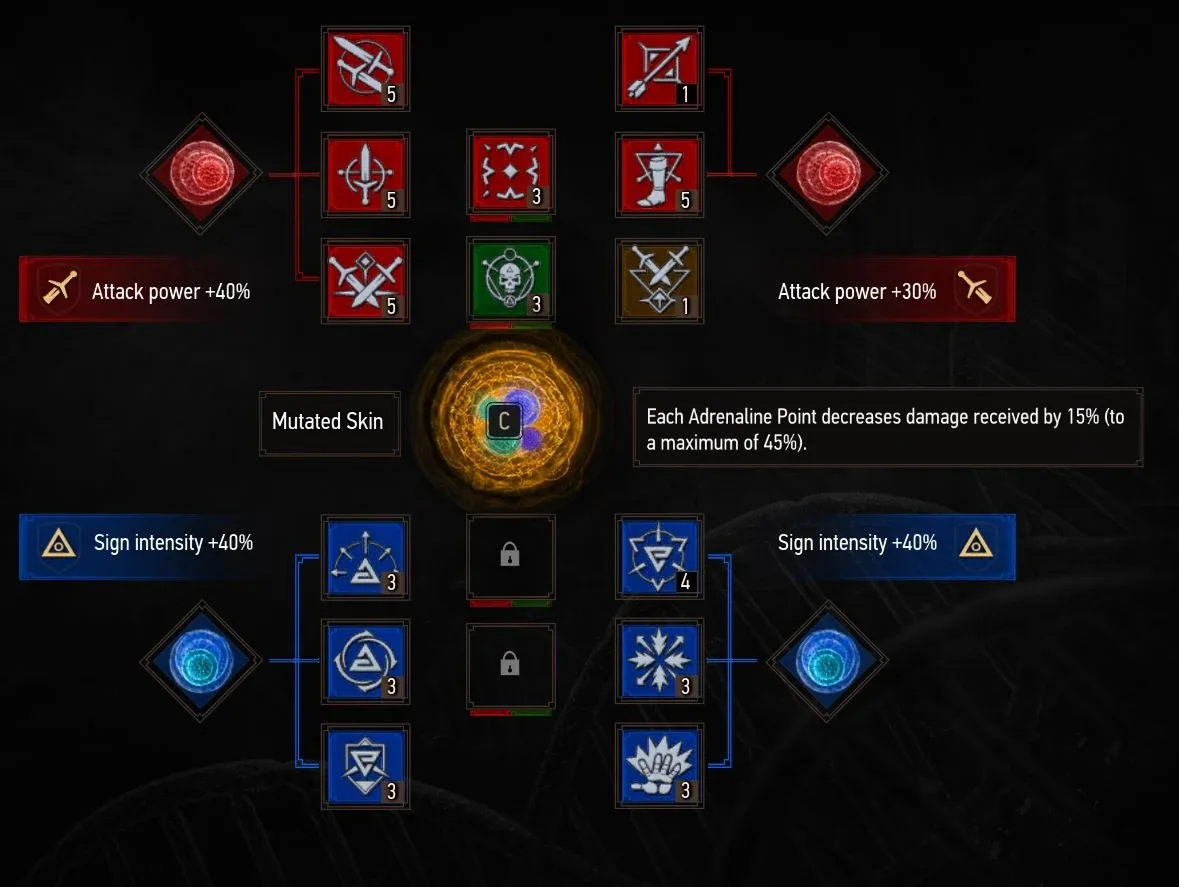
The Witcher 3 Console Commands: How to Enable Them
Type additem('Aerondight',1) into a hidden text box and Geralt is holding one of the best swords in the game before he has left White Orchard. CD Projekt Red has never put that box in a menu, never written a support article about it, and never published a full list of what it accepts. Here is how to open it, what to type, and what nobody can quite agree it costs you.
The Witcher 3 General Skills: Which Ones Deserve a Slot
Two red mutagens on the same character panel, three slots each, and one reads +40% Attack power while the other reads +30%. The difference is a single brown icon. Here is the full General tree, the exact price of slotting one, and the four abilities that pay it back.

The Witcher 3 Beginner's Guide: Your First 20 Hours
Most people who bounce off The Witcher 3 do it in White Orchard, and it is almost always the same three reasons: they never learned Quen, they never applied an oil, and they treated the skill tree like a shopping list. Here is the fix.
The Witcher 3 Alchemy Guide: Oils, Potions, Decoctions and Toxicity
Alchemy is the single most under-used system in The Witcher 3, and it is also the one that turns Death March from a wall into a routine. Here is what every oil, potion, decoction and bomb actually does, with the numbers.