A Link to the Past Boss Guide: Every Boss and How to Kill It
A Link to the Past has thirteen boss fights and almost every one is an item check in disguise. Here is what beats each of them — including the one weapon without which Ganon literally cannot die.
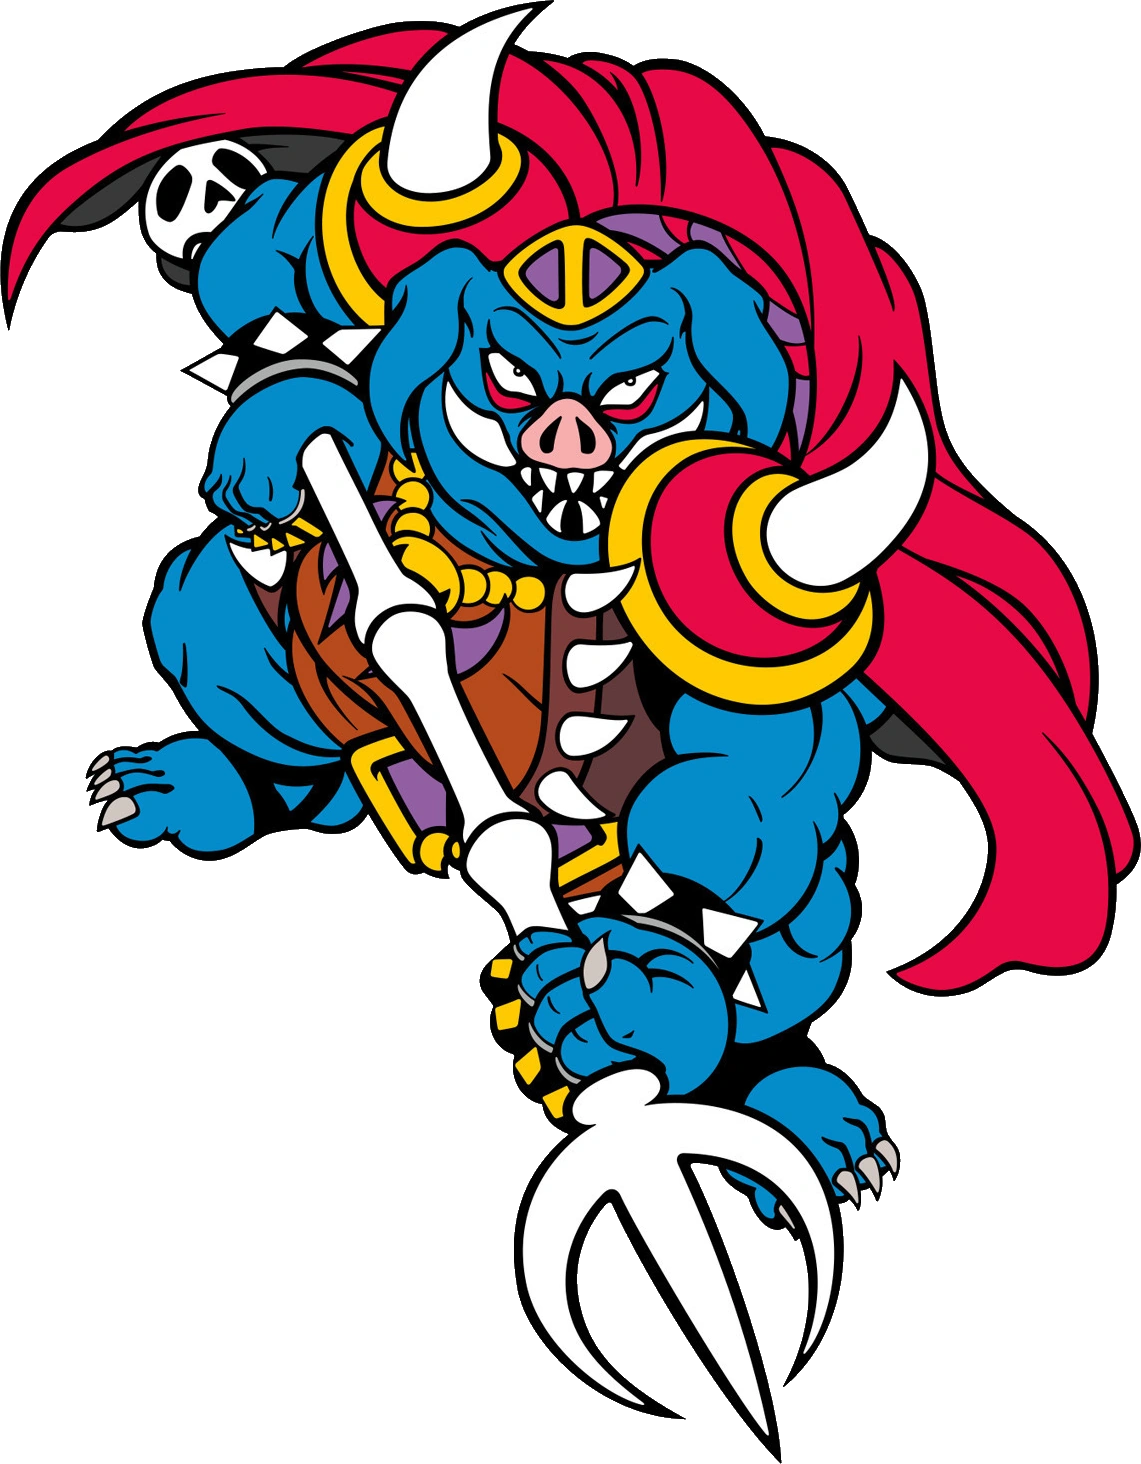
A Link to the Past has thirteen boss fights, and if you count Agahnim twice, most of them are an item check wearing a monster costume. The game rarely asks whether you are good at Zelda. It asks whether you picked up the Bow, the Hookshot, the Fire Rod, or the Silver Arrows before you walked in the door.
That is the whole trick to ALttP bosses. Once you know which item each one is secretly testing, the fights go from confusing to almost scripted. Below is every boss in play order — the three Pendant guardians, both Agahnim fights, the seven Dark World Crystal bosses, and Ganon himself — with the one thing that actually kills each of them.
How ALttP bosses actually work
Three rules cover nearly the entire cast.
- The right item trivializes the fight; the wrong loadout makes it impossible. You cannot hurt Helmasaur King's face without breaking his mask first. You cannot pull Arrghus apart without the Hookshot. Ganon does not die to the sword at all.
- Sword tier still matters. A charged Spin Attack with the Master or Tempered Sword does far more than a tapped swing, and against Agahnim and Ganon the Spin Attack is often the only sword hit that registers. If you never upgraded past the base Master Sword, some of these fights get long.
- Bosses come in dungeon order for a reason. You collect the item you need for a boss inside the dungeon that boss guards, or in the one right before it. If you want the route that feeds each item into the next fight, our A Link to the Past dungeon order guide maps all eleven dungeons end to end.
Every dungeon boss also drops a Heart Container, so beating them is how your health bar grows. There are ten of those drops across the game. Agahnim and the final Ganon fight do not give one.
The three Pendant bosses
These three guard the Pendants of Virtue you need to pull the Master Sword. They are the game's tutorial in boss design: one teaches you to use a sub-weapon, one teaches you to read a movement pattern, and one teaches you not to be greedy.
Armos Knights — Eastern Palace
Six stone knights hover in a formation and drop down to squash you. Your kit here is fresh: the Bow you just found in this dungeon. Arrows drop them fast, and the sword works too if you are out of arrows. Keep moving along the bottom of the room so the descending statues never pin you.
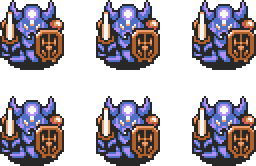
When you kill all but one, the survivor turns red and aggressive, bouncing around the room faster than the rest ever moved. Bait its jumps, hit it on landing, and it drops the Pendant of Courage. This is the easiest boss in the game and it is meant to be.
Lanmolas — Desert Palace
Three sand worms burst up out of the floor, spray rocks, and dive back down. You cannot hit them underground, so this is a patience fight: wait for a head to surface, get two or three sword hits in, and back off before it drops. The falling debris does most of the damage people take here, so watch the rock spray, not just the worms.
Kill all three and you get the Pendant of Power. If you are still on the base sword, the Bow speeds it up considerably.
Moldorm — Tower of Hera
Moldorm is the first genuine skill check in A Link to the Past, and it filters more first-timers than any boss until the endgame. It is a giant worm on a small platform ringed by pits. You can only damage the glowing tail, Moldorm scrambles around unpredictably, and getting bumped knocks you clean off the ledge — which dumps you a floor down and resets the entire fight.
The counterintuitive answer is to be slow. Do not chase the tail across the room. Post up near the center, let Moldorm come to you, tag the tail when it swings past, and re-center after every hit so you are never fighting near an edge. Six hits and it dies, handing over the Pendant of Wisdom and — critically — this dungeon is also where the Moon Pearl lives. If Moldorm is the fight that stops you cold, the fundamentals in our A Link to the Past beginner guide are worth a skim before you go back in.
Agahnim, the first fight
At the top of Hyrule Castle Tower, Agahnim teleports around the room and lobs energy balls at you. You do not out-damage him with the sword directly — you swing at the orbs to knock them back at him. Blue orbs reflect cleanly; the game is teaching you a mechanic you will need again. Deflect enough back into him and the scripted defeat triggers, and he throws you into the Dark World regardless of how the fight went. This first Agahnim is a lesson, not a wall. The real version is waiting at the top of Ganon's Tower.
The seven Crystal bosses
Each Dark World dungeon holds a Maiden sealed in a crystal, and each is locked behind a boss built around one specific item. This is where ALttP stops holding your hand. Free all seven and the barrier on Ganon's Tower drops.
Helmasaur King — Palace of Darkness
A big armored reptile with a stone mask over its face and a mace-tipped tail. You cannot touch the face until the mask is gone, and the sword will not do it. Break the mask with the Magic Hammer (up close, more hits) or with Bombs — about five bomb hits shatter it and you can do that from range, which is the safer play. Once the mask is off, the exposed face takes sword slashes and arrows.
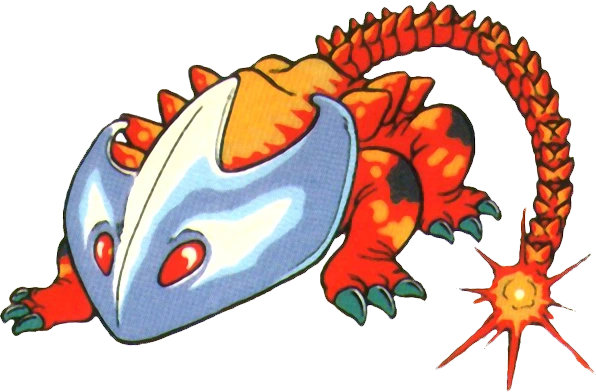
While you work, it spits fireballs that split into three and then into four as they fan out. Stand at an angle to the spray rather than dead in front of it and you will thread the gaps.
Arrghus — Swamp Palace
A giant floating eyeball-jellyfish orbited by a swarm of little polyps called Arrgi. While the Arrgi are attached, Arrghus is invulnerable — swinging the sword at the cloud does nothing. The item here is the Hookshot: fire it into the swarm to yank the Arrgi off one at a time, then cut the loose ones down with the sword.
Once the shell of Arrgi is stripped, Arrghus launches into the air and slams straight down where you are standing, then skates across the shallow water firing needle-lasers that detonate. Sidestep the slam, punish the recovery with the sword, repeat.
Mothula — Skull Woods
A giant moth in a room with a moving mechanical floor lined with sliding Blade Traps. The floor and the traps are the actual threat; Mothula's triple energy-beam volley is easy to dodge by comparison. Because the arena keeps shoving you toward the spikes, the goal is to end this quickly.
The Master Sword or Tempered Sword can burst Mothula down before it does much of anything. The Fire Rod also melts it, but it drains magic fast, so upgrade your magic meter first if you plan to lean on it — the full upgrade ladder is in our A Link to the Past items and upgrades guide.
Blind the Thief — Thieves' Town
This one has a trick. You rescue what looks like the Maiden, and you have to walk her back through the dungeon — but the moment she steps under a patch of light, she reveals herself as Blind and the fight starts. Slash the body with the sword (or wall off the arena with the Cane of Somaria) until the head pops off. The severed head keeps flying around spitting fireballs while the body grows a new head, and each cycle leaves another head loose in the room. Kill the body before the floating heads gang up on you.
Kholdstare — Ice Palace
Kholdstare starts as an eyeball frozen inside a block of ice, on a low-friction floor that keeps sliding you around. First melt the shell: the Fire Rod works, but the Bombos Medallion cracks it in a single cast and is much faster. Once the ice is gone, Kholdstare splits into three floating eyeballs you finish with the Fire Rod or the sword, all while dodging ice chunks that rain from the ceiling.
Vitreous — Misery Mire
A massive eyeball sitting in a pool of green acid, ringed by smaller eyeballs. The little eyes peel off and swarm you one at a time, and the big one fires lightning — the same attack Agahnim uses. Wedge yourself into a corner and clear the small eyes with Spin Attacks as they close in. The faster, riskier line is to wade into the slime, eat the damage, and Spin Attack several at once. When the swarm is gone, the main eye charges you directly and takes sword hits until it bursts.
Trinexx — Turtle Rock
The hardest standard boss in the game, and a pure item check. Trinexx is a stone turtle with two elemental heads: a red head that breathes fire and a blue head that breathes ice. You need both rods, and you cross them — Fire Rod on the blue head, Ice Rod on the red head — to stun each, then destroy the stunned head with the sword. Both rods burn a lot of magic, so bring blue or green potions to top off.
With both side heads gone, Trinexx sheds its shell and becomes a snake with a glowing orb in its body. Dodge the thrashing and hit the orb three times to end it. If you are unsure which dungeon hands you the second rod before this fight, the item routing is laid out in the dungeon order guide.
Ganon and the Silver Arrows
Here is the fact that ends more blind playthroughs than any boss pattern: the sword cannot kill Ganon. He recovers from every sword wound unless you finish him with a Silver Arrow. If you show up without them, the fight is literally unwinnable, and nothing in the room tells you that.
You get the Silver Arrows from the cursed Fat Fairy at the bottom of the Pyramid of Power. To reach her, buy a Super Bomb from the Dark World Bomb Shop for 100 rupees — available after you rescue the Dwarven Swordsmith and clear the Ice Palace and Misery Mire — and use it to blow open the cracked wall on the pyramid's second level. She hands over the Silver Arrows and the Golden Sword in one stop, so it is worth the detour before the finale. Which upgrades are worth chasing first is covered in the items and upgrades guide.
The fight itself, in order:
- Ganon teleports and hurls his trident. Dodge it and land Spin Attacks — normal swings do not cut it with the Master or Tempered Sword.
- He starts firing fireballs that contract into Blazing Bats that charge you.
- After enough damage he quakes the room and the floor edges vanish. Falling off restarts the whole fight, so stay centered.
- The lights go out. Relight the two torches with the Fire Rod (or the Lamp) to make Ganon vulnerable, hit him with the sword until he turns blue, then bury a Silver Arrow into him. Four arrows and Ganon is finally, permanently dead.
That is the game. For everything else Hyrule and Lorule have to offer, browse the full A Link to the Past coverage hub.
Boss weakness cheat sheet
- Armos Knights (Eastern Palace) — Bow or sword; last knight turns red. Drops Pendant of Courage.
- Lanmolas (Desert Palace) — hit heads when they surface; sword or Bow. Drops Pendant of Power.
- Moldorm (Tower of Hera) — hit the tail, fight from the center, do not fall off. Drops Pendant of Wisdom.
- Agahnim I (Castle Tower) — reflect his energy orbs back with sword swings.
- Helmasaur King (Palace of Darkness) — Magic Hammer or Bombs to break the mask, then sword.
- Arrghus (Swamp Palace) — Hookshot the Arrgi off, then sword the core.
- Mothula (Skull Woods) — Master/Tempered Sword burst, or Fire Rod; mind the moving spike floor.
- Blind the Thief (Thieves' Town) — trigger under light, sword the body, watch the loose heads.
- Kholdstare (Ice Palace) — Bombos or Fire Rod to melt the ice, then sword the three eyes.
- Vitreous (Misery Mire) — Spin Attack the swarm from a corner, then the big eye.
- Trinexx (Turtle Rock) — Fire Rod on the blue head, Ice Rod on the red head, sword the orb.
- Agahnim II / Ganon (Ganon's Tower and Pyramid) — Spin Attacks, Fire Rod for the torches, Silver Arrows to finish.
Frequently Asked Questions
How do you actually kill Ganon in A Link to the Past?
Where do you get the Silver Arrows?
How do you beat Moldorm without falling off?
Which items do you need for the Trinexx fight in Turtle Rock?
How many bosses are in A Link to the Past?
Why can't I hurt the Helmasaur King?
Do sword upgrades matter for the bosses?
Keep Reading
Related Guides
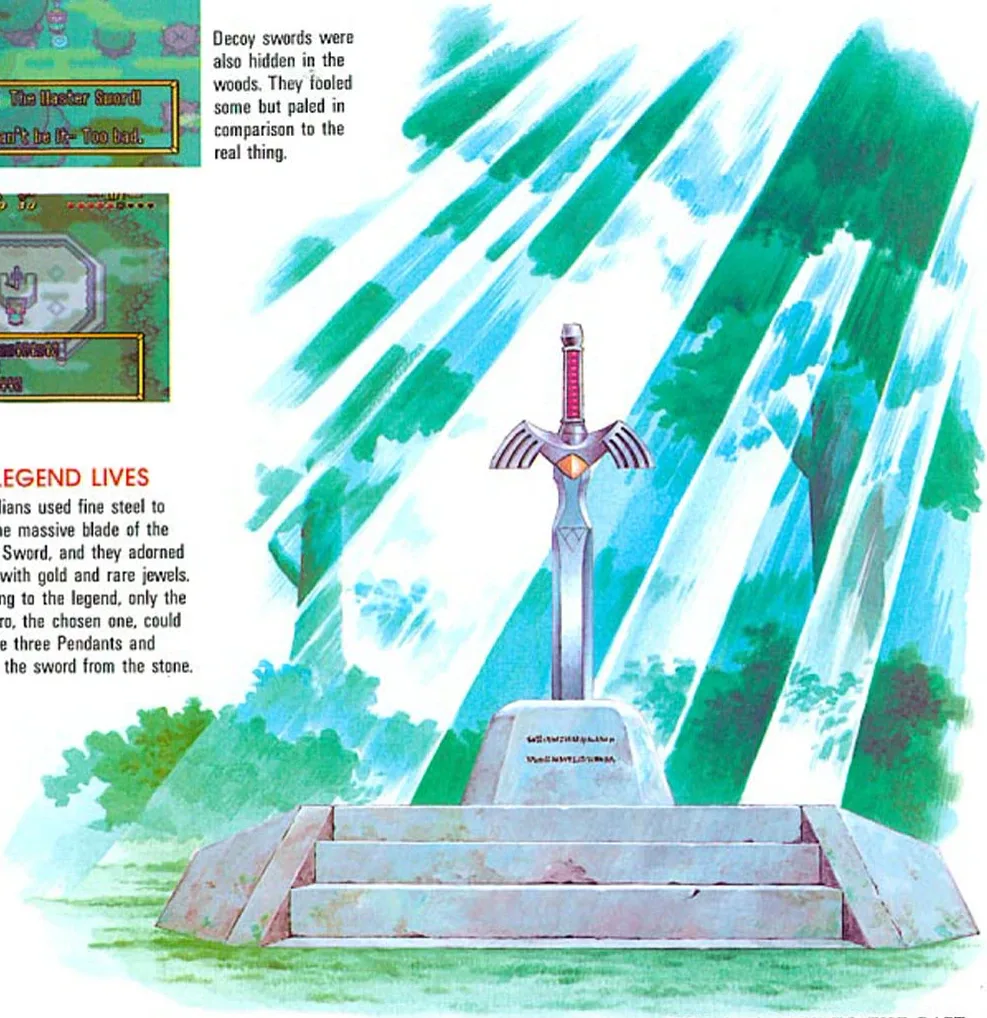
A Link to the Past Dungeon Order: All 11 Dungeons Routed
The dungeon numbers in A Link to the Past lie to you. Level 3 can be beaten fifth, Level 6 can be beaten before Level 3, and one dungeon is gated behind a medallion you get from a catfish. Here is the actual route.
A Link to the Past Enemy Guide: Every Sword-Proof Monster and What Kills It
A Link to the Past spends the whole game upgrading your sword and then fills the Dark World with things the sword cannot touch. Here is every armored, reforming, and element-locked enemy in Hyrule, and the one item that actually finishes it.
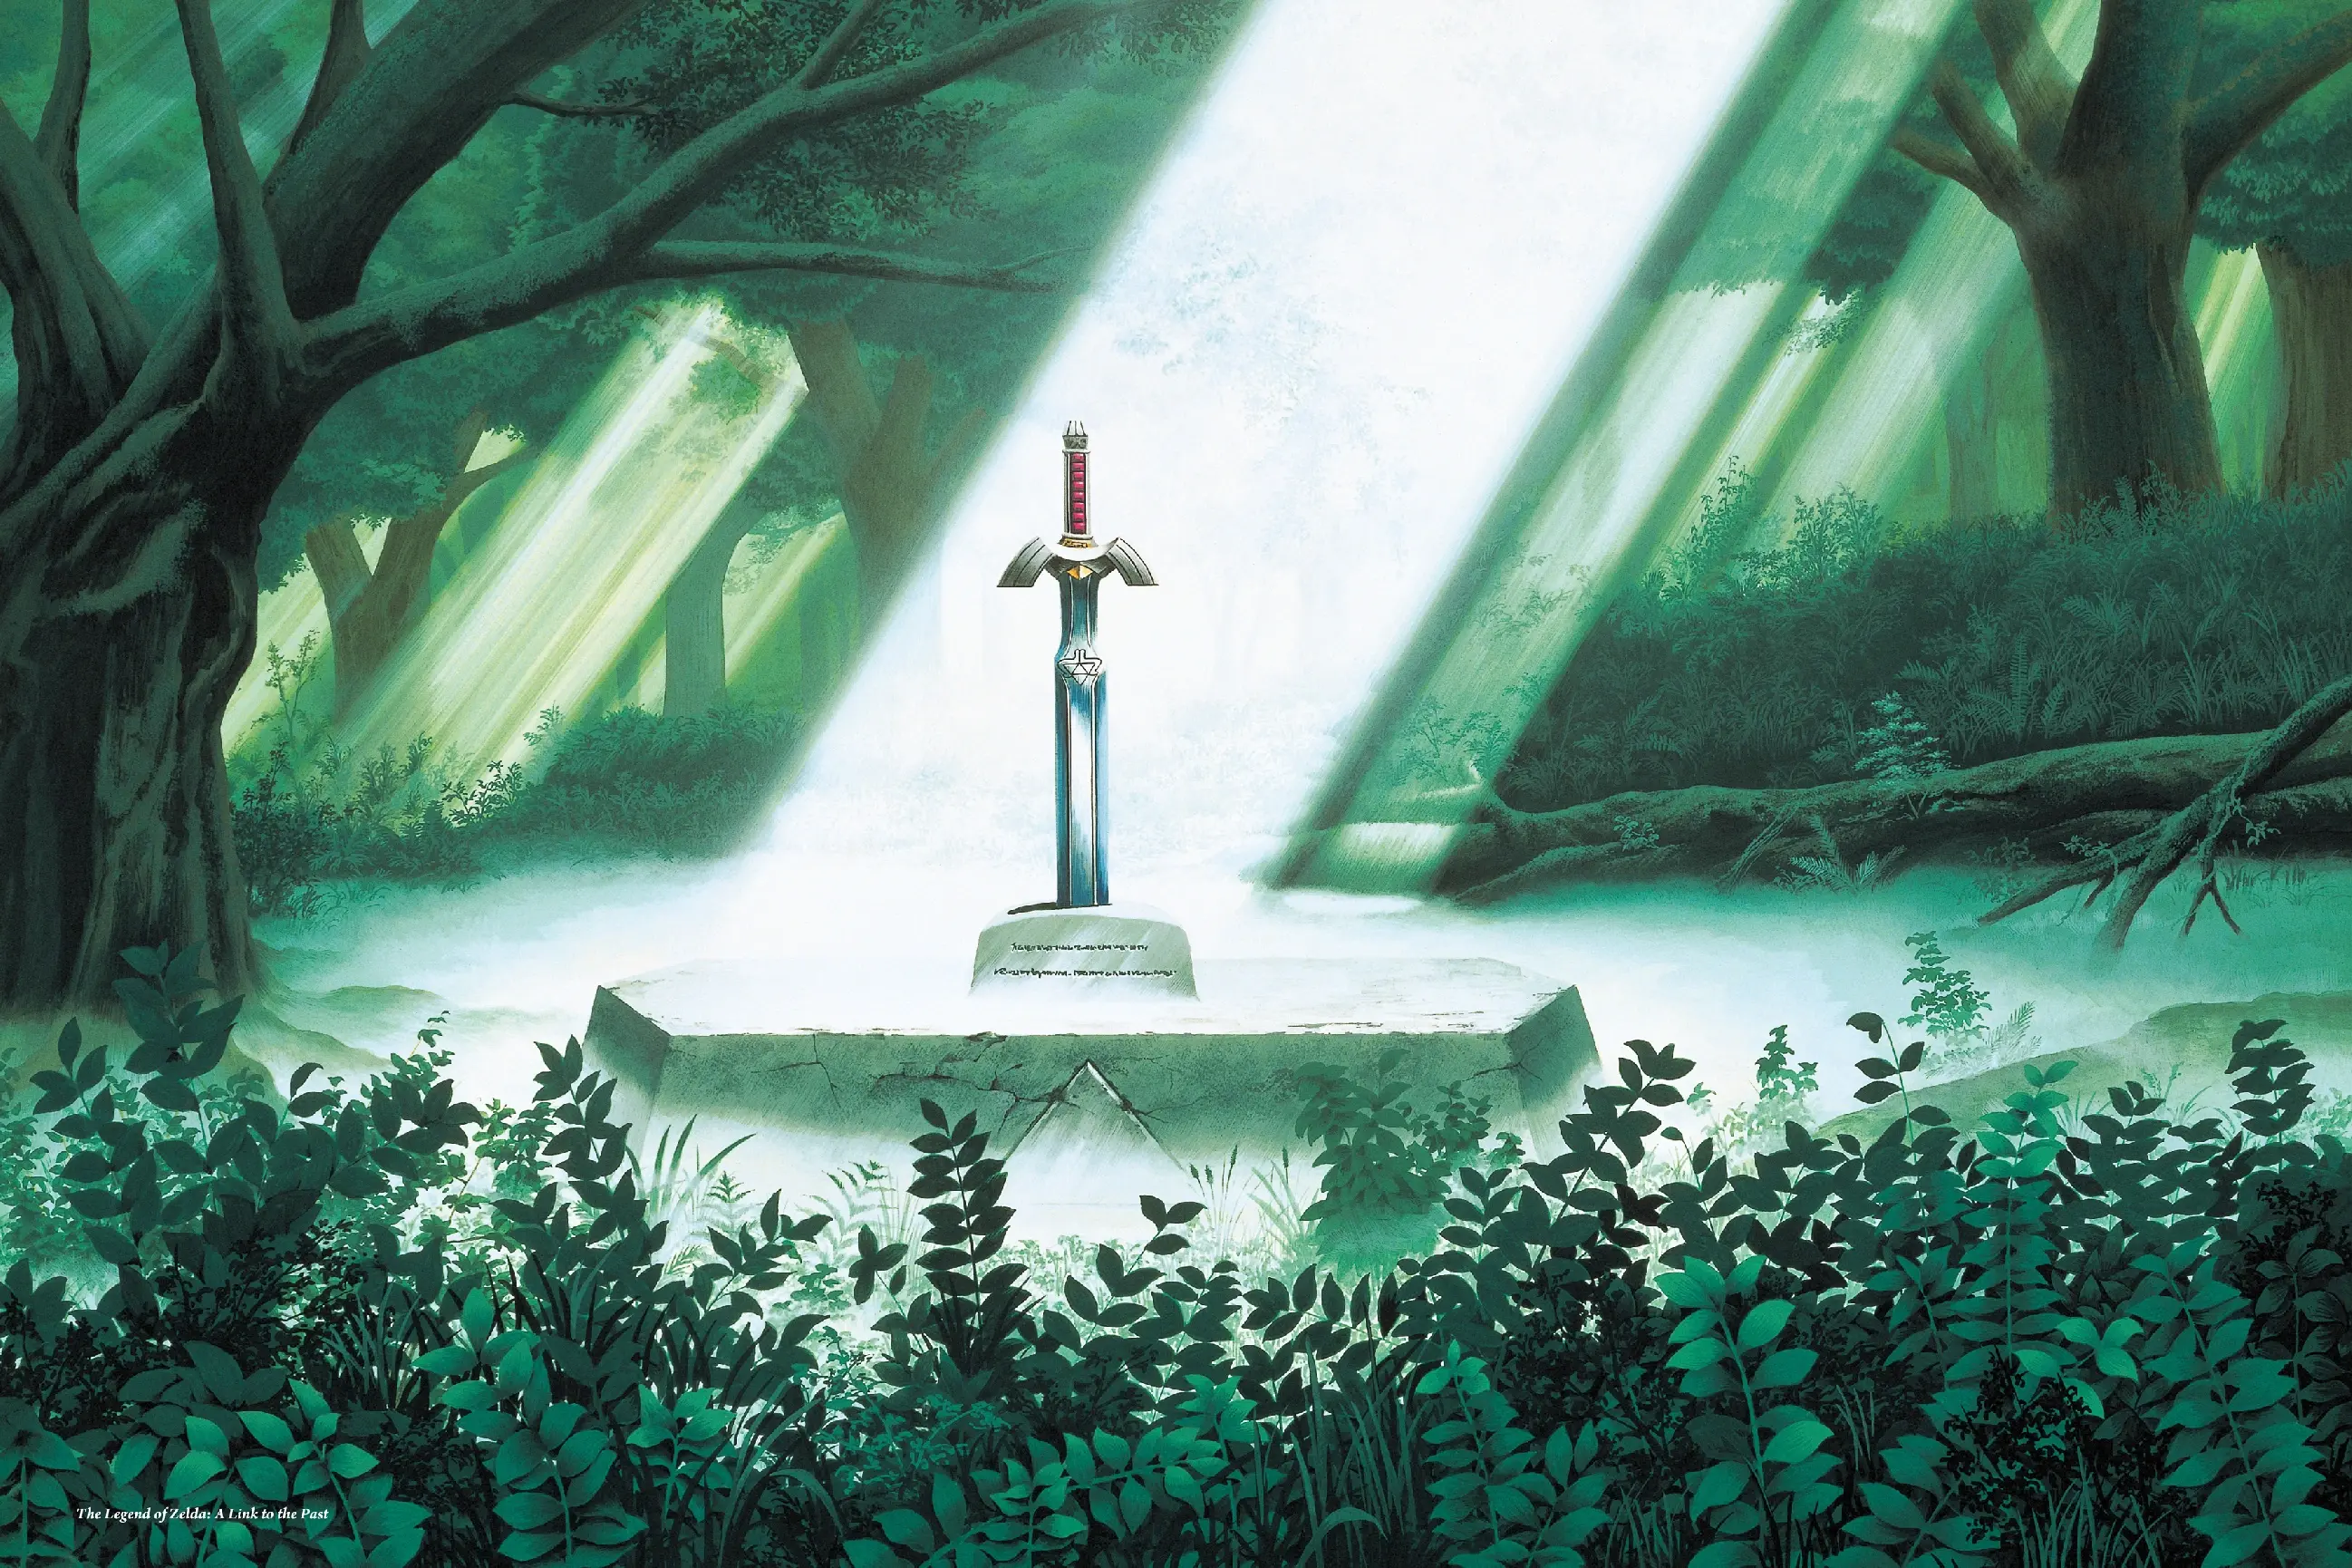
A Link to the Past Light World Guide: The Half of Hyrule Everyone Underrates
Everyone remembers the Dark World. But the Light World is where the Flute fast-travel lives, where half your bottles and upgrades hide, and where a whole quest turns Kakariko into a warp hub most players never bother to unlock. Here is the map you thought you already knew.

A Link to the Past Dark World Guide: Crystals, Mirror Tricks, and the Stuff Nobody Tells You
Agahnim drops you on top of a golden pyramid with no map, no explanation, and seven crystals to find. Here is how the Dark World is actually laid out, what gates what, and which detours are worth taking before Ganon Tower.
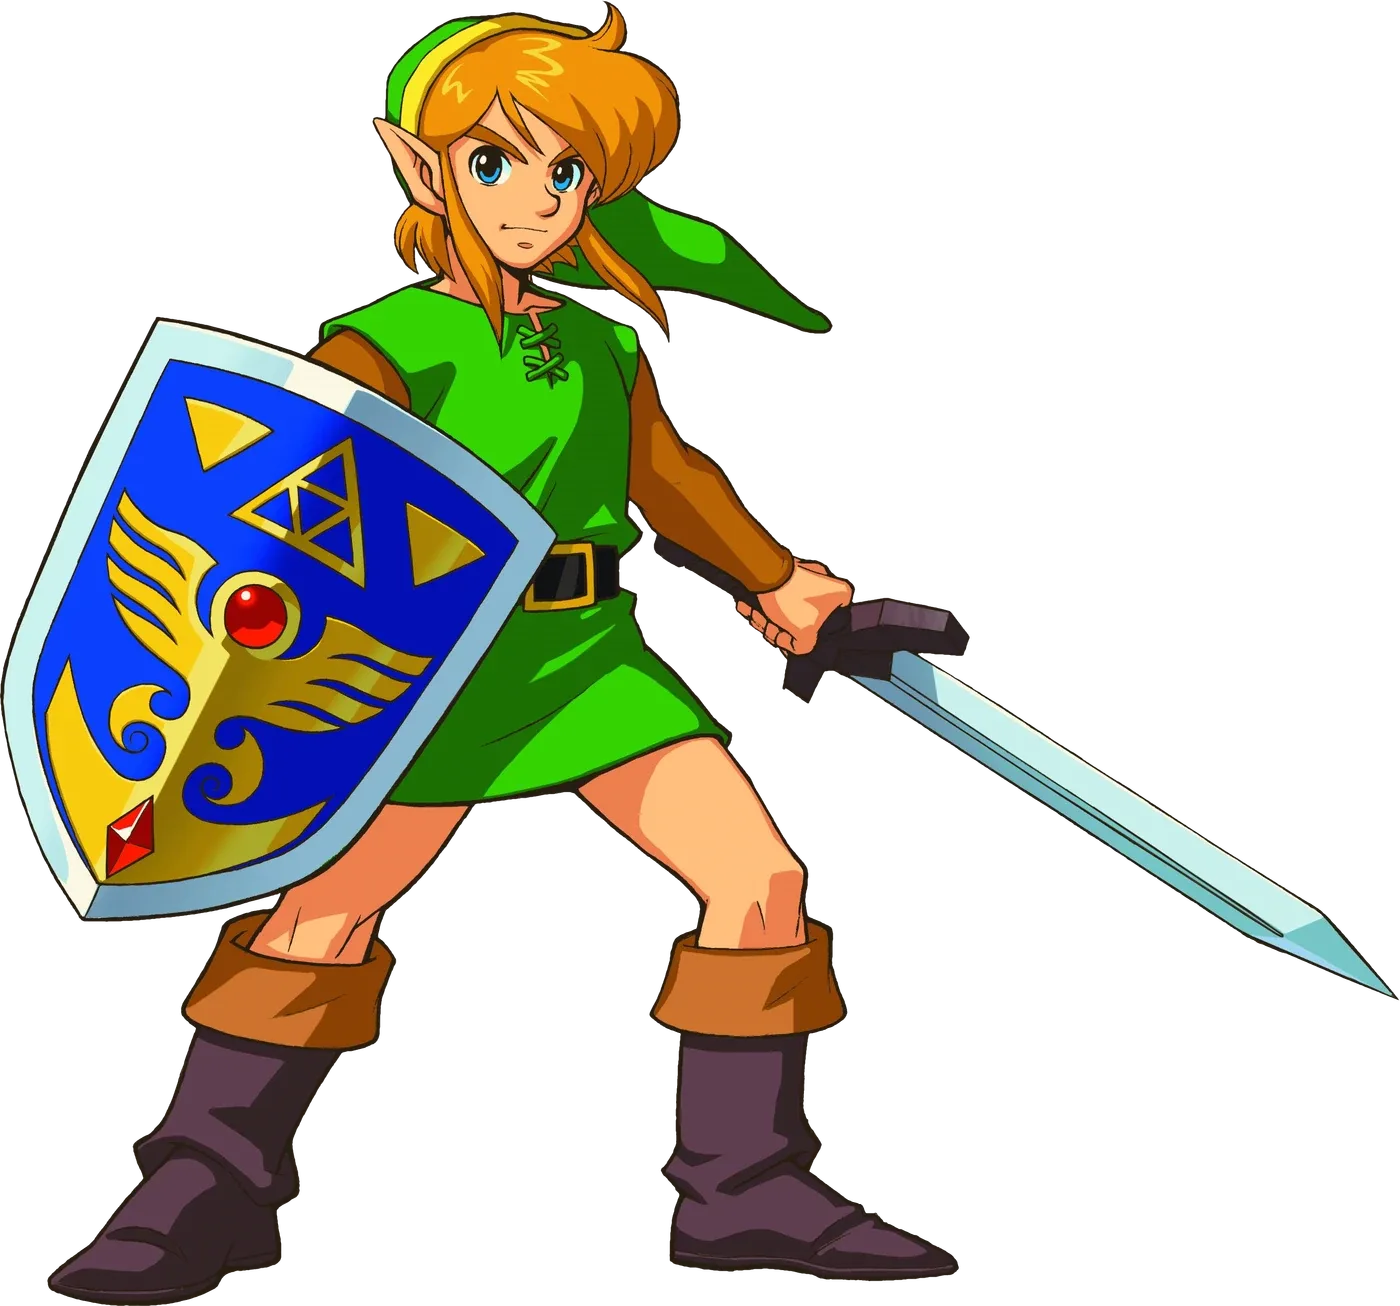
A Link to the Past Beginner Guide: Your First Ten Hours
A Link to the Past hands you a sword and a rainstorm and then says almost nothing else. Here is the route, the combat, and the item order that turn a confusing first hour into a game you can actually finish.
ALTTPR Inverted Mode: What Flips and How to Route It
Inverted starts you in the Dark World and turns the Moon Pearl, the Magic Mirror, the portals and the flute around. Here is what the A Link to the Past Randomizer actually changes, the eleven overworld checks open on an empty inventory, and the routes its logic accepts into the Light World.