Ocarina of Time Remake Forest Temple Walkthrough
The Forest Temple on Switch 2 runs on the same ghost hunt as the N64 original, but enough rooms changed to break an old walkthrough: the first door is locked, the block room has an elevator, frozen Eye Switches take a second arrow, one Gold Skulltula now needs the Scarecrow Song, and the basement is a different puzzle. Here is the remake route, built from Zelda Wiki, Game8 and Nintendo Life.
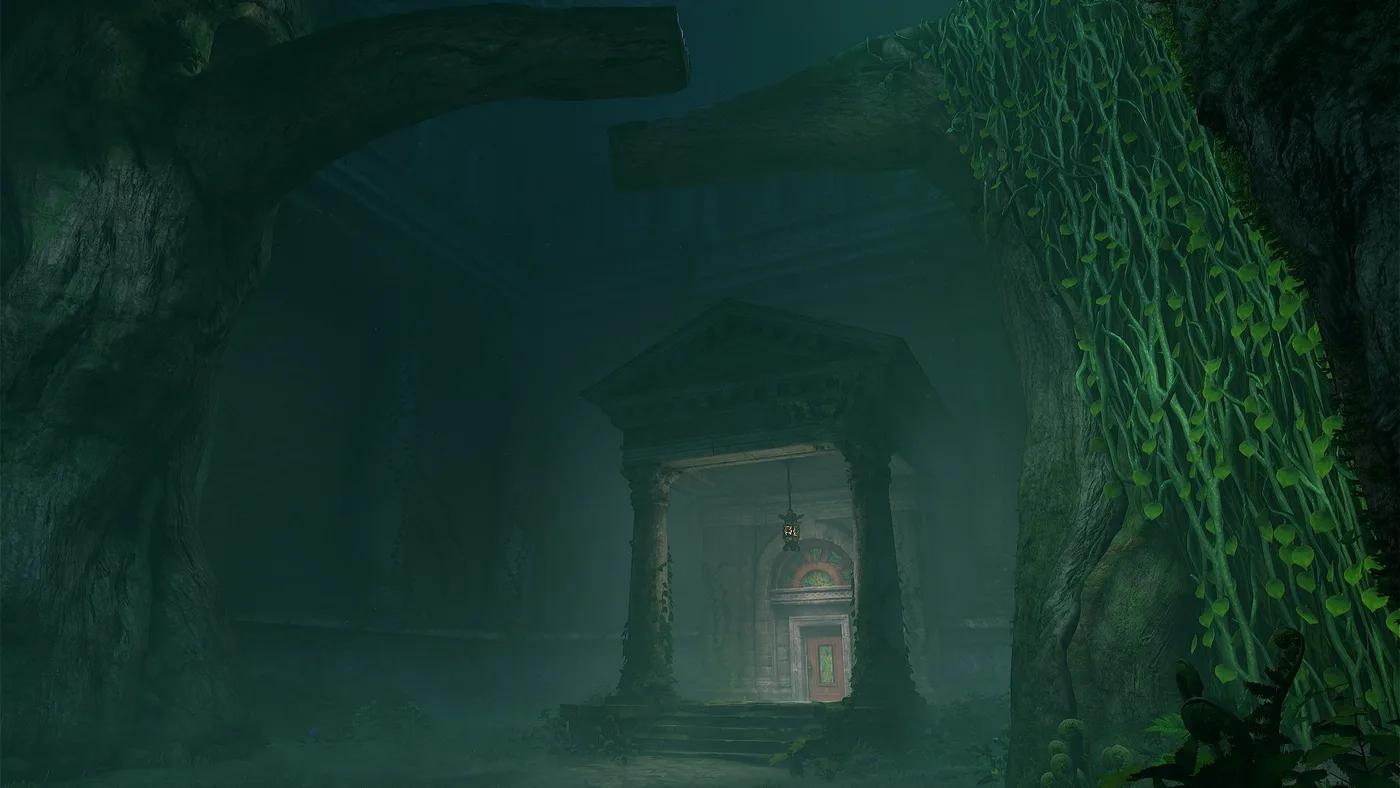
When our dungeon changes guide went up on November 10, it could say the Forest Temple's first door was locked but not which key opened it, and it did not cover the basement. Since then, Game8 and Nintendo Life have published full remake walkthroughs of the temple, and Zelda Wiki has added the Forest Temple elevator. Together they cover the temple room by room.
The short answer: it is still the same ghost hunt. Four Poe Sisters steal four flames, you get them back, the elevator comes up, Phantom Ganon waits at the bottom. But the key routing, two puzzles, one Gold Skulltula and the basement are different, and an N64 walkthrough will send you wrong in each of those places.
How this was built: I have not played the remake. Every remake fact below is from Zelda Wiki, or from both Game8's and Nintendo Life's remake walkthroughs agreeing, all read on November 14, 2026. Where only one guide says something, it is in the "disagree" or "not documented" sections, not stated as fact. The N64 comparisons come from Zelda Wiki's original-game pages and our N64 and 3DS Forest Temple walkthrough, which stays as it is for those versions.
The short version
| Room or puzzle | N64 / 3DS | Switch 2 remake | Source |
|---|---|---|---|
| First door after the entrance courtyard | Open | Locked; the tree-branch key opens it | Zelda Wiki, Game8, Nintendo Life |
| Block-pushing room (Zelda Wiki's Stone Tower) | Climb it every time | Elevator between top and bottom, switched on from the top | Zelda Wiki, Game8, Nintendo Life |
| Golden Eye Switch in the block room | Spawns a chest of arrows | Spawns a chest with a Purple Rupee | Zelda Wiki (N64); Game8, Nintendo Life (remake) |
| Frozen Eye Switches | One burning arrow melts and triggers it | Burning arrow melts the ice; shoot again to trigger | Zelda Wiki, Game8 (Nintendo Life split, see below) |
| Eye Switches and the Hookshot | Bow only | Grates over them, so still Bow only | Zelda Wiki |
| Gold Skulltulas | Five, two of them in the courtyards | Five, with one of them on a high balcony reached with the Scarecrow Song | Zelda Wiki (N64); Game8, Nintendo Life (remake) |
| Meg | The real one spins | Different tell per phase, starting with a purple flame | Zelda Wiki, Game8, Nintendo Life |
| Basement | Rotate the walls to reach a chain of floor switches | Rotate the walls to light a torch, then shoot an arrow through it into an iced Eye Switch | Zelda Wiki (N64); Game8, Nintendo Life (remake) |
| Small Keys | Five | Five, from the same five places | Zelda Wiki (N64); Game8, Nintendo Life (remake) |
Getting in
Nothing new here, but some names changed. The meadow is the Sacred Grove now, and the warp song is the Minuet of the Forest (both renames are on Zelda Wiki's remake list). You still need the Hookshot to get up from the broken stairs at the entrance, and you learn the Minuet from Sheik on your first adult visit. Button inputs for the Switch 2 layout are in our remake ocarina controls guide.
One thing to sort out before you go: one of the temple's Gold Skulltulas now needs the Scarecrow Song (renamed from the Scarecrow's Song).
Five Small Keys and the doors they open
The temple still has five Small Keys, and both remake guides find them in the same five places Zelda Wiki lists for the original: the chest on the tree branch in the entrance courtyard, the chest after the two Stalfos, the chest at the end of the drained well, the chest that appears when Jo (formerly Joelle) dies, and the chest after the Floormaster. What changed is where the first one goes.
| Key | Where it is | Door it opens in the remake |
|---|---|---|
| 1 | Chest on the west tree branch in the entrance courtyard | The first door into the temple |
| 2 | Chest after the two Stalfos, through the main hall's north door | The west door to the block room |
| 3 | Chest at the end of the drained well | The door at the top of the block room, with the Eye Switch above it |
| 4 | Chest beside the red torch once Jo is beaten | The locked door out of the Fairy Bow room |
| 5 | Chest after the Floormaster and its three small copies | The 3F door at the end of the hallway, into the frozen Eye Switch room |
The first row is the change. On N64 you could walk past the tree-branch chest and pick it up later. In the remake you cannot get into the temple without it. Zelda Wiki says the door was locked on purpose, so that players notice the key in the first room.
The well route has the same shape in both guides: play the Song of Time at the blue block in the main hall's northwest corner, climb the vine wall in the courtyard beyond, Hookshot across to the far side and get down into the well. Key 3 is in a chest at the end of its passage. Climb out, and the Dungeon Map is in a large chest you Hookshot up to.
The block room now has an elevator
Zelda Wiki's remake article lists a new elevator in the Stone Tower, the tall block-pushing room behind the west door, which lets you travel between its lowest and highest levels. It has to be switched on from the top first.
In practice: do the block puzzle once (push the first block along the floor arrows, then the second block on the floor above, then climb). At the top, past the two Blue Bubbles, step on the switch in the alcove to the left before you use key 3 on the door. Game8 calls it a pedestal and Nintendo Life a switch; both say it calls a lift that skips the block section.
This matters because the route sends you back through this room at least three times: to use key 3 if you came up without it, to shoot the Eye Switch above the twisted corridor door (it straightens the corridor for the Boss Key, then twists it back), and for the optional Purple Rupee. That last one comes from a gold Eye Switch near where you pushed the second block; Game8 describes it behind metal grates. On N64, Zelda Wiki lists the chest that eye spawns as a bundle of arrows, so do not expect the same reward.
Wallmasters give you a warning now
The block room is also where you meet the first Wallmaster. Zelda Wiki's Wallmaster page says that in the remake a spotlight shines on Link before one drops, showing its shadow, and turns red just before it lands. If it grabs you, you get a short window to break free by waggling the stick. The page also says Wallmasters no longer regenerate once beaten, and that Navi no longer warns you about them. Both remake guides describe the spotlight. Keep moving when it appears, then hit the Wallmaster once it is on the ground.
The Floormaster, in a room off the courtyard you drop into after the Boss Key, still splits into three small copies when beaten; Game8 says to finish them quickly before they merge back. Zelda Wiki says the remake colours Floormasters red and Wallmasters bluish green, so you can tell them apart at a glance.
Frozen Eye Switches take a second arrow
The temple has two frozen Eye Switches: the one above the door in the 3F room after key 5, and the one that opens the way to the boss. Both work the same way. Step on the switch that lights the torch, line up so your arrow passes through the flame, and fire to melt the ice.
Then fire again. Zelda Wiki's Eye Switch page says melting a frozen Eye Switch no longer activates it in the remake, so a second arrow is needed. Game8 does it in two shots in both rooms. Nintendo Life says two shots in the basement, but its 3F instructions describe a single arrow "melting the ice and activating it". If one arrow does not twist the corridor, shoot it again.
Separately, the remake lets the Hookshot trigger Eye Switches elsewhere, but Zelda Wiki says the Forest Temple's are covered by metal grates so only the Fairy Bow works. That stops you skipping ahead before you have the Bow.
Gold Skulltulas: one now needs Pierre
Both remake guides list five Forest Temple Gold Skulltulas, and their five spots match each other:
| # (Game8) | Where | Needs |
|---|---|---|
| 57 | Top of the vines on the east side of the entrance courtyard | Hookshot |
| 58 | High on the wall beside the main hall's north door | Hookshot |
| 59 | On the wall above a ledge in the courtyard you drop into after the Boss Key | Hookshot |
| 60 | On a high balcony above the door, through the east door off the checkered-ceiling room where you push the shortcut block | Scarecrow Song, then Hookshot to Pierre |
| 61 | On the wall of the basement's southern room | Hookshot |
Compare that with Zelda Wiki's list for the original. It has two courtyard tokens, one in the East Courtyard above the raised ground across the water and one high on a wall in the West Courtyard, and no Scarecrow Song balcony. Both remake lists have one token on a ledge you reach after the Boss Key (Game8 places it by the northwest courtyard) plus Pierre's balcony, which Nintendo Life reaches through a door that leads outside. So one of the original courtyard tokens appears to have been replaced by the balcony token. Neither guide says so, and neither names the area the balcony is in; that is my reading of the lists side by side. The full 100-token checklist is in our remake 100% checklist, and the remake's Echo Gem flashes an indicator when you are near one.
The Poe Sisters
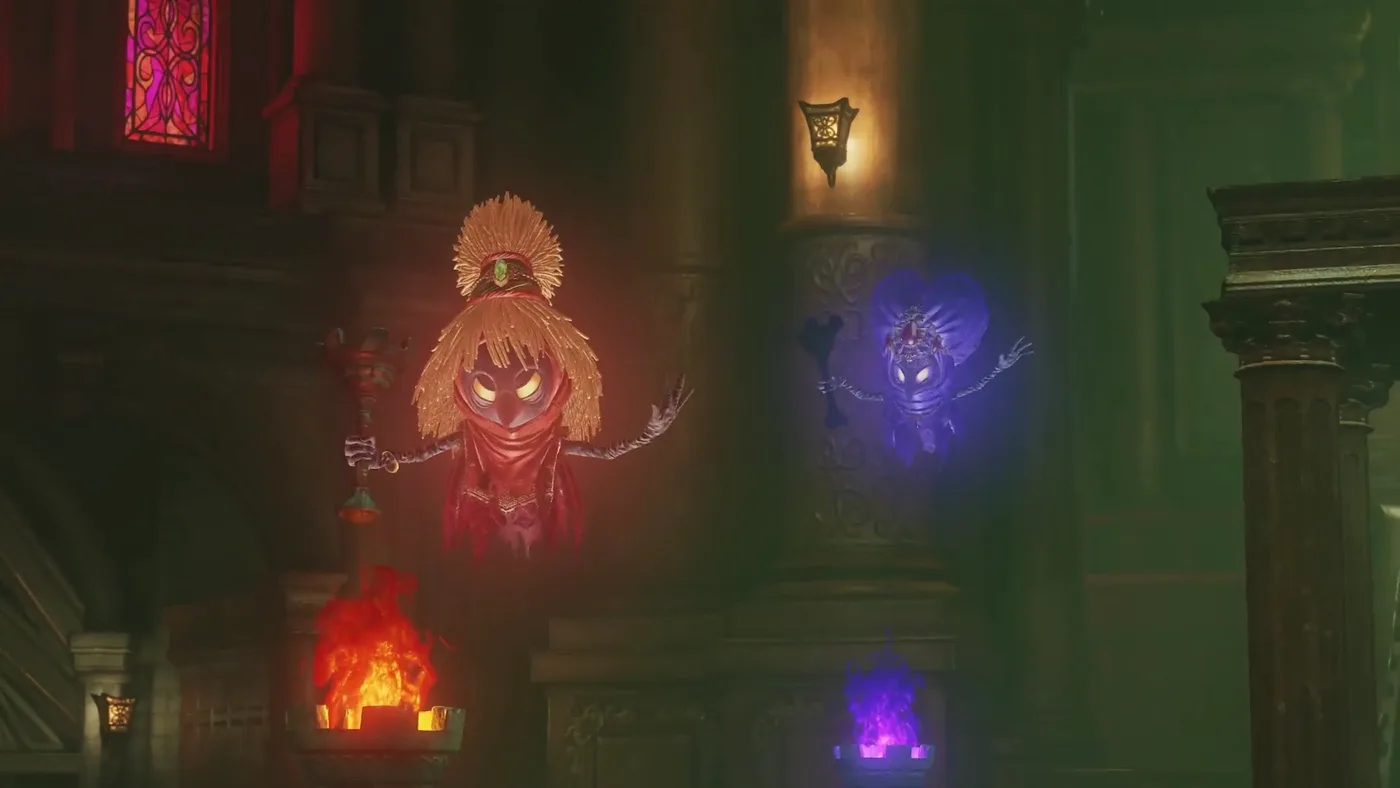
Here are the four sisters in the order both remake guides fight them:
- Jo (red, formerly Joelle) haunts the staircase room between the first twisted corridor and the Fairy Bow room. Shoot her three paintings once you have the Bow. She drops key 4. Zelda Wiki's original-game chest list puts Joelle's key in the room east of the Twisted Hallway, so this is not a change.
- Beth (blue) is in the second staircase room, past the Bow room door that key 4 opens. Three paintings again, and she gives you the Compass.
- Amy (green) is the block-picture puzzle after the checkered-ceiling room. Both guides still have you shoot her painting, rebuild the picture from the shuffled blocks, then beat her for the green flame.
- Meg (purple) waits in the main hall once three flames are lit; you shoot her painting in the hallway first and she opens a way back to the hall.
Meg is the one that changed. On N64 the real Meg was the copy that spun. Zelda Wiki's remake article says she now has a different tell in each phase: first the real one's torch has a purple flame while the copies' are green, then the real one's torch is lit while theirs are not, and finally the real one has its eyes open while the copies squint. Game8 and Nintendo Life both describe the first tell, the odd-coloured torch. Beat her and the main hall elevator rises.
The basement is a new puzzle
This is the biggest room change in the temple, and it is not in our dungeon changes guide.
On N64 and 3DS, Zelda Wiki's Basement page describes a round room whose outer wall you rotate by pushing it, so you can reach a chain of floor switches that raise the bars in front of each chamber until the Boss Door corridor opens.
In the remake, both guides describe something else:
- Push the outer wall to rotate it (Game8 calls the handle a blue horizontal column, Nintendo Life handholds).
- One rotation opens an alcove with a switch that lights a torch in the room.
- Another alcove has a chest of arrows (Game8 says 10). It is optional.
- Rotate again until the torch lines up with a small room holding an Eye Switch frozen in ice.
- Shoot an arrow through the torch to melt the ice, then shoot the eye again. Both guides agree on two shots here. The gate opens, and the Boss Key door is up the corridor.
The fifth Gold Skulltula is on the wall of the southern room before you start rotating.
Phantom Ganon
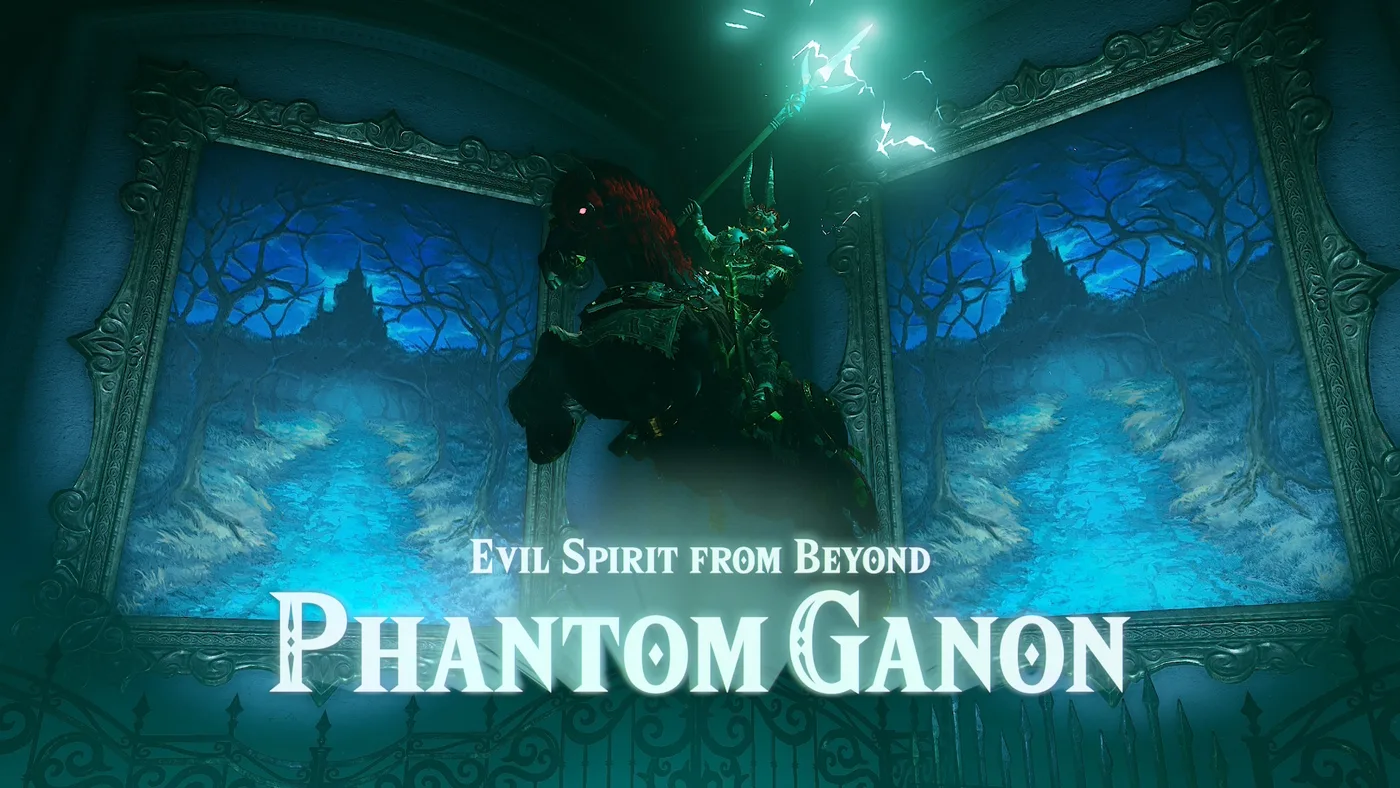
Our remake boss guide lists no documented change for this fight, because Zelda Wiki has no remake section for him. The two walkthroughs describe the same two-part fight, and it is close to the original:
- Paintings. Phantom Ganon and his fakes ride toward you in the paintings. The fakes stop at the canvas or turn back; the real one rides out into the room. Shoot him with an arrow as he comes out.
- Energy ball. He then floats around the room throwing an energy ball. Hit it back with the sword until it hits him and he drops, then run in and attack.
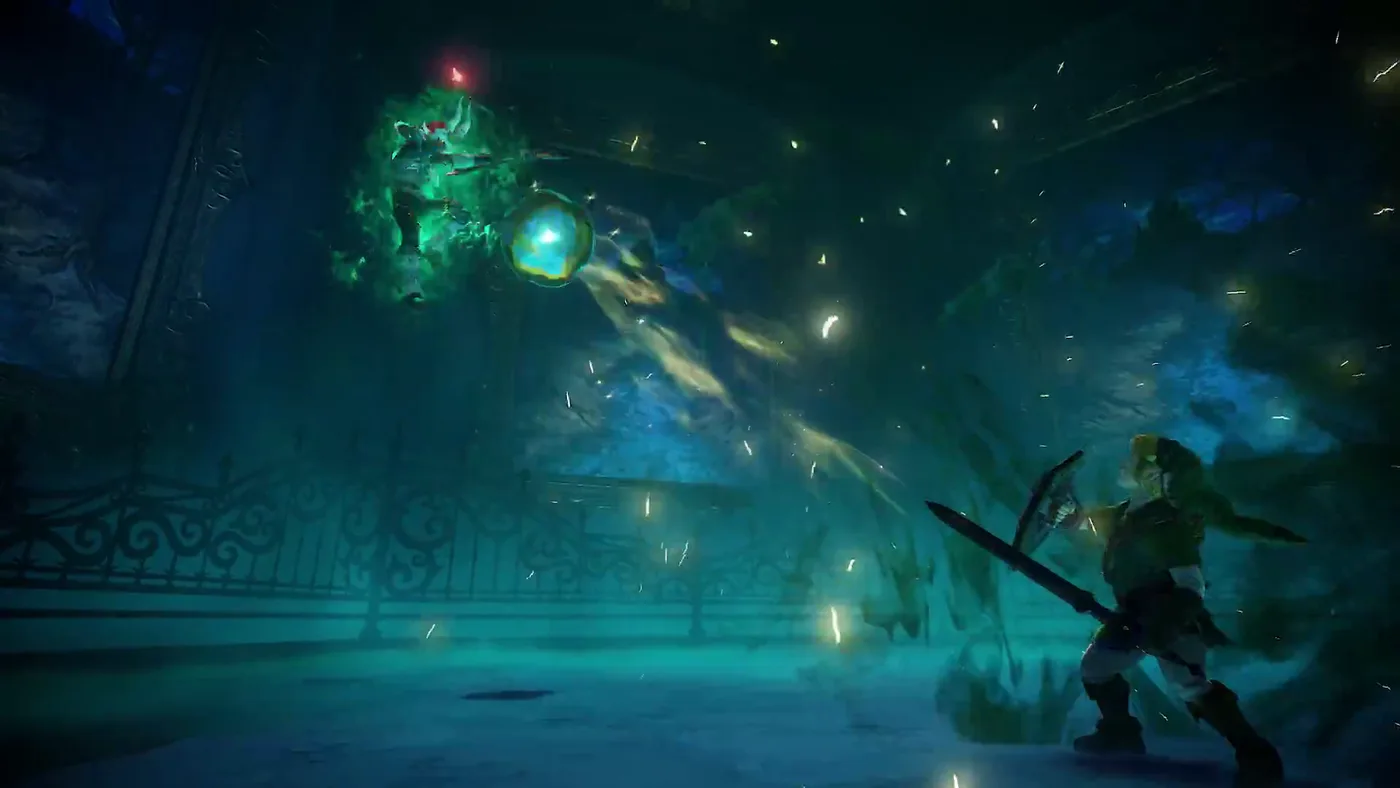
Beat him for the Heart Container and the Forest Medallion. For the N64 fight in full, see the original boss guide. The Hall of Fallen Foes rematch is covered in our Hall of Fallen Foes guide.
Where the sources disagree
- The 3F frozen Eye Switch. Zelda Wiki and Game8 say two arrows; Nintendo Life's text describes one. Two sources to one, so plan on two.
- Wallmaster warning colour. Zelda Wiki's Wallmaster page and Game8 describe a spotlight that turns red before the drop. Zelda Wiki's main remake article describes "a highly-visible round purple glow". Either way, there is a visible marker on Link; move when you see it.
- The checkered-ceiling room chest. Game8 says five arrows, Nintendo Life says Bombs. I am not picking one.
- Meg's last phase. Zelda Wiki says the real Meg has her eyes open. Game8 says all the copies carry purple torches in the last phase and suggests a Spin Attack to find her.
- Phantom Ganon's fakes. Game8 describes one fake at first, then two paintings either side of an empty one, then three riders, with three arrow hits ending the painting part. Nintendo Life just says to stand at the arena's edge and watch three or more paintings. Nintendo Life also describes a late-fight charge you jump to dodge; Game8 does not mention it.
- Fighting the painting sisters. Game8 says to block Jo's spin and hit her while she is dizzy; Nintendo Life says to turn away until the Poe reappears, then turn and shoot. Both end with her beaten, so use whichever works for you.
What is still not documented
- Whether Amy's block puzzle has a time limit. Game8 says there is no one-minute limit; Nintendo Life does not say. One source, so I am not stating it.
- Room layouts beyond the changes above. Neither guide says the courtyards, twisted corridors or main hall were rearranged, but neither says they were not.
- Phantom Ganon's health and damage numbers in the remake.
- The remake's in-game map. Neither guide reproduces it room by room, so the room names here are Zelda Wiki's and the guides'.
Quick Action Checklist
- Bring the Hookshot; learn the Scarecrow Song first if you want all five Gold Skulltulas in one run.
- Hookshot the chest on the west tree branch before anything else. It opens the first door.
- At the top of the block room, step on the switch in the left alcove to turn on the elevator. You will be back here at least three times.
- Keys go: first door, west door, block-room top door, Bow room door, 3F door.
- Frozen Eye Switches: arrow through the torch to melt, then a second arrow.
- Gold Skulltula #60 is on the balcony above the shortcut-block door near the checkered-ceiling room: Scarecrow Song, then Hookshot to Pierre.
- Meg: purple flame first, then the lit torch, then open eyes.
- Basement: rotate the wall to light the torch, line it up with the iced eye, two arrows.
- Phantom Ganon: shoot the rider who leaves the painting, then return his energy ball with the sword.
Frequently Asked Questions
How many Small Keys are in the Forest Temple in the Ocarina of Time remake?
Is there an elevator in the Forest Temple block room in the Ocarina of Time remake?
Why does the frozen eye switch not work in the Forest Temple in the Ocarina of Time remake?
How do you solve the Forest Temple basement in the Ocarina of Time remake?
Where are the Forest Temple Gold Skulltulas in the Ocarina of Time remake?
How do you find the real Meg in the Ocarina of Time remake?
Keep Reading
- Mythras blog
- Ocarina of Time coverage hub
- Ocarina of Time remake dungeon changes
- Ocarina of Time Forest Temple walkthrough (N64 and 3DS)
- Ocarina of Time remake boss guide
- Ocarina of Time boss guide
- Ocarina of Time remake 100% checklist
- Ocarina of Time remake ocarina controls
- Ocarina of Time Hall of Fallen Foes guide
- Ocarina of Time remake vs original differences
- Zelda Wiki — Ocarina of Time (Nintendo Switch 2): Forest Temple elevator in the Stone Tower, Eye Switch grates, Meg tells, renames (Jo, Sacred Grove, Minuet of the Forest, Scarecrow Song) (read 2026-11-14)
- Zelda Wiki — Forest Temple (Ocarina of Time): locked first door in the remake; original-game Small Key, chest and Gold Skulltula lists (read 2026-11-14)
- Zelda Wiki — Elevator: the remake elevator in the Forest Temple Stone Tower, activated from the highest level (read 2026-11-14)
- Zelda Wiki — Eye Switch: melting a frozen Eye Switch no longer activates it in the remake; Hookshot activation and Forest Temple grates (read 2026-11-14)
- Zelda Wiki — Wallmaster: remake spotlight warning, break-free, no regeneration, bluish-green colouring (read 2026-11-14)
- Zelda Wiki — Basement (Forest Temple): the original rotating-wall and floor-switch puzzle, arrows chest and Gold Skulltula (read 2026-11-14)
- Game8 — Forest Temple Dungeon Guide (Switch 2 remake): full walkthrough, Small Keys, elevator, Gold Skulltulas #57-61, basement torch puzzle, Phantom Ganon (updated 2026-11-09, read 2026-11-14)
- Nintendo Life — Forest Temple walkthrough in Zelda: Ocarina of Time (Switch 2): keys, lift shortcut, Purple Rupee eye, Scarecrow Song Gold Skulltula, rotating basement, Phantom Ganon (updated 2026-11-13, read 2026-11-14)
Related Guides
Ocarina of Time ZELDA NOTES: Setup and All 11 Features
ZELDA NOTES for the Ocarina of Time remake needs update 1.1.1, the Nintendo Switch App and an online console, but no Nintendo Switch Online membership. Here is the setup, all 11 features as Nintendo documents them, and what the app costs you in Rupees.
Ocarina of Time Remake Boss Guide: What Changed
Six of the Switch 2 remake's bosses now have documented changes: Gohma, King Dodongo, Volvagia, Morpha, Ganondorf and a rebuilt four-phase Ganon. Here is what each change means for the fight, which N64 strategies still hold, and what the wikis have not documented yet.
Ocarina of Time Remake Shop Prices and Great Fairy Costs
Zelda Wiki now has price lists for five of the Switch 2 remake's shops and the Rupee cost of every Great Fairy. Here they are in tables, compared with the 3DS prices, plus the wallet each purchase needs and what is still undocumented.
Ocarina of Time Switch 2: Resolution, FPS and Modes
Nintendo never published a frame rate or resolution for the Ocarina of Time remake. Digital Foundry measured it: a held 60fps in both modes, 1080p to 1440p docked, 720p to 1080p handheld, upscaled with FSR 1 rather than DLSS. Here is what that means, what Nintendo's own pages add, and what is still undocumented.
Ocarina of Time Dungeon Order: The Full Route, Explained
Ocarina of Time looks like an open adventure and plays like a corridor. Eight required dungeons, three side dungeons, and only a couple of places where the game genuinely lets you pick. Here is the whole route with the reasons behind each lock.
Ocarina of Time Remake Heart Pieces: All 36 Locations
The Switch 2 Ocarina of Time still has 36 Pieces of Heart, but not the same 36. Two moved, the Ice Cavern piece is missing from both remake lists, and Death Mountain Crater gained a Business Scrub selling one. Here is every piece by area, with where the sources disagree.