Tears of the Kingdom Ultrahand and Zonai Devices Guide: Building Things That Work
Ultrahand caps you at 21 parts, most powered Zonai devices run 30 minutes, and one Energy Well costs 300 zonaite. Here is the actual ruleset behind Tears of the Kingdom's building system, with the numbers the game never puts on screen.
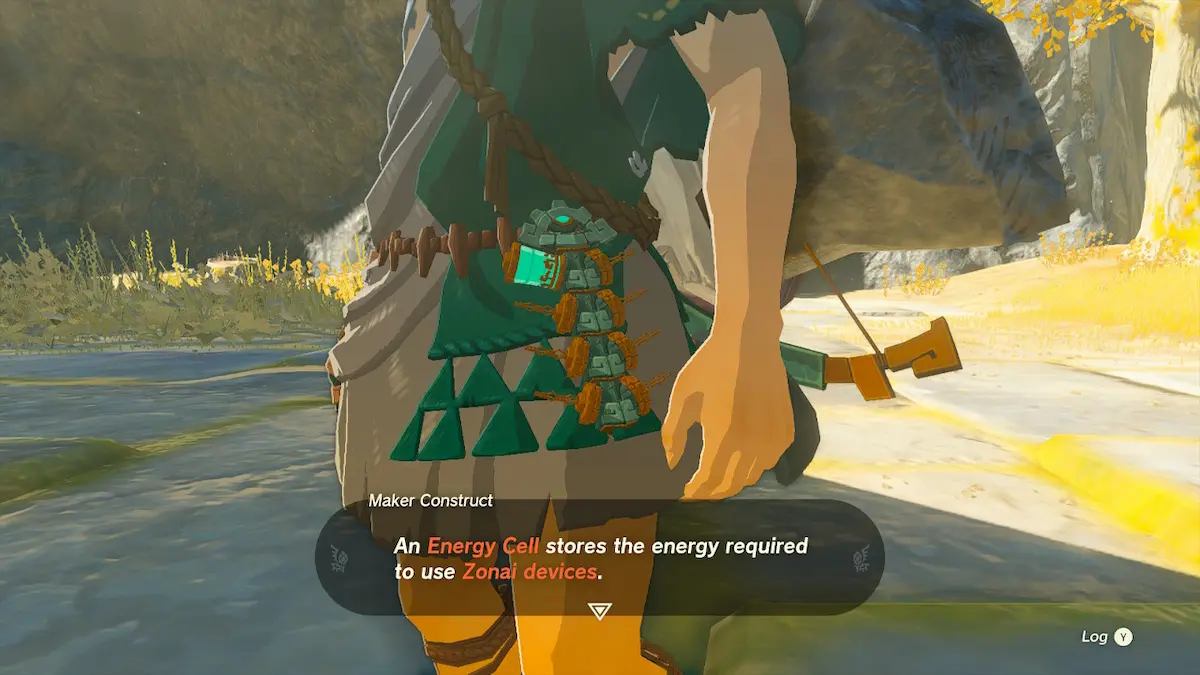
Twenty-one. That is the number Tears of the Kingdom never tells you and the one that quietly ends every over-ambitious build you have ever attempted. Ultrahand lets Link attach a maximum of 21 objects to one another, and when you hit it the game just says "You cannot attach any more" and leaves you standing there with a fan in your hand and a plan in ruins.
The rest of the building system is similarly under-explained. Most powered Zonai devices run for 30 minutes of active use. A Rocket runs for three seconds. One Energy Well — the smallest possible battery upgrade — costs 300 zonaite once you follow the math down. None of that is on screen, and all of it decides whether your flying machine reaches the sky island or nosedives into a Bokoblin camp. Shrines and armor are the scaffolding; this is the system the game is actually about.
Ultrahand and Fuse are not the same system
People conflate these constantly, so let us kill it early. Two different Ancient Powers, two different Great Sky Island shrines, two different targets.
Ultrahand comes from Rauru in the Ukouh Shrine. It grabs, moves, rotates, and glues world objects together with that green viscous substance. It builds vehicles, bridges, and platforms. It never touches your gear.
Fuse comes from the In-isa Shrine. It bonds a material or object to your weapon, shield, or arrow to change damage, durability, or effect. Fused gear gets renamed after the material, and you can detach the fusion again from the inventory.
The overlap that confuses everyone: Zonai devices work with both. Ultrahand a Flame Emitter onto a raft, or Fuse that same emitter onto a spear and carry a flamethrower. Same item, two separate systems. If you are still finding your footing with the ability set generally, start with our Tears of the Kingdom beginner's guide and come back here.
How Ultrahand actually behaves
Point at an object and it floats in front of you. From there you can push and pull it along its axis, rotate it vertically or horizontally, and bring it near another object until the green bond snaps them together. That bond holds in water, which is why log-and-fan rafts work at all.
The single most important behavioural rule: when multiple Zonai devices are connected to the same object, triggering one activates all of them at once. Tap one fan and every fan, wheel, and emitter fires simultaneously. That is not a convenience — it is the entire reason a vehicle is possible instead of a pile of separately-activated junk.
The 21-part ceiling
Twenty-one objects, total, in one connected assembly. That includes everything — the Zonai devices, the boards, the logs, the steering stick, the stray rock you welded on for ballast. It is not 21 devices plus unlimited scenery.
You almost never want to get near the ceiling anyway. Every extra part is weight, and weight is drag on your fans and load on your Energy Cell. A four-part hoverbike outperforms a seventeen-part flying fortress on a fraction of the power. The limit is less a wall than a hint.
Rotate, detach, rebuild
Two habits separate people who enjoy Ultrahand from people who fight it. Rotate before you position — orient the part while it is floating, then bring it into contact, because fixing a crooked weld afterwards means starting over. And detaching is free: bound objects split back into their constituent parts whenever you want, so stop treating your first attempt as final. The one exception is Autobuild replicas, and we will get to why.
The Zonai device catalogue
There are 27 Zonai devices in Tears of the Kingdom. The in-game Zonai Devices menu — the seventh submenu in your inventory, between Food and Key Items — is six columns of five slots, which is where that number becomes visible.
The useful sorting is not alphabetical. It is: does this thing drain power, and how long does it last? Devices that need power carry a circular yellow power symbol on the body. If the symbol is there, activating it eats energy. If it is not, the device runs on physics or on a single use.
Movement and flight devices
| Device | What it does | Powered | Runtime |
|---|---|---|---|
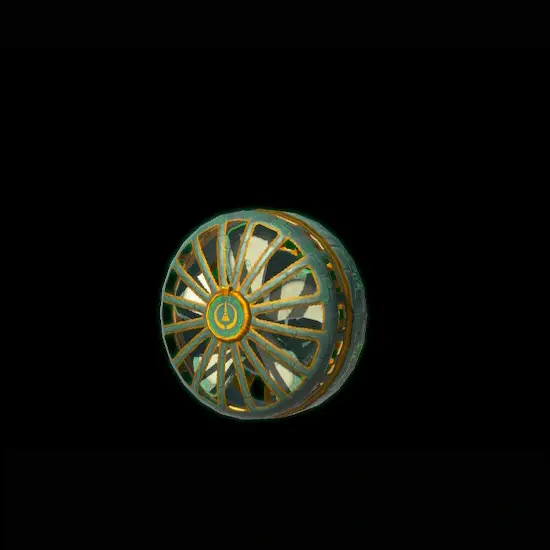
| Fan | Produces wind with an internal propeller for thrust | Yes | 30:00 |
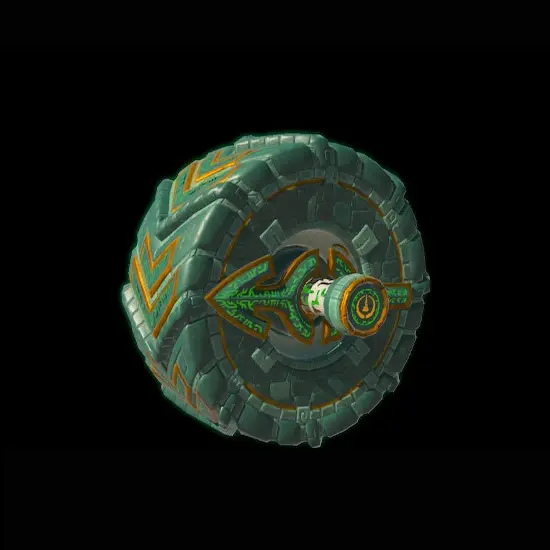
| Big Wheel | Heavy drive wheel, handles rough ground and shallow water | Yes | 30:00 |
| Small Wheel | Fast drive wheel, best on flat ground, hates bumps | Yes | 30:00 |
| Wing | Harnesses lift to glide; balance in the centre to fly farther | No | 1:25 |
| Rocket | Enormous one-shot thrust, burns out fast | Yes | 0:03 |
| Balloon | Rises when filled with hot air; hotter air rises faster | No | 2:00 |
| Cart | Rolls efficiently over flat surfaces once you apply force | No | — |
| Sled | Slick underside that minimises friction over grass and sand | No | — |
| Steering Stick | Controls direction and activates every connected device at once | No | — |
| Hover Stone | Defies gravity and hangs in place | Yes | 30:00 |
| Stabilizer | Stands itself upright when activated | Yes | 30:00 |
| Stake | Fixes in place in ground or wall as a foothold or foundation | No | — |
| Spring | Compresses then expands, bouncing objects away | No | — |
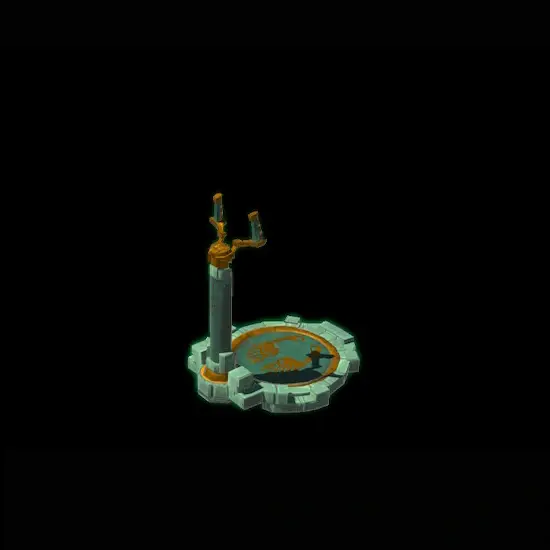
The Steering Stick earns its own paragraph because its in-game description does double duty: it steers, and it activates all connected Zonai devices at once. Bolting one on converts a pile of parts into a vehicle you control, and it costs no energy itself — close to a free inclusion on anything you drive.
The Rocket's three-second runtime is the most misunderstood number in the game. It is not propulsion. It is a launch — one violent shove, then dead weight you are carrying. Fuse a rocket to a shield for the best vertical-gain tool in Hyrule, but do not build a vehicle around one.
Combat and utility devices
| Device | What it does | Powered | Runtime |
|---|---|---|---|
| Flame Emitter | Shoots fire | Yes | 30:00 |
| Frost Emitter | Blasts freezing air, slows and kills some monsters | Yes | 30:00 |
| Shock Emitter | Fires a bolt from its horn when struck; only the horn conducts | Yes | 30:00 |
| Beam Emitter | Fires a damaging light beam at long range | Yes | 30:00 |
| Cannon | Fires explosive shots at intervals | Yes | 30:00 |
| Homing Cart | Drives itself at monsters | Yes | 30:00 |
| Construct Head | Turns to face whatever it deems an enemy | Yes | 30:00 |
| Time Bomb | Timed explosion; the blast also triggers other devices | No | Single use |
| Hydrant | Gushes water when struck | Yes | 30:00 |
| Light | Directional lamp with short reach | Yes | 30:00 |
| Mirror | Focuses and reflects light; wards off some monsters | No | — |
| Portable Pot | Cooks one recipe, anywhere, then it is gone | No | Single use |
| Battery | Supplies temporary power to connected devices | Provides energy | — |
| Big Battery | Disposable, holds several times a normal Battery | Provides energy | — |
Two combos fall out of that table immediately. Construct Head plus any combat emitter gives you homing turret behaviour with no input from you. And Time Bomb next to anything is a remote trigger, because its blast activates other Zonai devices — that is how you fire a cannon you are not standing next to.
Devices do not vanish silently, either: a Zonai device flashes light-green shortly before it expires, which is your cue to land. Some sub-bosses destroy them outright — a Lynel's roar instantly breaks nearby Zonai devices, so do not ride a hovercraft into a Lynel arena and expect it to still be there.
Power is the real constraint
A Steward Construct hands you the Energy Cell shortly after you clear the In-isa Shrine, catching up with you specifically because it forgot to give it to you earlier. It hangs on Link's hip and it is the only reason powered devices work. The rules that matter:
- Energy drains while a powered device is active, and recharges automatically once the device is switched off or gets far enough away.
- If you drain the cell to empty, it must fully recharge before you can use any of it again. Partial top-ups are not a thing on an empty cell.
- The cell always takes the same amount of time to refill regardless of how many Energy Wells you have installed. A bigger battery is not a slower battery. This is the single best argument for upgrading aggressively.
- Zonai Charges restore the cell manually. One Zonai Charge restores exactly one Energy Well's worth of charge; one Large Zonai Charge restores exactly three.
Zonai Charges themselves drop from Soldier Constructs, so every construct you kill in the Depths or on the sky islands is battery fuel. That is a meaningfully different resource loop from the one in Breath of the Wild's beginner grind, where combat mostly paid you in weapon durability and monster parts.
Energy Wells and the 300-zonaite tax
Here is the upgrade chain, end to end, and it is longer than most players realise:
- Mine Zonaite from deposits, almost all of which live in the Depths. Monster Outposts are packed with them, and Frox literally grow deposits on their backs.
- Trade zonaite to a Forge Construct — found in the Abandoned Mines down in the Depths and in the Mining Cave on the Great Sky Island — at 3 zonaite per Crystallized Charge.
- Hand 100 Crystallized Charges to a Steward Construct at a Crystal Refinery to produce one Energy Well.
So one Energy Well costs 300 zonaite. Not 300 for a full battery segment — 300 for a well, and one well fills one third of one of the eight slots on the cell. Link starts with three wells installed and can add 45 more, for 48 total. There are only two Crystal Refineries in the game: one near Nachoyah Shrine on the Great Sky Island, and one between Lookout Landing and the Hyrule Castle Town Ruins.
One wrinkle before you stop upgrading: once 24 Energy Wells are installed the cell runs out of space, and every additional well instead reinforces an existing one, turning it blue and letting it be spent twice without stopping. The upgrade never stops paying — it just changes shape.
Batteries buy you a bigger build
The Battery device is the fix for anyone who keeps running dry mid-flight. When one is connected to your build, powered devices drain the Battery's energy before they touch your Energy Cell. Each holds a limited supply and disappears when spent; the Big Battery is a disposable holding several times as much. Strap one to any long crossing and your personal cell stays in reserve — the difference between reaching a distant sky island and swimming home.
Where devices actually come from
You do not craft Zonai devices. You get them as Zonai Capsules — disposable containers you pop open to deploy a device. Once a device is out of its capsule it cannot go back in, so a capsule is a one-way commitment.
Capsules come from Device Dispensers: gacha machines scattered across the sky islands, with a handful on the Surface and in the Depths. Each stocks a different subset, generally four or five device types, and dispensers prioritise devices you have not received from them yet — so your first pulls at a new machine are unusually generous.
Device dispenser exchange rates
Dispensers accept Construct Horns or Zonai Charges, and the payout curve is steeply non-linear.
| Inserted | 1 | 2 | 3 | 4 | 5 |
|---|---|---|---|---|---|
| Construct Horns | 1 | 2 | 3 | 4 | 5 |
| Zonai Charges | 1 | 3 | 5 | 8 | 12 |
| Large Zonai Charges | 10 | 22 | 34 | 47 | 60 |
Five Zonai Charges get you twelve capsules; five one-at-a-time pulls get you five. Same cost, more than double the output, and five Large Zonai Charges return sixty. There is no bonus for mixing materials, so pick one type and load five of it. Construct Horns are the exception to the curve — flat one-for-one at every quantity, which makes them what you feed a dispenser when you are out of charges and drowning in construct parts.
The crystal refinery endgame
Once your Energy Cell is fully expanded, the Steward Constructs at both refineries switch business models and start selling Zonai devices for Crystallized Charges instead. Three Crystallized Charges per device, except Big Batteries at thirty. Each refinery stocks ten of each and restocks at midnight in-game.
That is the real answer to getting a specific device on demand: dispensers are random, refineries are a menu. Since a Crystallized Charge is three zonaite, a made-to-order device costs nine zonaite — nothing, given zonaite is one of the few materials in the game that stacks to 999,999.
Autobuild, Schema Stones, and Yiga Schematics

Autobuild is not one of the four starting powers. It is found in the Great Abandoned Central Mine, down in the Depths, and until you have it you cannot use Schema Stones at all — Steward Constructs holding one will explicitly tell you to go to the Great Abandoned Central Mine and come back.
Once you have it, Autobuild re-creates a saved design instantly. It pulls in nearby real objects where it can, and where a part is missing it manufactures a replica out of zonaite — easy to spot by its synthetic green colour. Those replicas are fragile in one specific way: a zonaite-generated part is destroyed if you detach it from the creation. Rip one off to reposition it and you have simply burned the zonaite.
Autobuild keeps a rolling list of your recent Ultrahand creations, dropping the oldest as you build new ones. You can mark up to eight designs as favorites to protect them from that rotation — use it the moment you land on a vehicle you like. You also get pre-made designs from two collectibles:
- Schema Stones — 12 total. Mostly given by Steward Constructs in the Abandoned Mines, which then hand you the parts to assemble the schematic on the spot, usually to reach a treasure chest. Two exceptions: the Hot-Air Balloon stone is Josha's reward for completing "A Mystery in the Depths," and the Beam Cycle comes from the Steward Construct in the Shrine of Resurrection.
- Yiga Schematics — 34 total. Hidden in chests inside Yiga Relay Bases in the Depths. These are the fun ones: Monocycle, Three Wheeler, Big Rig, Fanboat, Excavator, Tank.
Forty-six ready-made blueprints, all gated behind Depths exploration. If you enjoyed the hunt in Breath of the Wild's shrine guide, this is the equivalent loop with better rewards.
Build patterns that hold up
Four principles, all falling out of the numbers above:
- Fewer parts, always. Weight costs thrust and thrust costs battery. Two fans and a steering stick out-fly anything you bolt eight parts onto.
- Steering Stick on anything you control. No energy cost, and it activates the whole build in one input.
- Battery first on long trips. Connected batteries drain before your Energy Cell does.
- Rockets launch, fans travel. Three seconds versus thirty minutes.
For combat, learn the Construct Head. It faces enemies on its own, so a combat emitter mounted on one becomes an auto-tracking turret — far more reliable than aiming a fixed emitter off a moving vehicle. Pair that with the defensive gear in our Tears of the Kingdom best armor guide and most overworld fights stop being fights.
Mistakes that burn charges
- Feeding dispensers one charge at a time. You are throwing away more than half your capsules. Load five.
- Opening capsules to "check" what they are. A deployed device cannot go back in. Read the menu instead.
- Detaching zonaite replicas. They break on removal. Rebuild rather than adjust one piece.
- Stopping Energy Cell upgrades early. Recharge time never increases with capacity, so there is no downside to a bigger cell. Ever.
- Ignoring Construct Horns. One-for-one at every dispenser, and you will be swimming in them. Free capsules you are walking past.
- Building near a Lynel. Its roar destroys nearby Zonai devices instantly.
- Forgetting to favorite a good build. Autobuild's recent list rotates. Eight slots exist for a reason.
More Hyrule breakdowns live on the Mythras blog, and the sister vertical over on Breath of the Wild covers the game this one is built on.
Quick Action Checklist
- Clear Ukouh Shrine for Ultrahand and In-isa Shrine for Fuse; the Steward Construct hands you the Energy Cell right after In-isa.
- Remember the ceiling: 21 attached objects, everything included.
- Look for the circular yellow power symbol to know whether a device drains your cell.
- Bolt a Steering Stick to anything you drive — zero energy cost, activates every connected device at once.
- Never feed a Device Dispenser fewer than five items at a time.
- Grind zonaite in Depths Monster Outposts; 3 zonaite buys a Crystallized Charge and 100 of those buys one Energy Well.
- Push past 24 installed Energy Wells anyway — extra wells turn existing ones blue and let them be spent twice.
- Attach a Battery for long crossings so your Energy Cell stays in reserve.
- Get Autobuild from the Great Abandoned Central Mine before hunting Schema Stones — they are unusable without it.
- Favorite your eight best designs immediately, and never detach a green zonaite replica.
Frequently Asked Questions
How many objects can you attach with Ultrahand in Tears of the Kingdom?
What is the difference between Ultrahand and Fuse?
How do you upgrade the Energy Cell in Tears of the Kingdom?
How long do Zonai devices last?
What is the best way to use a Device Dispenser?
Where do you get Autobuild in Tears of the Kingdom?
How many Schema Stones and Yiga Schematics are there?
Do Zonai batteries actually help, or should I just upgrade my Energy Cell?
Keep Reading
Related Guides
Tears of the Kingdom Master Kohga: All Four Mine Fights
The two researchers who watch you get Autobuild are Yiga, and their boss wants it back. That fight at the Great Abandoned Central Mine is only the first of four. Here is how to reach each Abandoned Mine Master Kohga runs to, how to knock him off each of his four vehicles, and what the whole chase pays.
Tears of the Kingdom Purah Pad Upgrades and the Compendium
The Purah Pad you take off a Steward Construct is missing half its features. The Camera and Hyrule Compendium wait on a Main Quest in the Depths, and the Sensor, Sensor +, Hero's Path Mode and three Travel Medallions come one Side Adventure at a time from Robbie. Here is what unlocks each one, what Robbie charges for Compendium pictures, and which boss entries have no rematch, so they are best photographed mid-fight.
Tears of the Kingdom Paraglider Fabrics: All 57 Sources
Mineru's Construct amiibo went on sale September 17, 2026, and its one exclusive drop is a paraglider skin. That makes 29 fabrics you can only get from a figure, against 28 you earn by playing. Here is where every one comes from, which figure drops which, and the per-scan odds from Zelda Wiki's datamined tables.
Tears of the Kingdom Lynels: All 34 Locations and HP
Breath of the Wild had 22 Lynels. Tears of the Kingdom has 34, and 19 of them are in the Depths, including every Silver Lynel on Thonky's list. There is no Monster Medal for them, so here is the full list by variant, what each one can take, what changed in the fight, and the 111 Lynel parts the Great Fairies will eventually ask you for.
Tears of the Kingdom Beginner Guide: Great Sky Island and Your First 10 Hours
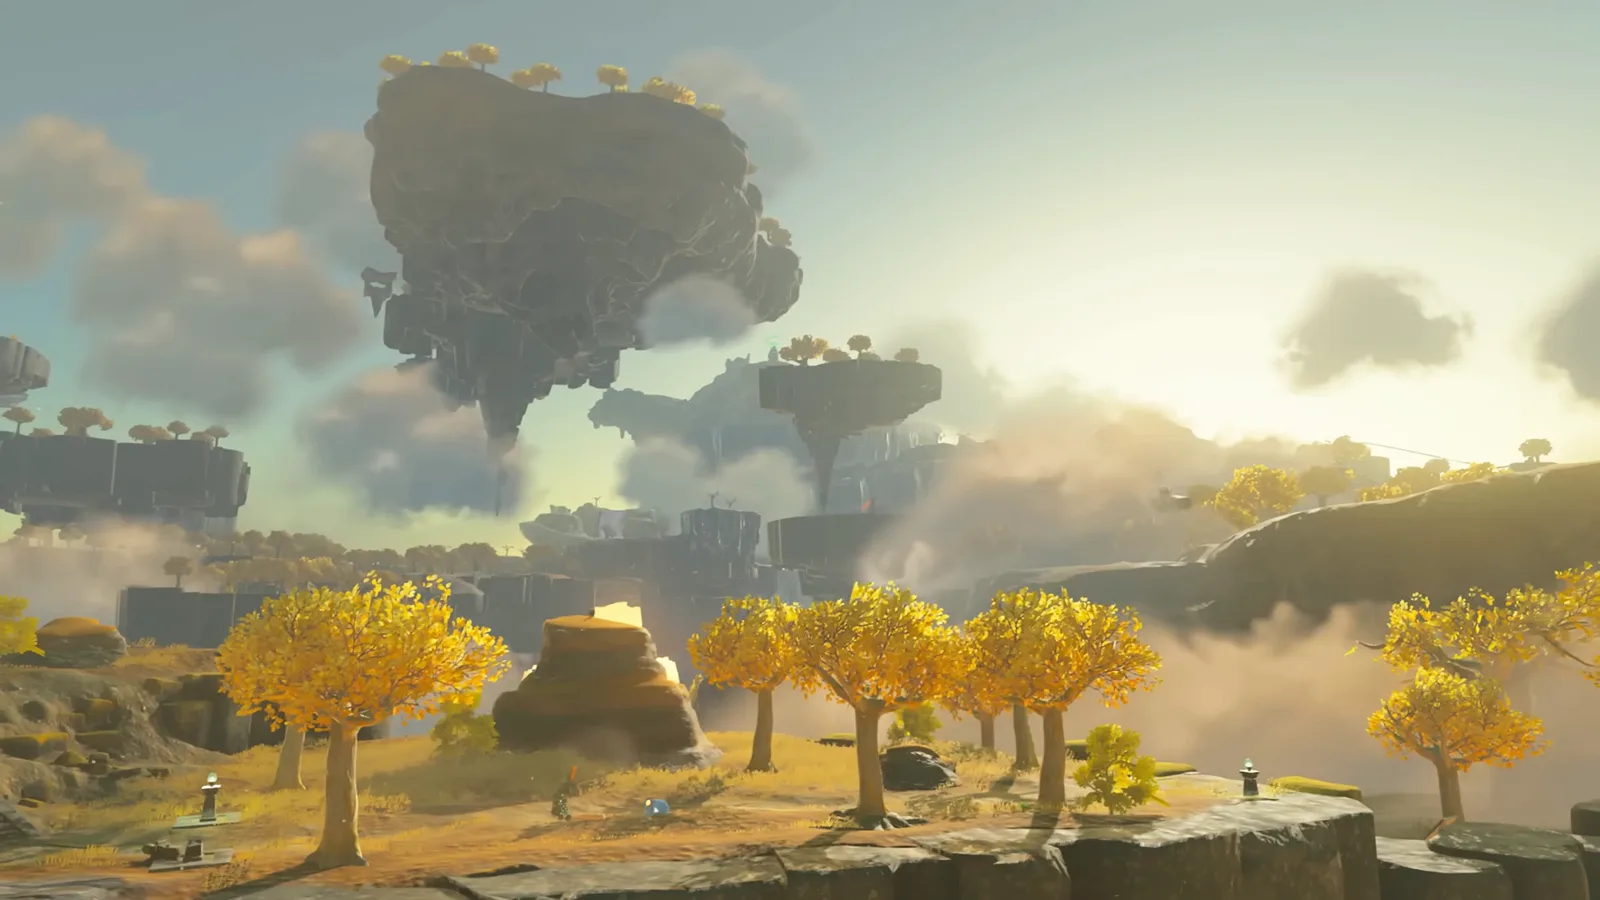
Tears of the Kingdom hands you four abilities in two hours and then refuses to explain how they interact. Here is what the Great Sky Island is actually teaching, what it skips, and the systems that decide whether hour ten feels powerful or exhausting.
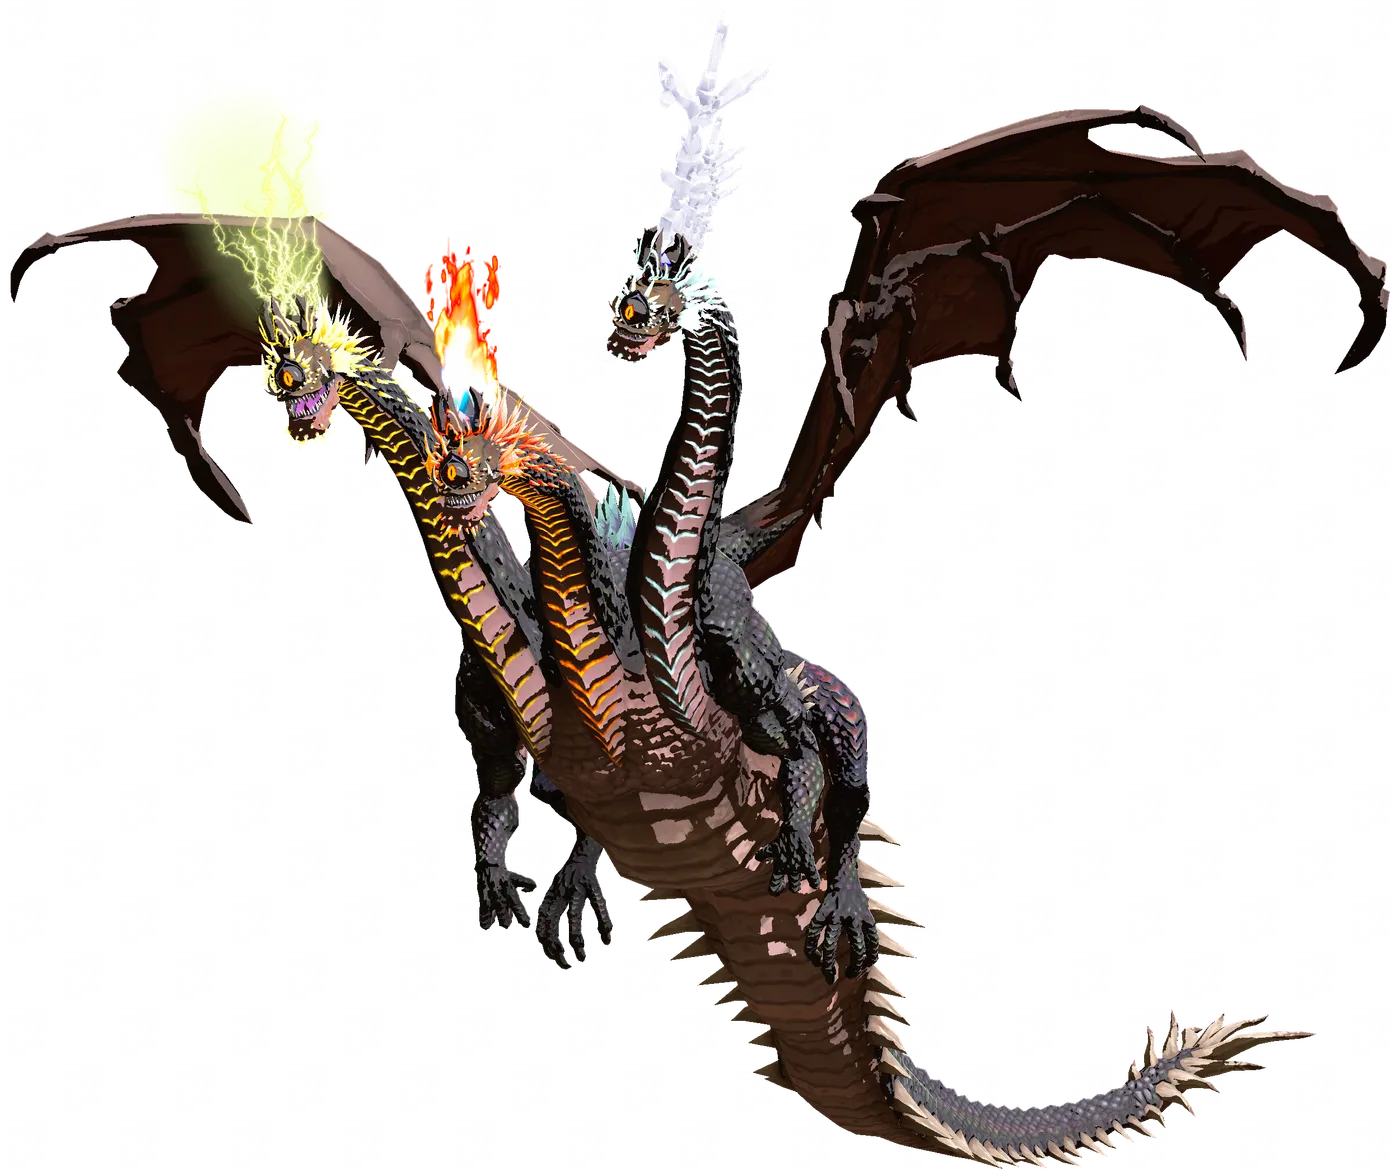
Tears of the Kingdom Monster Medals: Sub-Boss Counts and HP
Breath of the Wild had three Medals of Honor and 84 kills behind them. Tears of the Kingdom has six Monster Medals, a six-quest gate in front of them, and a Gleeok tier where an ordinary Flame Gleeok carries more health than the Demon Dragon's main body. Here is how the hunt unlocks, how many of each monster Gralens counts, and what every variant can take.