Ocarina of Time Remake Water Temple Walkthrough
The Switch 2 Water Temple is still three water levels and a lot of Iron Boots, but it runs on four Small Keys instead of the N64's six, the boots live on the D-pad, and Dark Link's health follows a set table instead of copying yours. Here is the remake route in order: which key opens which door, when to change the water, and what the sources still disagree on.
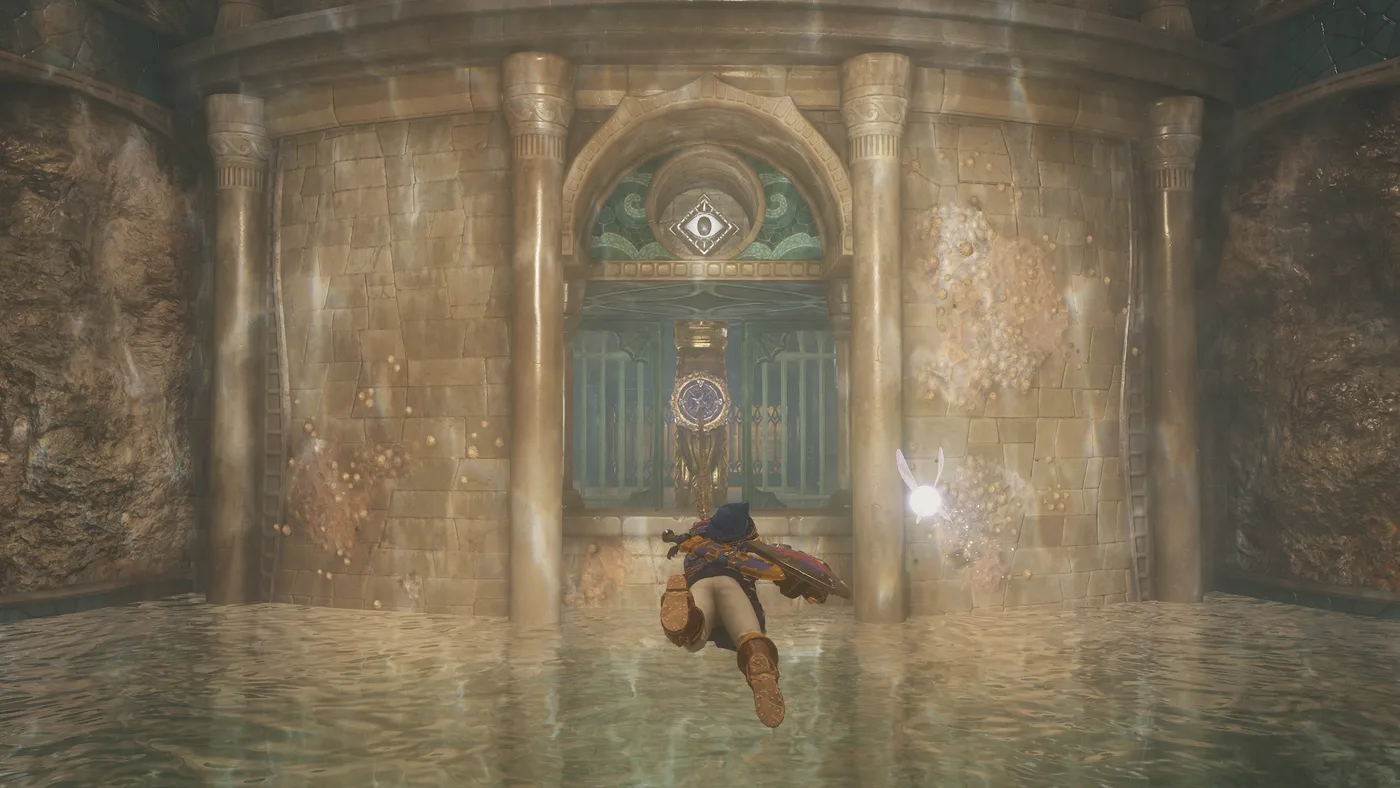
Our N64 and 3DS Water Temple guide explains why the original broke people and how to think about the water levels. It is not a room-by-room route, and it counts six Small Keys. When our remake dungeon changes guide went up on November 10, it could say that one remake key and its door were gone, but not what the new total was.
Since then, Nintendo Life (November 13) and Game8 (last updated November 20) have published full walkthroughs of the Switch 2 temple. They agree on the important part: four Small Keys, four locked doors, in the same four places. This post is the remake route built from those two walkthroughs and Zelda Wiki, in the order you will actually play it.
How it was built: I have not played the remake. A remake fact below is either from Zelda Wiki or stated by both Game8 and Nintendo Life; anything only one of them says is credited to that site by name or sits in "Where the sources disagree". All pages were read on November 22, 2026. N64 comparisons come from Zelda Wiki and the OoT Randomizer's location list, which records what every original chest holds.
The short version
| Step | Water level when you do it | What you get | Small Key spent |
|---|---|---|---|
| 1. Meet Ruto, float up to 3F | High (start) | Dungeon Map; play the Lullaby to drain | — |
| 2. Torch room, west block, south cracked wall | Low | Keys 1 and 2, the Compass | — |
| 3. Central pillar | Low, then middle | Raise to middle; optional Red Rupee and Gold Skulltula below | Central pillar door |
| 4. East cracked wall, then the west tower | Middle, then high | Key 3; raise to high | West door with the pink path |
| 5. Waterfall room and dragon-head puzzle | High | Path to Dark Link | 3F west door |
| 6. Dark Link | High | Longshot | — |
| 7. River, then the 2F north room | Reset to middle | Key 4 | — |
| 8. 1F north wing | Middle | Boss Key | 1F north door |
| 9. North door on 3F, then Morpha | High | Heart Container, Water Medallion | — |
Before you go in
You need the Iron Boots from the Ice Cavern, where Sheik teaches you the Serenade of Water on the way out, and the Zora Tunic. Get the tunic the free way: Zelda Wiki and Game8 both have you melt the Red Ice around King Zora with Blue Fire, and he hands it over. Buying it is not really an option in the remake. Zelda Wiki prices it at 600 Rupees (300 on N64 and 3DS), and the Zora Shop's adult-era entrance is blocked by ice that Blue Fire cannot melt until you finish this temple; our remake shop prices guide has the details.
Two optional extras. Both guides suggest Din's Fire for Dark Link (see Step 6 for why that is less useful than it was). And Game8 uses the Scarecrow Song inside the temple to plant Pierre as a shortcut, so learn it at Lake Hylia first if you have not.
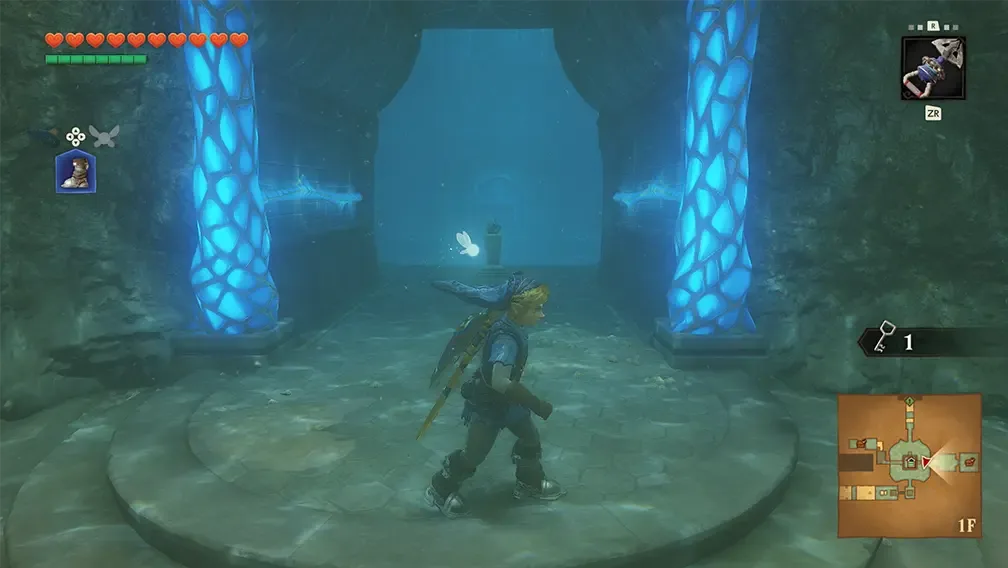
That is the change that matters most in this dungeon. Per Zelda Wiki, the Iron Boots are Equipment again on Switch 2, but footwear gets its own button: assign the boots in the Equipment menu and press Down on the D-pad to put them on or take them off. No menu trip per dive. In the screenshot above the boots icon sits at the top left of the HUD.
To get in, warp to Lake Hylia with the Serenade (L, R, A, A, Y on the default layout; the rest are in our remake ocarina controls guide), drop into what is left of the lake, sink with the boots, and Hookshot the switch above the temple's door.
Three water levels, three coloured paths
The temple's central room is a tall shaft with doors on several floors, and Zelda's Lullaby (Y, X, A, Y, X, A) played at a Triforce symbol sets the water to that symbol's height. Both walkthroughs use the same three:
| Water level | Where the Triforce is | Path colour (Nintendo Life) |
|---|---|---|
| Low | At the top of the room where you meet Ruto (you float up to it, to 3F), next to the Dungeon Map chest | Blue |
| Middle | Inside the central pillar, on a ledge you Hookshot up to from 1F | Green |
| High | At the top of the west room behind the pink-lit locked door, reached on a water-lifted platform | Pink |
The coloured paths are not new. Zelda Wiki says the 3DS version added glowing markings that lead to the water-level switches, and that those 3DS changes are "largely retained" on Switch 2. Nintendo Life names the colours; Game8 describes the west door's pink lights. The remake also turns some solid walls into lattice so you can see the rooms behind them, which Nintendo's Ask the Developer interview and Zelda Wiki both describe.
Four Small Keys, not six
The OoT Randomizer's location list gives the original Water Temple six chests holding Small Keys: the Torches, Dragon, Central Pillar, Cracked Wall, Central Bow Target and River chests. Both remake walkthroughs find four, and use them on four doors:
| Key | Where both guides find it | Water level | Door it ends up opening |
|---|---|---|---|
| 1 | Chest for beating the Spikes behind the three-torch door, in the room where you met Ruto | Low | The central pillar door on 1F |
| 2 | Chest beyond the gate beside the dragon statue, past the west block hole | Low | The west door with the pink path |
| 3 | Chest at the top of the water-lifted lid, behind the east cracked wall | Middle | The 3F west door to the waterfall room |
| 4 | Chest behind the pushable block in the 2F north room, after the Longshot | Middle | The 1F north door to the Boss Key wing |
Keys are interchangeable, so the "door it opens" column is just the order both routes spend them in.
One of the missing two is documented. Zelda Wiki's remake article says the Small Key hidden under the central pagoda was removed, along with the locked door that needed it. The other is not: neither walkthrough nor Zelda Wiki says which second key went, so I am not going to guess. The practical point is that an N64 key checklist will not line up. If you hold four keys and four doors are open, you have them all.
Step 1: Ruto, the Map and the first drain
You start on 3F with the water high. Put the boots on, drop into the water and sink to 1F, then go through the glowing entrance into the side room to meet Ruto.
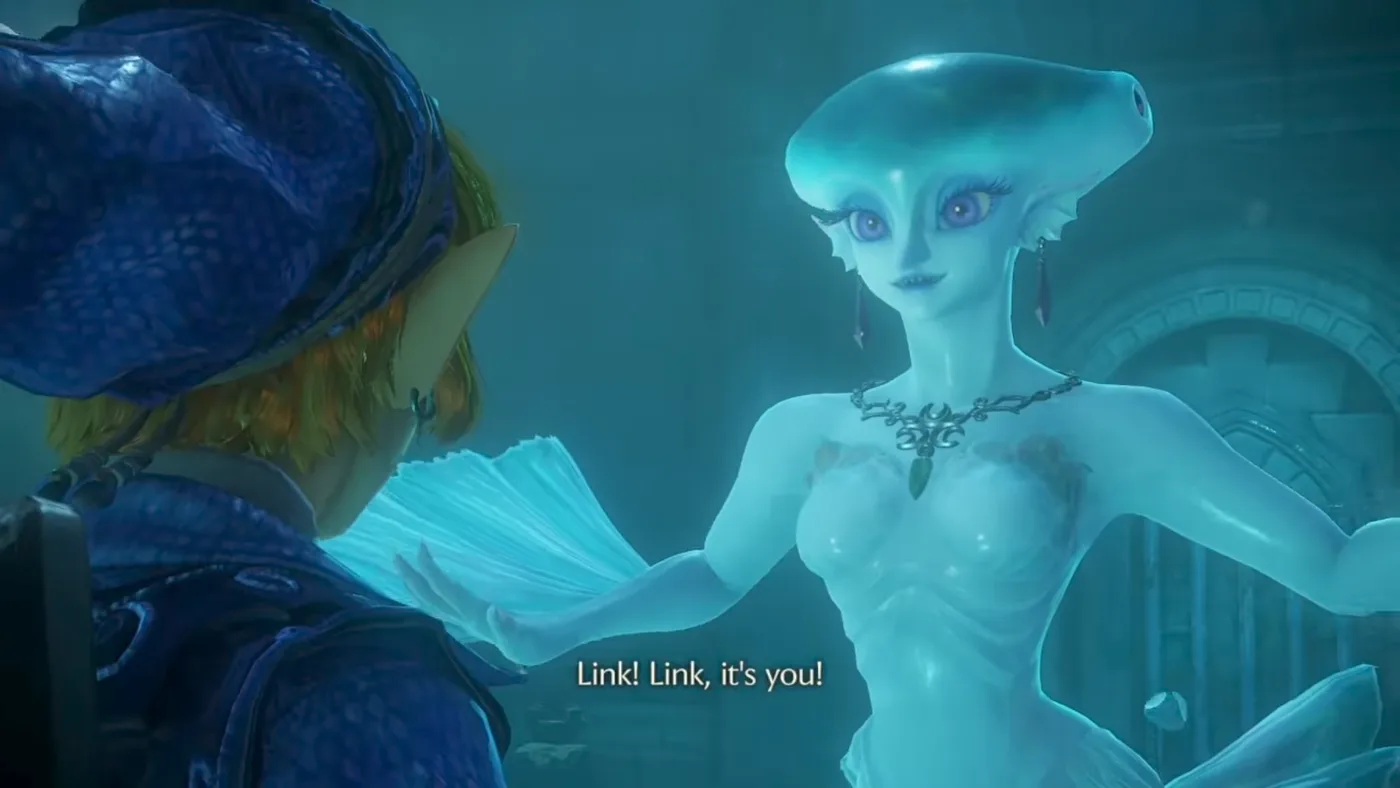
After the scene, take the boots off and float all the way up. The chest in this room is the Dungeon Map, and the Triforce on the wall here is the low-water one. Play Zelda's Lullaby and the whole temple drains.
Step 2: Low water, two keys and the Compass
Key 1. Drop back down into the room where you met Ruto. One of its torches is lit; stand behind it and shoot an arrow through the flame into each of the other two to open the door. Inside are Spikes, the rolling spiny enemies: Nintendo Life finds the Hookshot best, Game8 blocks and hits them when their spines retract. Clear the room for a chest with the first Small Key.
Key 2. In the central room, push the block on the west side down its passage until it drops into the water. Follow it down in boots, deal with or dodge the Shell Blade, and surface on the far side. You are now above a whirlpool. Sink onto the body of the dragon statue, Hookshot the switch in its mouth, and the gate beside it opens. Two more Shell Blades wait inside (Game8); the chest at the surface beyond holds key 2.
Compass. On the central room's south side, bomb the cracked wall and drop into the pool behind it. Hookshot your way up to the chest at the end of the room beyond. Game8 meets a Shell Blade, two Tektites and a Like Like on the way; Nintendo Life hits a switch that reveals a Hookshot column. Nintendo Life does the Compass before the dragon room and Game8 after it. Order does not matter, since both are at low water.
Step 3: The central pillar
Back in the central room, the central pillar has a locked door on 1F (Nintendo Life puts it on the pillar's west side). Spend a key. Inside, turn around and Hookshot up to the ledge above, then play the Lullaby at the Triforce: the water rises to the middle level.
Nintendo Life adds an optional detour here. Raising the water lifts the block that sat on the pillar's floor and opens a passage down to B1. Sink through it in boots, hit the switch above you, clear the enemies, then take the boots off where the Shell Blade came in and you float into a small room with a Red Rupee chest and a Gold Skulltula. That basement under the central pillar is roughly where the original's Central Pillar key chest was, which fits Zelda Wiki's note that the pagoda key is gone. That connection is my reading; neither guide states it.
There is a Hookshot target high on this room's ceiling with a second Gold Skulltula beyond it, but Game8 and our remake Gold Skulltula list both need the Longshot for it. Come back later.
Step 4: Middle water, key 3 and the west tower
Leave the pillar through its 2F door. You are in the central room with the water at middle height.
Key 3. Go east and bomb the cracked wall, then walk the flooded passage in boots. Stingers come at you there; Game8 picks them off with the Hookshot. At the far end a jet of water is holding up a round lid. Shoot the switch in the pool to switch the jet off, step onto the lid, and shoot the switch again to ride the jet up. The chest above has key 3.
Optional Gold Skulltula. Nintendo Life sinks to 1F at this water level and bombs a cracked wall for one. Game8 has the same token behind a bombed-open blocked path east of the central area.
Raise to high. Now take the locked door on the west side of the central room, the one lit pink. It is the same trick: a switch lowers a water jet, a Blue Tektite is sitting on the lid, and once it is dead you ride the lid up. The Triforce at the top is the high-water one. Play the Lullaby.
Game8 adds one step here: next to this balcony is a small whirlwind where you can play the Scarecrow Song to plant Pierre, which it then uses as a quick Hookshot point back to this spot whenever it needs to change the water.
Step 5: High water, the waterfall and the dragon heads
With the water at the top, swim to the 3F west locked door and spend your last key for now. Game8 warns of two Keese on the way in.
The first room is a tall waterfall with platforms dropping down it. Ride one, then Hookshot up the targets above you to reach the door at the top.
The next room is the switch puzzle. A switch in the middle raises and lowers the dragon heads around the walls, and you work across by alternating between hitting that switch and Hookshotting to a target or a dragon head. Both guides end the same way: stand on a dragon head, hit the switch once more, and it lifts you to the exit ledge. Nintendo Life gives a five-hit sequence; Game8 describes the same thing room-feature by room-feature.
Game8 recommends saving before the next door.
Step 6: Dark Link
Walk into the fog toward the far door, it locks, and Dark Link is waiting by the tree. Zelda Wiki's Dark Link page is where the remake changes are documented, and our remake dungeon changes guide covers the behaviour in full: he is opaque and attacks from the start, counters sword thrusts by knocking you far back, gets more aggressive after losing some health, and Din's Fire only stuns him. It no longer does damage, he backflips away when you cast it, and Zelda Wiki says the stun is now too short to follow up on. Game8's advice is to hit him in the short window after he finishes an attack, and to avoid targeting him, since he raises his shield when you do.
What is new since that guide is his health. On N64 and 3DS, Zelda Wiki says Dark Link's health matched yours. On Switch 2 it follows a fixed table, so more hearts no longer means a longer fight in step with you:
| Your hearts | Dark Link's hearts (Switch 2) |
|---|---|
| 3 | 9.5 |
| 5 | 11.5 |
| 8 | 13.5 |
| 10 | 14 |
| 14 | 15 |
| 18 to 20 | 16 |
Those are selected rows of Zelda Wiki's full table; between them it rises by up to a heart per step, and some steps do not change it at all. The takeaway: with few hearts he now has far more health than you, and at the top end he caps at 16.
Beat him and the room beyond holds the Longshot.
Step 7: The river and the last key
Longshot up out of the Dark Link area and drop into the fast-flowing channel. Whirlpools line it; sink in the boots and walk around them rather than swimming, which risks getting dragged in. A Gold Skulltula sits on the wall partway along (Nintendo Life: at the second-to-last corner). At the end, hit the eye switch above the gate and immediately Longshot the target behind it before it shuts. Nintendo Life says the passage brings you out in the dragon-statue room from Step 2; drop down and head back to the central room.
Reset the water to middle. Nintendo Life's way: boots down to 1F, follow the blue path to the low-water Triforce and play it, then follow the green path to the pillar and play it again.
Key 4. On the 2F north side of the central room, an eye switch sits above a gate with a target behind it that only the Longshot reaches. Hit the eye, Longshot through, and drop into the pool. In the underwater passage, pull the block out of the wall. Surface, Longshot the target on the ceiling, sink again and come at the block from the other side, then push it clear. Float up into the space it left for the final Small Key.
Step 8: The Boss Key
Keep the water at middle. Sink to 1F and take the passage north; Game8 Longshots up to a platform there to reach the locked door. Spend key 4.
- First room: Blue Tektites, currents and rolling boulders. Clear the Tektites first, then cross when the boulders pass.
- Second room: bomb the three cracked walls, then push the block they reveal into the pool. It lands on a switch and raises the water so you can reach the door above. Game8 meets a group of Stingers here.
- Third room: platforms you cross over water, with a Tektite on them and another at the far side.
- The boulder canal: wait for a boulder to roll past, then go left past a Shell Blade to the door. The big chest is the Boss Key. Before you leave, step back into the canal and look up through the small waterfall for a Gold Skulltula.
Follow the canal back the way the boulders roll to return to the central room.
Step 9: The climb to Morpha
Raise the water to high one last time (the pink path, or Pierre if you planted him). Longshot the target above the north door on 3F, then climb the water-filled slope beyond, which has blade traps on it (the guides describe them differently; see below). Zelda Wiki's remake article says this slope is now split into two separate sections. Save at the top.
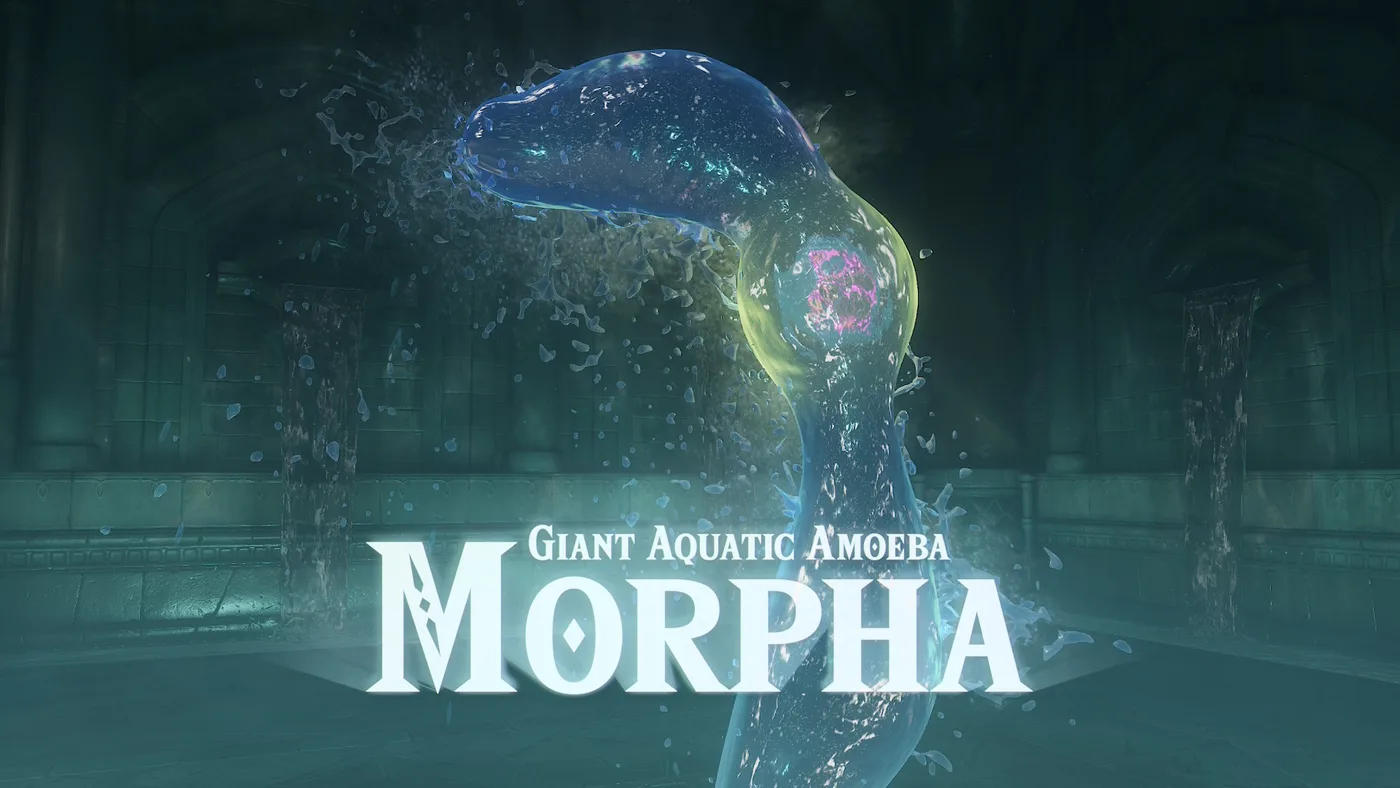
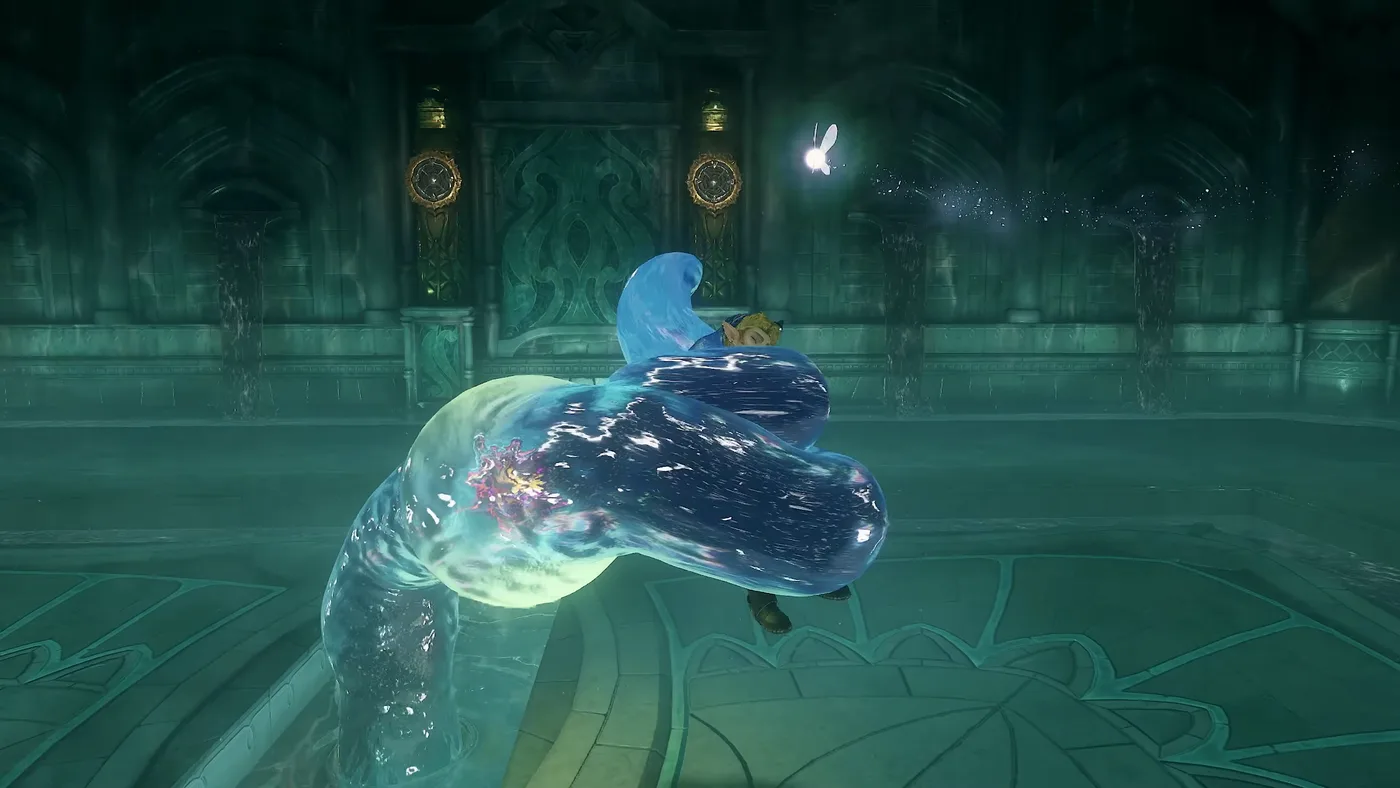
The fight is the same idea as ever: wait for the tentacle carrying the nucleus, Longshot the nucleus out, and hit it with the sword. Zelda Wiki lists the remake changes, which our remake boss guide breaks down: the arena's platforms sit level with the water and the wall spikes are gone, Morpha moves more slowly, and it has two new attacks, tentacles that wait around the room to slam down as you pass and a row of tentacles that slam along one side of the pool. Nintendo Life suggests keeping your back to the outer wall so you can see the tentacles coming.
Beat it for a Heart Container and the Water Medallion from Ruto. You come out at Lake Hylia with the lake refilled, and per Zelda Wiki the remake also thaws Zora's Domain at this point. If the sun is still rising, Nintendo Life notes this is the moment for the Fire Arrows; our Lake Hylia guide explains the sun shot.
Where the sources disagree
- Din's Fire on Dark Link. Both walkthroughs recommend it; Nintendo Life calls it the easiest strategy. Zelda Wiki says it no longer damages him in the remake, only stuns him briefly, that the stun is too short for a follow-up attack, and that he backflips away from it. Do not plan the fight around it.
- How Game8 lowers the water after the Longshot. Game8 Longshots to Pierre and plays the Lullaby at the high-water Triforce "to lower the water to the 2nd Floor". In both guides that Triforce is the one that raises the water to the top, so I have used Nintendo Life's blue-then-green reset instead.
- The pillar ceiling target. Nintendo Life's text says to use the Hookshot target there on your first visit; a reader comment under it and Game8's Gold Skulltula entry both say it needs the Longshot. Plan on the Longshot.
- The Boss Key wing's third room. Nintendo Life describes three water jets holding up lids; Game8 describes a floor switch that raises platforms. Both have you crossing platforms with a Tektite on them.
- The slope to Morpha. Game8 describes spinning blades in the water; Nintendo Life describes spikes on the water-logged steps and uses the Iron Boots. Zelda Wiki calls the enemies Pathblades.
What is still not documented
- Which second N64 key is gone. Zelda Wiki documents only the pagoda key's removal.
- What the small chest on a ledge in the dragon-statue room holds. Nintendo Life mentions it on the way in and does not open it; Game8 does not mention it.
- Whether the 3DS camera pan to the missed key survives, now that the key under the pagoda is gone.
- Morpha's health and damage numbers in the remake.
- Master Quest. None of the sources above mentions a remake Master Quest; see our Switch 2 remake guide.
Quick Action Checklist
- Bring the Iron Boots (set them to D-pad Down), the Zora Tunic from King Zora, Bombs and the Bow. Din's Fire and the Scarecrow Song are optional.
- Start: meet Ruto on 1F, float up for the Map, play the Lullaby to drain.
- Low water: torch room Spikes (key 1), west block to the dragon statue (key 2), south cracked wall (Compass).
- Central pillar door, Hookshot up, Lullaby: middle water.
- East cracked wall, ride the lid (key 3). Pink west door, ride the lid, Lullaby: high water.
- 3F west door, waterfall, dragon heads, Dark Link: his health follows a set table now, and Din's Fire only stuns. Take the Longshot.
- River with boots, eye switch, Longshot through. Reset to middle (blue, then green).
- 2F north eye switch, pull then push the block (key 4).
- 1F north door, three rooms, boulder canal: Boss Key.
- High water, Longshot the north door, climb the two slopes, Morpha: Longshot the nucleus, then the sword.
Frequently Asked Questions
How many Small Keys are in the Water Temple in the Ocarina of Time remake?
Where do you change the water level in the Water Temple in the Ocarina of Time remake?
Where is the Boss Key in the Water Temple in the Ocarina of Time remake?
How much health does Dark Link have in the Ocarina of Time remake?
Does Din's Fire work on Dark Link in the Ocarina of Time Switch 2 remake?
When do you get the Longshot in the Ocarina of Time remake?
Keep Reading
- Mythras blog
- Ocarina of Time coverage hub
- Ocarina of Time Water Temple guide (N64 and 3DS)
- Ocarina of Time remake dungeon changes
- Ocarina of Time remake boss guide
- Ocarina of Time remake Gold Skulltulas
- Ocarina of Time remake ocarina controls
- Ocarina of Time remake shop prices
- Ocarina of Time Ice Cavern walkthrough
- Ocarina of Time Lake Hylia guide
- Ocarina of Time remake Forest Temple walkthrough
- Ocarina of Time Switch 2 remake guide
- Nintendo Life — Water Temple walkthrough in Zelda: Ocarina of Time (Switch 2): water levels and blue/green/pink paths, four Small Keys, central pillar B1 Red Rupee chest, dragon-head puzzle, Dark Link, river, Boss Key, Morpha (published 2026-11-13, read 2026-11-22)
- Game8 — Water Temple Dungeon Guide (Switch 2 remake): full walkthrough, four Small Keys, Scarecrow Song shortcut, Longshot after Dark Link, Boss Key wing, Gold Skulltulas (updated 2026-11-20, read 2026-11-22)
- Zelda Wiki — Ocarina of Time (Nintendo Switch 2): Water Temple pagoda key and door removed, lattice walls, Pathblade slope split in two; Iron Boots on D-pad Down; Morpha changes; Zora Domain thaws after Morpha (read 2026-11-22)
- Zelda Wiki — Water Temple (Ocarina of Time): 3DS changes (colored paths to the water-level switches, a camera scene at an easily missed key) "largely retained" on Switch 2, lattice-style walls (read 2026-11-22)
- Zelda Wiki — Dark Link: Switch 2 fight changes, Din's Fire stun only, and the fixed health table by Link's heart count (read 2026-11-22)
- Zelda Wiki — Zora Tunic: 600 Rupees on Switch 2 (300 on N64 and 3DS), or free from King Zora after melting his Red Ice with Blue Fire (read 2026-11-22)
- Zelda Wiki — Zora Shop: adult-era entrance blocked by ice Blue Fire cannot melt on Switch 2 until the Water Temple is cleared (read 2026-11-22)
- Zelda Wiki — Iron Boots: Equipment again on Switch 2, assigned to the down Directional Button (read 2026-11-22)
- OoT Randomizer — LocationList.py: vanilla Water Temple chests, six holding Small Keys (Torches, Dragon, Central Pillar, Cracked Wall, Central Bow Target, River) (read 2026-11-22)
- Nintendo — Ask the Developer Vol. 24: The Legend of Zelda: Ocarina of Time, Part 3 (Water Temple lattice walls and easier item toggling)
Related Guides
Ocarina of Time Remake Sales, Reviews and Awards
Nintendo says the Ocarina of Time remake sold over 5.2 million copies in its first four days, a record for a Nintendo-published Switch 2 game. Here are the published numbers so far, region by region, plus where the review scores sit now that GTA VI has landed, and its four Game Awards nominations.
Ocarina of Time Remake Gold Skulltulas: All 100 Locations
Every Gold Skulltula in the Switch 2 Ocarina of Time, area by area: where it is, whether you need child or adult Link, whether it only shows up at night, and what item gets it. Each spot is checked across Game8, Nintendo Life and VGC, and the places they disagree are marked.
Ocarina of Time ZELDA NOTES: Setup and All 11 Features
ZELDA NOTES for the Ocarina of Time remake needs update 1.1.1, the Nintendo Switch App and an online console, but no Nintendo Switch Online membership. Here is the setup, all 11 features as Nintendo documents them, and what the app costs you in Rupees.
Ocarina of Time Remake Boss Guide: What Changed
Seven of the Switch 2 remake's bosses now have documented changes: Gohma, King Dodongo, Phantom Ganon, Volvagia, Morpha, Ganondorf and a rebuilt four-phase Ganon. Here is what each change means for the fight, which N64 strategies still hold, and what the wikis have not documented yet.
Ocarina of Time Dungeon Order: The Full Route, Explained
Ocarina of Time looks like an open adventure and plays like a corridor. Eight required dungeons, three side dungeons, and only a couple of places where the game genuinely lets you pick. Here is the whole route with the reasons behind each lock.
Ocarina of Time Remake Shop Prices and Great Fairy Costs
Zelda Wiki now has price lists for five of the Switch 2 remake's shops and the Rupee cost of every Great Fairy. Here they are in tables, compared with the 3DS prices, plus the wallet each purchase needs and what is still undocumented.