Roblox Heartbeat vs RenderStepped vs Stepped: Which Loop Should Actually Run Your Code
Every Roblox tutorial teaches the same loop — while true do wait() end — and every one of them is teaching you a bug. Roblox gives you nine documented points per frame where a script can wake up, and picking the wrong one is why your camera jitters, your physics reads a frame late, and your Motor6D edits get stomped by the Animator. Here is what each RunService event actually does, why the old names still work despite a 2021 deprecation scare, and the 29-millisecond tax the legacy wait() charges you.
Open any Roblox scripting tutorial from the last decade and you will find this:
while true do
	wait()
	-- do the thing
end
It runs. It also charges you a 29-millisecond floor per iteration, fires at a point in the frame nobody chose deliberately, and gives you no delta time to scale movement with. There are nine documented moments per frame where a Roblox script can be resumed, and "whenever wait() feels like it" is not one of them.
Picking the right one is not pedantry. It is the difference between a camera that tracks smoothly and one that shimmers, between physics you read on the correct frame and physics you read one frame stale, and between Motor6D edits that stick and Motor6D edits the Animator silently overwrites.
Why while true do wait() end is not a game loop
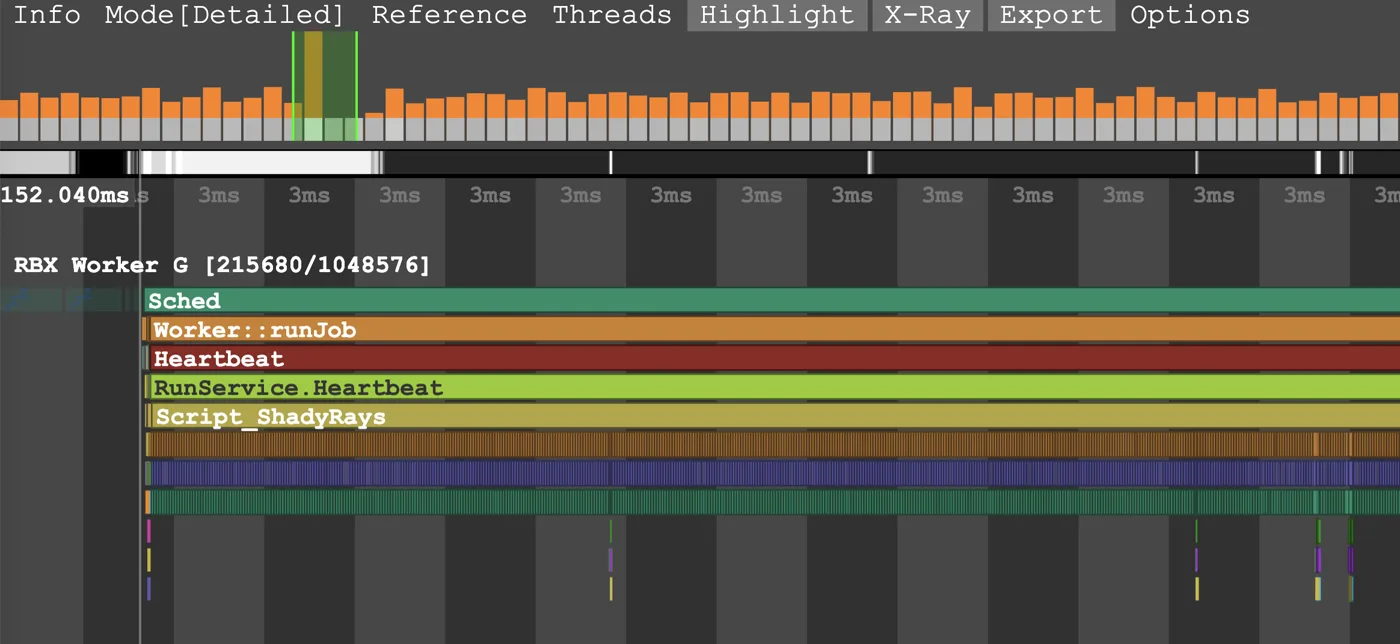
The MicroProfiler capture at the top of this post comes from Roblox's own performance documentation, and it is worth reading carefully. The frame took 152.040 ms — call it six and a half frames per second. The stack tells you exactly who did it: Heartbeat → RunService.Heartbeat → Script_ShadyRays, one script bar running the entire width of the timeline. Every neighbouring frame in the strip above it is a normal orange sliver. One connection did that.
The lesson is not "Heartbeat is slow." Heartbeat is fine. The lesson is that whatever you connect to a per-frame signal becomes part of the frame budget, and the engine will happily wait for you. A game loop is not a place to dump work; it is a scheduling decision.
So make the decision on purpose.
The nine places your code can wake up
Roblox's deferred engine events documentation publishes the exact list of resumption points — the ordered moments within a frame where a suspended script can be resumed. In order:
- Input processing (once per input to be processed)
RunService.PreRender- Legacy waiting script resumption such as
wait(),spawn(), anddelay() RunService.PreAnimationRunService.PreSimulationRunService.PostSimulation- Waiting script resumption such as
task.wait(),task.spawn(), andtask.delay() RunService.HeartbeatDataModel.BindToClose
Two things jump out of that list immediately.
Legacy wait() resumes at position 3 and task.wait() resumes at position 7. They are not the same scheduling slot. If you have a mixed codebase, some of your loops are running before physics and some after, purely because of which wait function the author typed.
BindToRenderStep is not on the list at all, because it is not a resumption point for a yielded thread — it is a bound callback that the render step invokes directly, with an explicit priority number. More on that below.
The new names and why the old ones still work
Roblox renamed these events, and the internet has been confused about it since 2021. Here is the mapping, straight from the engine reference:
| Legacy event | Modern event | Documented timing |
|---|---|---|
RenderStepped | PreRender | "Fires every frame, prior to the frame being rendered." |
| — | PreAnimation | "Fires every frame, prior to the physics simulation but after rendering." |
Stepped | PreSimulation | "Fires every frame, prior to the physics simulation." |
Heartbeat | PostSimulation | "Fires every frame, after the physics simulation has completed." |
Now the part everyone gets wrong. In early 2021 the API dump marked Heartbeat, Stepped and RenderStepped as deprecated, and a wave of DevForum threads and YouTube videos told everyone to migrate immediately. Then the new events had bugs, the old names stayed in millions of scripts, and the deprecation quietly came off.
Check it yourself: as of this writing, the Deprecated section of the RunService reference page lists exactly two members — Reset() and Run(). Not one event. Heartbeat, Stepped and RenderStepped are all documented as live, supported events alongside their modern counterparts.
So: use the new names in new code because they say what they do, but you do not have a migration emergency, and a codebase full of Heartbeat is not technical debt. What is worth fixing is code that picked the wrong phase.
One genuine difference to know. Stepped is the odd one out on arguments — it passes two, (time, deltaTime), where every other event passes delta time alone. PreSimulation passes a single deltaTimeSim. This is the source of a classic bug:
-- WRONG: dt here is the total run time, not the frame delta
RunService.Stepped:Connect(function(dt)
	part.CFrame = part.CFrame * CFrame.new(0, 0, -10 * dt)
end)

-- Right
RunService.Stepped:Connect(function(runTime, dt)
	part.CFrame = part.CFrame * CFrame.new(0, 0, -10 * dt)
end)

-- Better: one argument, no ambiguity
RunService.PreSimulation:Connect(function(dt)
	part.CFrame = part.CFrame * CFrame.new(0, 0, -10 * dt)
end)
If you have ever seen a part teleport across the map on the first frame, this is usually why: Stepped's first argument is elapsed run time, which after ten minutes is 600, and 600 times your speed is a very long way.
deltaTime is the argument everyone throws away
Every one of these events hands you the seconds that elapsed since the last frame. PreRender gives you deltaTimeRender; PreAnimation, PreSimulation and PostSimulation give you deltaTimeSim; Heartbeat gives you deltaTime. Use it.
The arithmetic is not complicated. A client running at 60 FPS has roughly 16.7 ms frames. A client running at 30 FPS has roughly 33.3 ms frames. If you write this:
RunService.Heartbeat:Connect(function()
	part.Position += Vector3.new(0, 0.1, 0)
end)
…your part moves twice as fast on the good machine. That is not a stylistic problem, it is a gameplay problem — projectiles, dashes, and cooldown bars all desync by hardware. Multiply by delta and the units become "per second," which is what you actually meant:
local STUDS_PER_SECOND = 6

RunService.Heartbeat:Connect(function(dt)
	part.Position += Vector3.new(0, STUDS_PER_SECOND * dt, 0)
end)
Roblox does not lock every client to one frame rate, so treat frame rate as a variable you never control. If a value should be constant across machines, express it per second and scale it. For anything that is really an interpolation over a fixed duration rather than a per-frame nudge, stop hand-rolling it and use TweenService — the engine does the delta math and the easing for you.
PreRender and BindToRenderStep are client only
This is the one that produces the most "why doesn't my code run" posts. PreRender and RenderStepped are tied to rendering, and servers do not render. Roblox's reference is explicit: "As PreRender is client-side, it can only be used in a LocalScript, in a ModuleScript," and for the bind method, "As it is linked to the client's rendering process, BindToRenderStep() can only be called on the client."
There is also a hard warning attached to the render step that people skim past: "All rendering updates will wait until the code in the render step finishes. Make sure that any code called by BindToRenderStep() runs quickly and efficiently; if code takes too long, the experience visuals will be choppy."
That is not a soft suggestion. Code in the render step blocks the frame from being drawn. The task scheduler docs put the guidance bluntly: "Don't connect/bind functions to the render step unless absolutely necessary. Only tasks that must be done after input but before rendering should be done in such a way, like camera movement."
When you genuinely do need the render step — a custom camera rig is the canonical case — the docs are equally clear about which API: "For strict control over order, use BindToRenderStep() instead of PreRender." The reason is the priority argument, which PreRender has no equivalent for. Enum.RenderPriority gives you five documented slots:
| RenderPriority | Value |
|---|---|
First | 0 |
Input | 100 |
Camera | 200 |
Character | 300 |
Last | 2000 |
Lower numbers run earlier. A camera that must update after input is read but before the character is drawn goes at Enum.RenderPriority.Camera.Value:
local RunService = game:GetService("RunService")

RunService:BindToRenderStep("OrbitCamera", Enum.RenderPriority.Camera.Value, function(dt)
	local goal = computeCameraCFrame()
	camera.CFrame = camera.CFrame:Lerp(goal, math.min(dt * 12, 1))
end)

-- and when the system shuts down:
RunService:UnbindFromRenderStep("OrbitCamera")
Note that UnbindFromRenderStep takes the same name string you bound with, not a connection object. Forget it and the bind keeps running for the rest of the session — the same class of never-cleaned-up work that causes Roblox memory leaks. Bound render steps are also easy to lose track of because they do not show up as an RBXScriptConnection you can stash in a Maid.
PreSimulation vs PostSimulation: the physics sandwich
These two bracket the physics step, and Roblox's task scheduler documentation gives you the whole decision rule in one sentence: "Gameplay logic that affects the physics state should be done in PreSimulation, such as setting the Velocity of parts. In contrast, gameplay logic that relies on or reacts to the physics state should be handled in PostSimulation, such as reading the Position of parts to detect when they enter defined zones."
Write it out as a rule of thumb:
- Writing to physics →
PreSimulation. Applying forces, setting velocities, driving constraints, nudging aCFramebefore the solver runs. Do it after physics and the solver has already moved on; your change lands a frame late and looks like input lag. - Reading from physics →
PostSimulation. Zone checks, "did this part fall below the kill plane," landing detection, anything that needs the settled position of a simulated part. Read it before physics and you are reading last frame's answer.
Getting this backwards is subtle enough to survive testing. A trigger volume checked in PreSimulation works fine at walking speed and starts missing fast-moving parts, because the part crossed the volume entirely inside the physics step you read before. If you want the robust version of that check anyway, prefer real collision detection or a raycast over a per-frame distance comparison.
There is one more phase-specific trap worth memorising, and it is a direct quote: "Motor6D transform changes should be done on the PreSimulation event. If you don't, Animators will overwrite changes on the next frame." Every procedural aiming rig, every head-turn-toward-cursor system, every recoil offset that mysteriously does nothing is a candidate. If you are layering code on top of played animation tracks, that ordering is the whole ballgame — worth reading alongside the Roblox animation guide.
And if you need to touch animation objects themselves — swapping speed, changing priority — PreAnimation is the slot built for it: "Fires every frame, prior to the physics simulation but after rendering."
The 29 millisecond tax on legacy wait
Here is the specific, checkable number. The legacy global wait() is documented as "Yields the current thread until the specified amount of time in seconds have elapsed, with throttling," and its minimum duration is 29 ms. task.wait() is documented as "Yields the current thread without throttling," resuming on the next Heartbeat step.
Do the division. A while true do wait() end loop tops out around 34 iterations per second in the best case, and drops from there under load. A task.wait() loop on a 60 FPS client resumes about 60 times a second. Same code, nearly double the resolution, one character of difference.
task.wait() also returns the actual elapsed time, which is genuinely useful:
-- returns how long it really waited, not what you asked for
local elapsed = task.wait(0.5)
The old globals are not ambiguous about their status either. Each carries the same note: "This method has been superseded by task.wait() and should not be used for future work." Same wording for spawn() and delay() pointing at task.spawn() and task.delay(). Unlike the RunService events — which, again, are not deprecated — the legacy globals genuinely are.
The honest caveat: for a loop that ticks once a second, none of this matters. task.wait(1) and wait(1) will both give you roughly a second. The 29 ms floor only bites when you are asking for something short, which is exactly when people reach for wait() as a pseudo-frame-loop. If you want a frame loop, connect to a frame event. If you want a timer, use task.wait with a real number.
Spawn, defer and delay without the throttling
The rest of the task library maps cleanly onto the resumption points, and the one-line summaries in the docs are precise enough to memorise:
task.spawn(fn, ...)— "Calls/resumes a function/coroutine immediately through the engine's scheduler." Immediately means this frame, right now, before the current thread continues.task.defer(fn, ...)— "Calls/resumes a function/coroutine at the end of the current resumption cycle." Same frame, but after everything currently queued. Use it when you need something to happen once the current wave of event handlers has settled.task.delay(n, fn, ...)— "Schedules a function/coroutine to be called/resumed on the next Heartbeat after the given duration (in seconds) has passed, without throttling." The cancellable timer.task.cancel(thread)— kills a scheduled thread before it runs.
That last pairing is the useful one. task.delay returns the thread it scheduled, so you can call it off:
local pending = task.delay(3, function()
	endRound()
end)

-- if the round ends early for another reason:
if pending then
	task.cancel(pending)
	pending = nil
end
One scheduling wrinkle that will eventually matter: Workspace.SignalBehavior controls whether event handlers fire immediately or get deferred to the next resumption point. The docs state that Enum.SignalBehavior.Default "is currently equivalent to Enum.SignalBehavior.Immediate, but will eventually switch to being equivalent to Enum.SignalBehavior.Deferred." Under deferred signals an event that fires another event queues the second one instead of running it inline, with a re-entrancy depth limit the docs put at 10. Code that quietly depends on handlers running inline is code that will change behaviour when that default flips.
Which loop should you actually use
| You want to… | Use | Why |
|---|---|---|
| Move a camera smoothly | BindToRenderStep at RenderPriority.Camera | Runs after input, before render, with explicit ordering |
| Update a HUD that tracks a 3D object | PreRender | Last chance to adjust before the frame draws |
| Change animation speed or priority | PreAnimation | Built for animation objects, runs before they step |
Apply forces, velocities, Motor6D offsets | PreSimulation | Physics and Animators consume it this frame |
| Read settled positions, zone checks, landing | PostSimulation | Physics has already run |
| General per-frame server logic | Heartbeat / PostSimulation | Runs on server and client, end of frame |
| Wait a fixed amount of time | task.wait(n) | No 29 ms throttle, returns real elapsed |
| Run something after the current handlers settle | task.defer | End of the current resumption cycle |
| Run something later, cancellably | task.delay + task.cancel | Returns the thread |
| Anything on a server | Not PreRender/BindToRenderStep | Servers do not render |
The default for ordinary gameplay code is Heartbeat or PostSimulation, and that is fine — the docs note it is where most scripts run. Reach for a specific phase when you have a specific reason: you are writing to physics, reading from physics, touching animation, or blocking the render.
Proving it in the MicroProfiler
None of this is worth arguing about in the abstract. Open the MicroProfiler with Ctrl+F6 (Cmd+F6 on Mac) in Studio or the desktop client and look at where your milliseconds go.
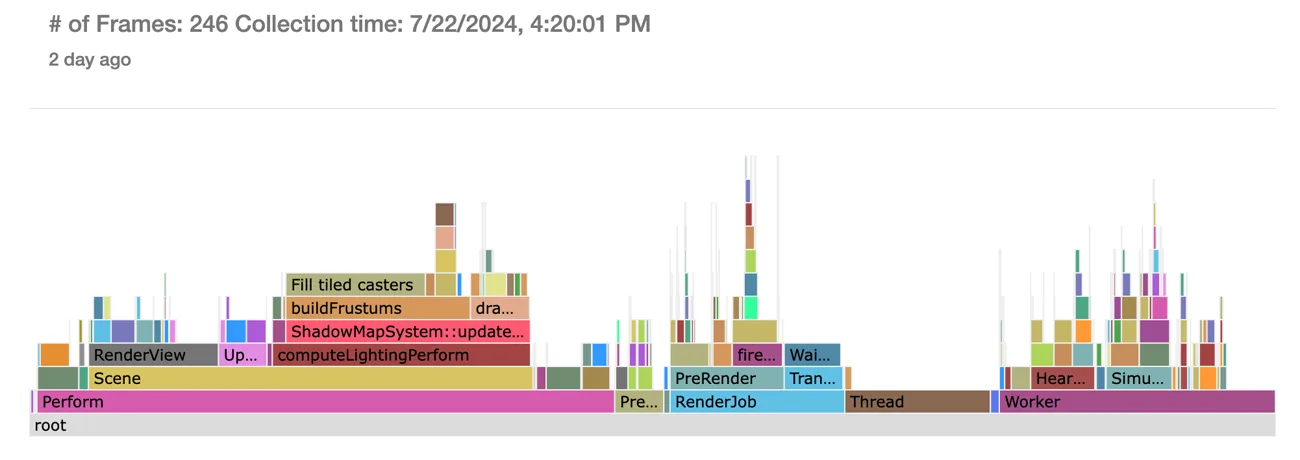
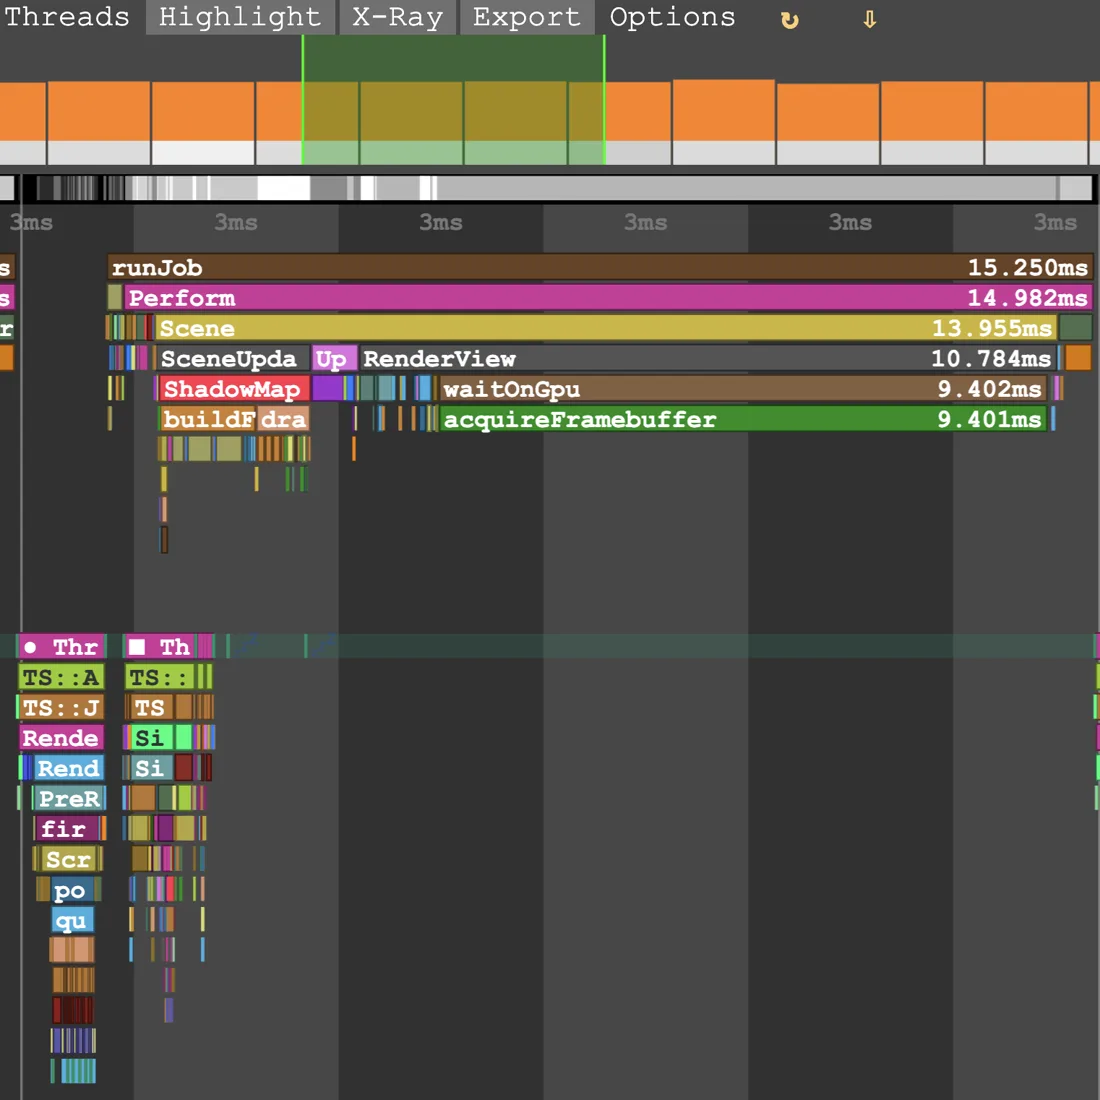
The flame graph above aggregates 246 frames, and you can read the whole frame structure off it: Perform (with Scene, RenderView and computeLightingPerform underneath), then RenderJob containing PreRender, then Worker containing Heartbeat and Simulation. Those are the same phase names from the table at the top of this post, drawn to scale. Your connections show up as named bars inside them.
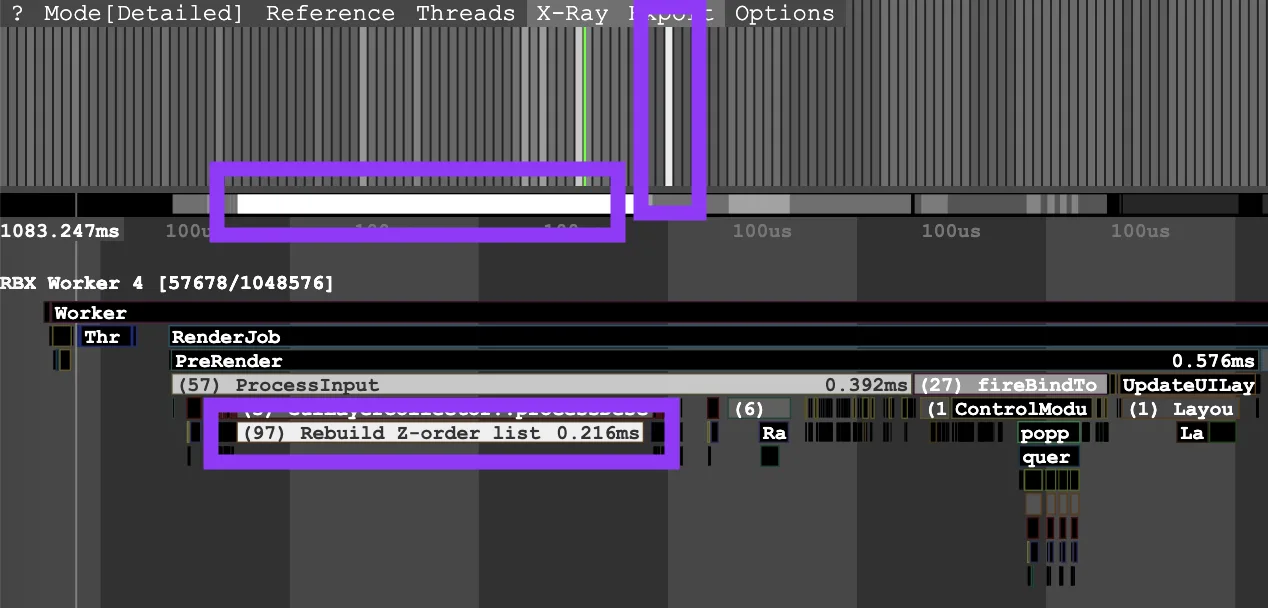
The X-ray capture earlier in this post shows the same thing at finer grain — PreRender at 0.576 ms, ProcessInput at 0.392 ms inside it, a fireBindTo entry called 27 times. Twenty-seven bound render-step callbacks in one frame. Each one is a place a bad decision can cost you the frame.
If you are still building the mental model for how connections, callbacks and threads relate, the Roblox Lua scripting basics guide covers the fundamentals underneath all of this, and ModuleScripts are how you stop copy-pasting the same loop into six different scripts.
Quick Action Checklist
- Replace
while true do wait() endwith a real frame event ortask.wait - Use
task.waitoverwaiteverywhere — 29 ms throttle floor versus none - Take the
deltaTimeargument and multiply movement by it, always - Remember
Steppedpasses(time, deltaTime)— two arguments, not one - Write to physics in
PreSimulation, read from physics inPostSimulation - Put
Motor6Dtransform changes inPreSimulationor the Animator overwrites them - Never connect
PreRenderor callBindToRenderStepin a server Script - Use
BindToRenderStepoverPreRenderwhen order matters, with anEnum.RenderPriorityvalue - Call
UnbindFromRenderStepwith the same name string when the system shuts down - Keep render-step code short — rendering waits on it
- Use
task.delayplustask.cancelfor timers you might need to call off - Do not panic-migrate
Heartbeat/Stepped/RenderStepped— onlyReset()andRun()are deprecated on RunService - Confirm your choice in the MicroProfiler with Ctrl+F6 rather than guessing
Frequently Asked Questions
What is the difference between Heartbeat, Stepped and RenderStepped in Roblox?
Are Heartbeat, Stepped and RenderStepped deprecated in Roblox?
Should I use task.wait or wait in Roblox?
Why does my RenderStepped code not run on the Roblox server?
What is deltaTime in Roblox and why does it matter?
What are the Roblox RenderPriority values for BindToRenderStep?
Why do my Motor6D changes get overwritten in Roblox?
What is the difference between task.spawn and task.defer in Roblox?
In what order do Roblox RunService events fire each frame?
Keep Reading
Related Guides
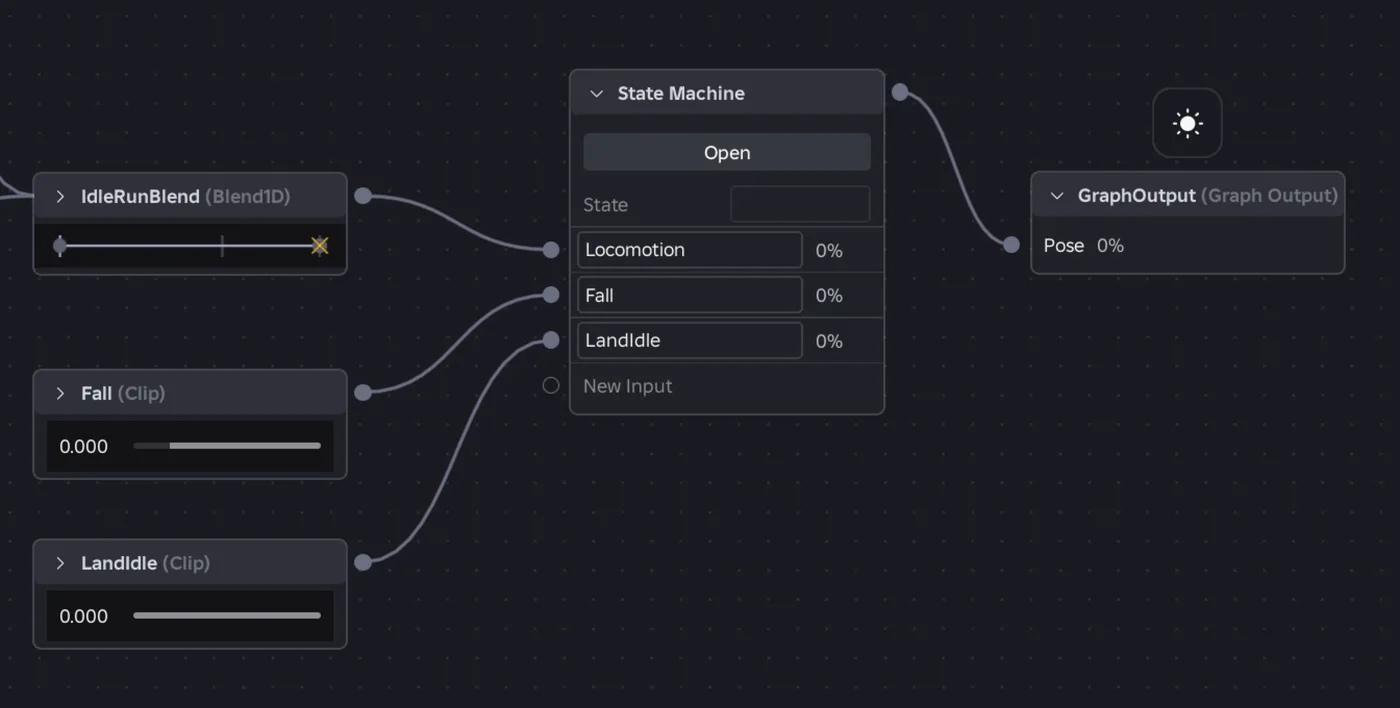
Roblox Animation Graph Editor: Blends and State Machines
Animation graphs left beta on July 15, 2026, and on October 8 Roblox added State Machine nodes and Expressions as a Studio beta. Here is how a graph loads like any animation, what each of the 15 node types does, how SetParameter drives it, what the beta features can't do in a live game yet, and who runs the graph under each authority mode.
Roblox Collision Summaries: Impact Speed, Point and Normal
Touched tells you what your part hit. BindToCollisionSummaries, live since October 6, 2026, tells you where, from which direction and how hard. Here are the seven fields, why one bump arrives as several summaries, the Normal field Roblox's own pages describe two ways, and the network-ownership rule that decides which machine sees a summary at all.
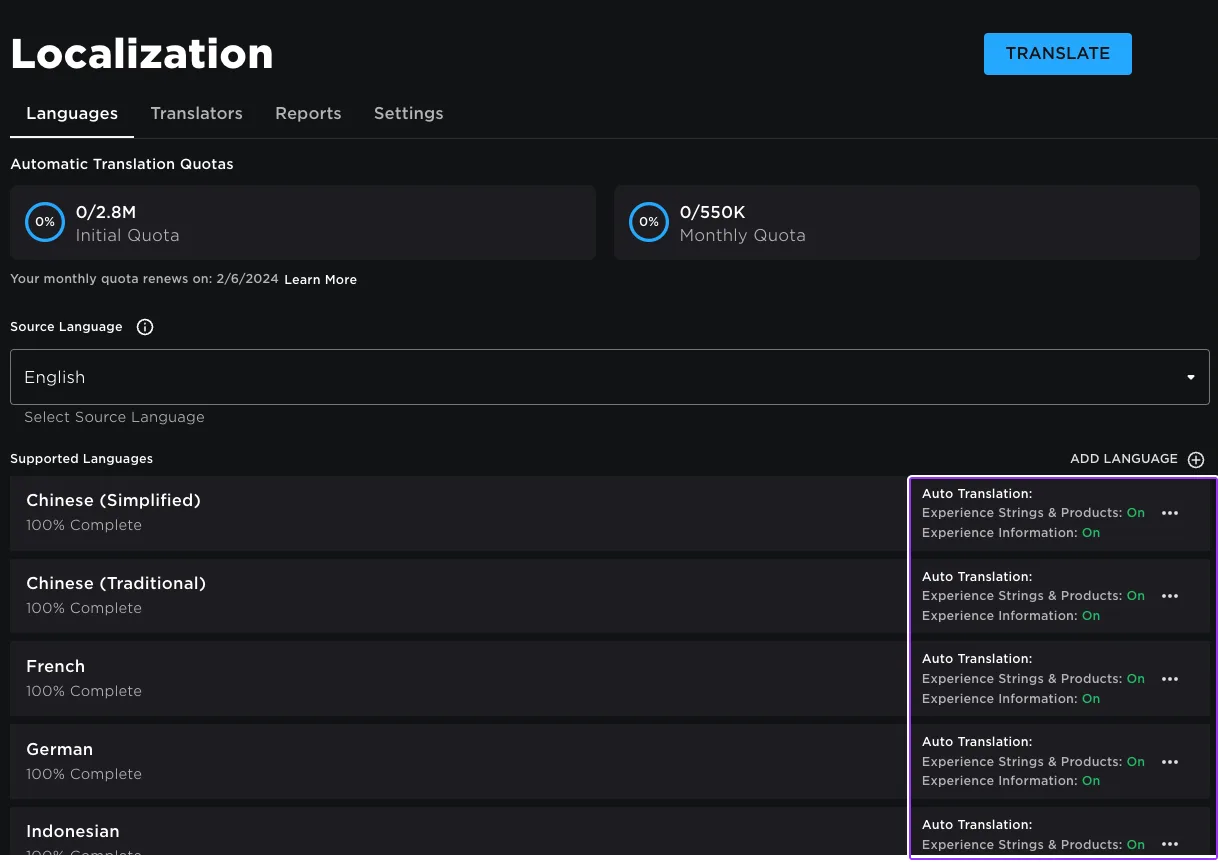
Roblox Localization: How to Translate Your Game
Since June 2026, any player can switch on Automatic Translations and read your game through Roblox's machine translator, whether or not you ever opened the Localization page. Here is what gets translated, how to stop it on text that should stay put, the five kinds of text automatic capture never sees, and the Translator and real-time APIs that cover the rest.
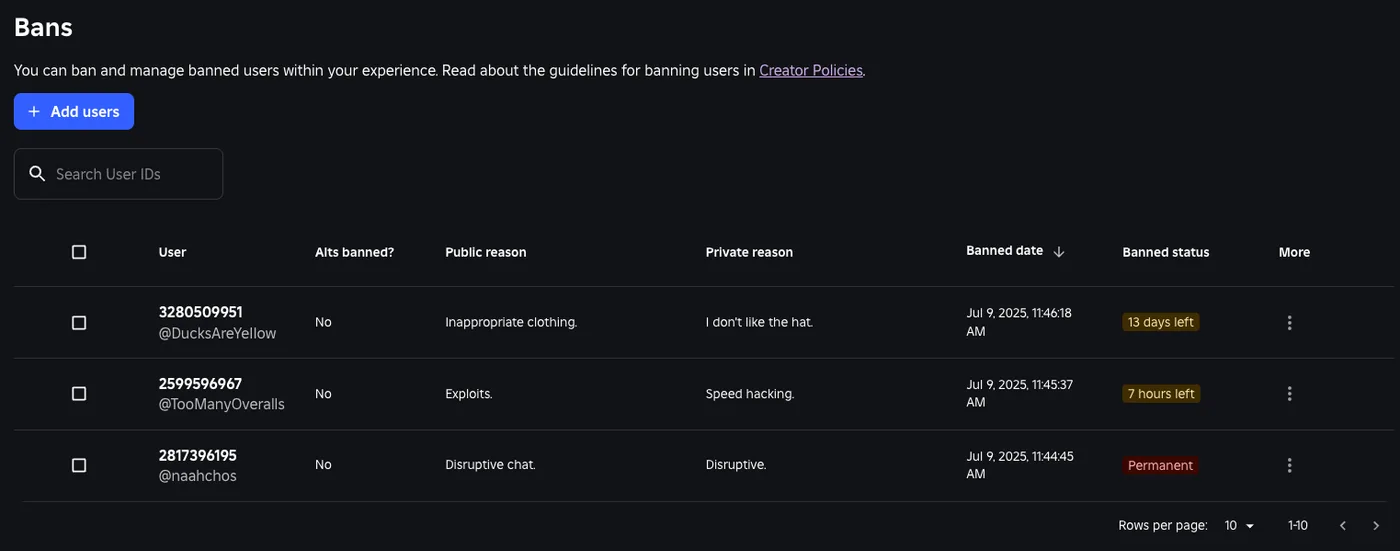
Roblox Ban API: BanAsync, Alt Accounts, Device Blocks
Player:Kick() drops someone from one server. Players:BanAsync() evicts them from every server, keeps them out for as long as you say, and bans their suspected alts by default. Here is every field in the config table, the scope rule that decides whether your unban does anything, the 24-hour device block only one unban path can lift, and why GetBanHistoryAsync fails in Studio.
Best Roblox Games to Play in 2026
Roblox's front page is engagement bait. This is the filtered version: the games with real, sustained player counts and actual staying power, sorted by what you're in the mood for.
How to Get Robux Safely (Legit Ways + Scams to Avoid)
There is no free Robux generator. There never was. Here are the actual legit ways to get Robux without overpaying, the earning methods that really work, and the scams that exist purely to steal your account.