Cookie Run: Braverse Matchup Guide - Archetype vs Archetype
Knowing your deck cold is half the battle - knowing the matchup is the other half. Here is how Braverse's five archetypes actually play against each other, who has to be the aggressor, and the plan that wins each pairing.
Two players with identical skill and identical decks sit down. One of them loses badly. The difference is almost never the draw - it's that one player knew which of them was supposed to be the aggressor and played accordingly, and the other one autopiloted their deck's "normal" plan into a matchup that punished it. That's what a matchup guide is for. Not memorizing lines, but knowing your role the moment you identify what you're up against.
This builds on our deck archetypes guide and assumes you already know how to play Braverse - the turn structure, the rest-to-pay energy economy, and how the Break Area feeds both win conditions. If you're fuzzy on any of that, read those first; everything below assumes you can already pilot a deck and now want to pilot it correctly against a specific opponent. One honest caveat up front: Braverse's competitive scene is young, and the sharpest public results are community-tracked and mostly regional, so I'll frame these as durable matchup principles rather than locked-in win-rate claims you should treat as gospel.
What a matchup actually is in Braverse
A matchup isn't "my deck versus your deck." It's a question with one correct answer most of the time: who has to be the aggressor, and who has to survive? Get that role wrong and you lose games your cards should win.
The tool that answers it is the oldest idea in card games - "who's the beatdown?" In any given pairing, one deck is the beatdown (it wins if the game ends soon) and one is the control (it wins if the game goes long). The trap is that decks don't have fixed roles. A Red aggressive deck is usually the beatdown, but against a faster, lower-curve opponent it can suddenly be the one that needs to slow down and stabilize. Reading your role correctly each game is the single highest-value skill in the format.
Braverse layers three of its own quirks on top of that universal idea:
- The slow curve is a shared clock. Braverse's roughly one-Support-per-turn tempo means nobody gets to cheat their mana wide open early. That compresses the difference between decks and makes sequencing - the order you rest cards to pay costs - matter enormously in close matchups.
- The Break Area is a public scoreboard for both win conditions. You can always see how close each player is to the combined Level threshold, which means you can often calculate the exact turn a race ends. Matchups are frequently math problems you can solve if you bother to count.
- FLIP cards hide information. Up to 16 FLIP cards can lurk in a 60-card deck (see the FLIP mechanic guide), so a "safe" attack into a healthy Cookie can blow up your attacker. Every matchup has a bluffing layer.
Hold those three things in your head and the specific pairings below stop being memorization and start being deductions.
The five-archetype triangle
You should be able to name your opponent's archetype within two turns, because identification is what unlocks the right role. The five-color map is the fastest read, and it forms a rough rock-paper-scissors that the rest of this guide expands on:
| Archetype | Home color | Win route | Favored into | Struggles against |
|---|---|---|---|---|
| Aggro | Red | Fast damage before you stabilize | Ramp, Combo | Control |
| Control | Yellow | Grind and out-value the long game | Aggro, Ramp | Combo |
| Ramp | Green | Out-resource the midgame | Control's midrange | Aggro |
| Combo | Blue | One explosive setup turn | Control | Aggro, Disruption |
| Disruption | Purple | Dismantle the opponent's plan | Combo, Ramp | Fast, resilient Aggro |
That "favored/struggles" column is general TCG theory mapped onto Braverse's archetypes, not a table of measured win rates - treat it as a reliable mental model, not a promise. The color pairs that push these plans further are broken down in the color pairs guide. What matters for matchups is that each pairing below has a clear "who's the beatdown" answer, and the whole game is playing your side of it well.
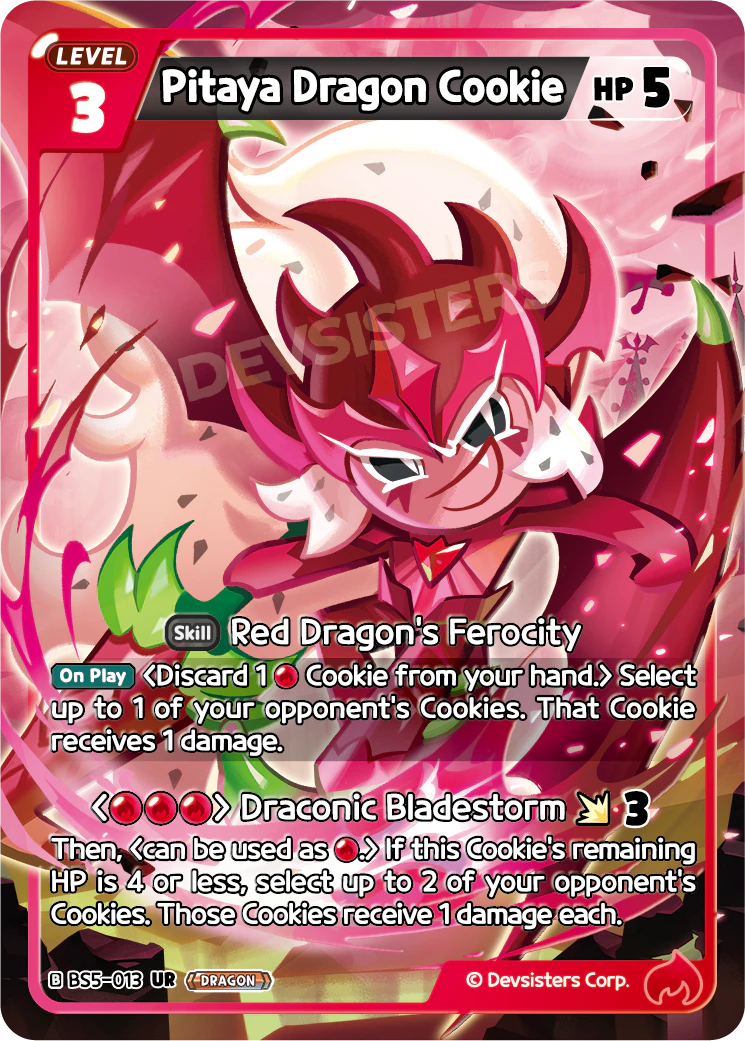
The clearest example of a beatdown card is Pitaya Dragon Cookie (BS5-013, a Level 3 Red Dragon Cookie with 5 HP from Operation Timeguard). Its Draconic Bladestorm attack deals 3, and if its own remaining HP is 4 or less it can select up to 2 of your opponent's Cookies and deal 1 damage to each. That's a card that wants the game to end soon and gets better as it takes damage - the definition of a beatdown finisher. When you see it, you know your opponent's role. Now you have to decide yours.
Aggro vs Control: the defining matchup
This is the pairing every Braverse player has an opinion about, and it's the one that teaches the format. Aggro (Red) is the beatdown, full stop. Control (Yellow) is trying to survive to the point where its card quality takes over. Both sides have a clear, opposite plan, and the games are decided by who executes theirs more purely.
Playing Aggro here: your job is to end the game before Control's value engine online. That means you do not trade politely. Every point of damage that goes to the opponent's life plan instead of their board is a point closer to lethal. The classic Aggro loss is getting greedy - trying to protect your board, holding back a threat "for value," giving Control the extra turn it needed. Don't. Curve out, push damage, and force Control to answer everything. Use your reach and pinging effects (like Pitaya's low-HP trigger) to finish through a stabilizing board rather than getting stuck one Cookie short.
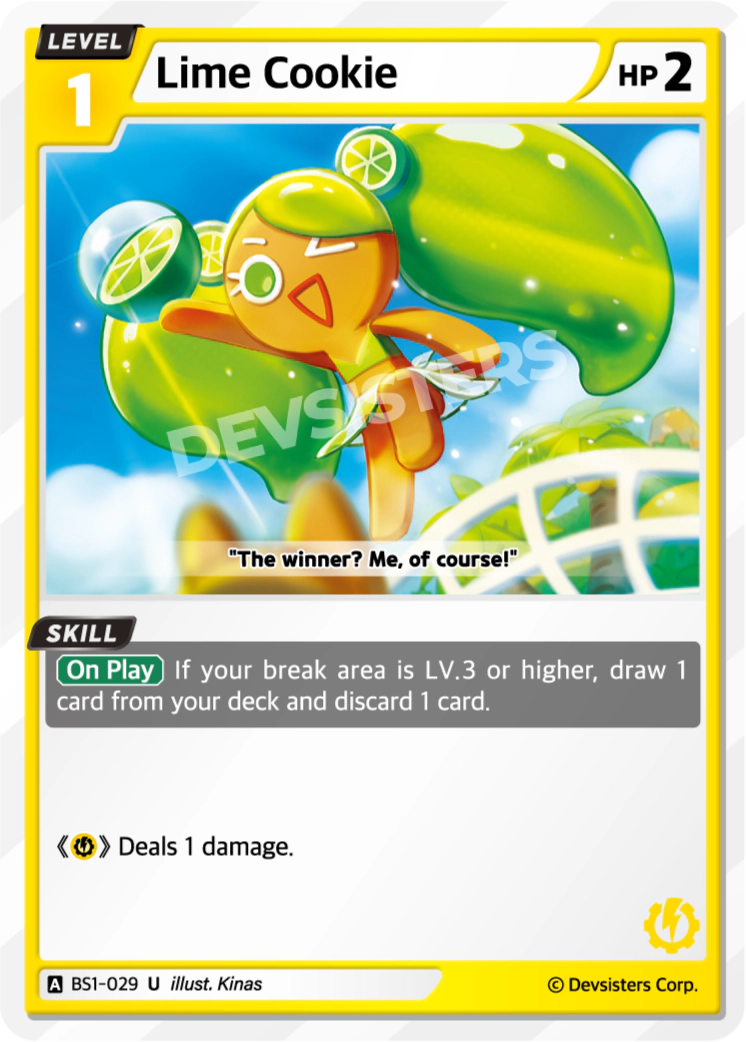
Playing Control here: your job is the opposite - survive, trade cleanly, and reach a board Aggro can't beat. The classic Control loss is panicking into bad early trades and running out of resources before the grind pays off. Patience is the skill. Cards that reward the long game get better every turn: Lime Cookie (BS1-029, Level 1 Yellow, 2 HP) filters your draws once your Break Area is Level 3 or higher, exactly the kind of incremental value that wins if you're still alive to use it. The whole matchup is a footrace between Aggro's clock and Control's stabilization, and the control deck guide drills the survival lines in detail.
The Aggro-vs-Control rule of thumb: if you're Red, count the turns to lethal and play toward that number. If you're Yellow, count the turns until your board wins and play toward that one. Whoever counts more accurately usually wins.
Aggro vs Ramp
Ramp (Green) wants to out-resource the midgame with cards like the ones in the midrange deck guide, but its setup turns are its vulnerable turns - and Aggro exists to punish exactly that. In this matchup, Aggro is the beatdown again, and it's usually favored.
Playing Aggro: apply pressure immediately and never let Ramp have a "free" development turn. Every turn the Green player spends building resources instead of affecting the board is a turn you're pushing damage. The Ramp payoff doesn't matter if they're dead before it comes online.

Playing Ramp: you have to survive the early turns to reach the point where your engine buries them. That means your greedy hands are traps against Aggro - you can't afford a slow setup when the clock is fast. Cards that recur resources and stabilize help you turn the corner: Pure Vanilla Cookie (BS9-065, Level 2 Green Ancient, 4 HP) can set a card in your Support area back to active once per turn if you have another Ancient Cookie, and its Scent of Lilies attack deals 3 and gives one of your Cookies +1 HP. That combination - a bit of extra energy plus a healing bump - is precisely what the Ramp deck needs to not fold to the early clock. If you can reach the midgame alive, you're ahead; if you can't, no engine saves you.
Control vs Ramp
Here's where it gets interesting, because both decks want the game to go long - so the "who's the beatdown" question has a subtler answer. This is a grind between two value decks, and the winner is usually whoever's late-game is more inevitable.
Ramp is often the relative beatdown in this pairing, because its whole point is generating more total resources than a fair deck can. Control has to answer that by being the better topdecking, trade-efficient deck - the win conditions guide matters here because you're both racing toward a Break Area threshold and you need to know which win route you're actually pursuing.
The practical read: don't try to race a dedicated Ramp deck on raw resources - you'll lose that arms race. Instead, pressure their setup enough that they can't ramp freely, then win on card quality and clean trades. Control's edge is efficiency; Ramp's edge is volume. Whichever deck forces the other to play its game wins.
Combo vs the field
Combo (Blue) is the boom-or-bust archetype: it wins with one explosive setup turn and loses if it never gets there. That makes its matchups the most polarized in the format. Combo is favored into slow decks that let it assemble - Control especially, which often can't disrupt fast enough - and it's an underdog against Aggro and Disruption, which either kill it before it goes off or strip the pieces out of its hand.
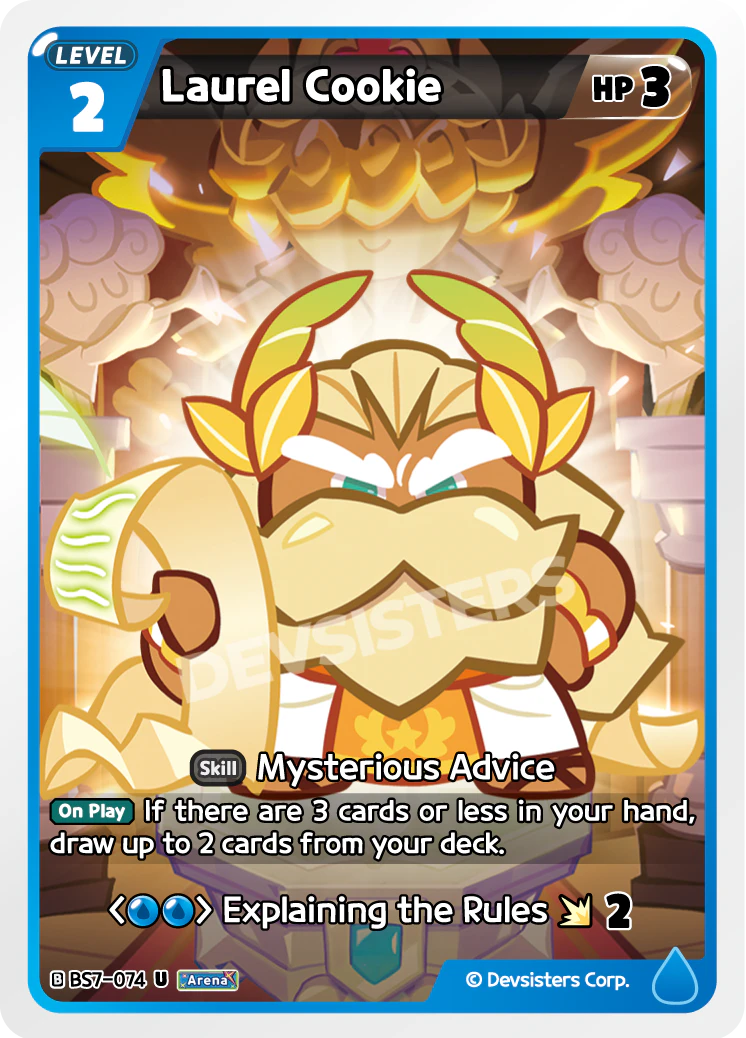
Playing Combo: your matchups come down to consistency, and consistency comes from card flow. Laurel Cookie (BS7-074, Level 2 Blue Arena, 3 HP) draws up to 2 cards on play if you have 3 or fewer cards in hand - the kind of refill that helps Blue dig to its payoff and refuel after committing to a setup turn. Against Control, take your time and assemble; against Aggro, you're on a brutal clock and often have to combo a turn earlier than you'd like or die. The combo deck guide covers how to sequence the go-off turn without fumbling it.
Playing against Combo: identify it fast (Blue with obvious card-draw is a tell), then either race it or disrupt it. If you're Aggro, you're the favorite - keep your foot down and don't give it the free turns it needs. If you have any hand disruption, the pieces are the weakness; strip them and the deck does nothing.
Disruption vs Combo and Ramp
Disruption (Purple) doesn't have its own proactive plan so much as it has a plan to ruin yours. It preys on decks that need specific pieces or a specific amount of time - which is exactly Combo and Ramp. Against those two, Disruption is often favored, because taking away a Combo deck's key card or a Ramp deck's tempo is backbreaking.
A representative Purple tool is Black Sapphire Cookie (BS9-100, Level 2 Purple, 4 HP): its On Play places 5 cards from the top of your opponent's deck into their trash (and 5 from yours), and its Showtime attack deals 3 while both players mill 3 more. That's a card that attacks the opponent's resources and time, not just their board - the essence of the Purple plan and a natural fit for the mill deck guide.
Where Disruption struggles: fast, resilient Aggro. If your whole plan is dismantling the opponent's plan, a deck whose plan is "deal damage with whatever's in hand" doesn't give you a juicy target - there's no combo piece to strip, no engine to slow, just a clock. Against Aggro, Purple has to pivot toward defensive trades and stabilization instead of disruption, and that's the matchup it least wants to be in.
The mirror match
When you sit down against your own archetype, the rock-paper-scissors collapses and the game becomes about tiny edges. Mirrors are where clean play is rewarded most, because both decks are trying to do the same thing and the difference is entirely execution.
The general mirror rules:
- In Aggro mirrors, the beatdown is whoever's slightly faster or more resilient. Sequencing and not over-committing into a blowout decide it. The player who plays around a FLIP and keeps a threat in reserve usually wins the damage race.
- In Control mirrors, card advantage is everything. These games go long, and whoever draws the most extra cards and trades most efficiently pulls ahead. Value engines like Lime Cookie's filtering matter more here than anywhere.
- In Combo mirrors, it's a race to go off first - but going off into an unprotected board can lose to a counter-combo, so timing and reading the opponent's readiness is the skill.
Across every mirror, the mulligan guide earns its keep: keeping the hand that executes your plan one turn faster is often the entire margin.
How to prep matchups before an event
Knowing the theory is worthless if you haven't put in the reps against the field you'll actually face. A short, honest prep routine:
- Learn the triangle cold so you can identify an archetype within two turns and immediately know your role - beatdown or survivor.
- Drill your worst matchup on purpose. Everyone practices the pairings they enjoy. Events are decided by the ones you hate, so grind those.
- Count, don't feel. Use the Break Area as the scoreboard it is and calculate the turn a race ends instead of vibing it. Most close-matchup losses are counting errors.
- Respect the bluff layer. Practice both playing around FLIP and representing one, because information is a resource in every matchup.
- Read the current, regional meta, because which matchups you'll face most is a moving target - the meta tier list and community tournament reports for your region beat any static assumption.
For the layer on top of this - deck selection, in-match discipline, and event logistics - the tournament guide is the companion piece.
Quick Action Checklist
- Ask "who's the beatdown?" first every game - decide whether your job is to end it fast or survive long, then play toward that number.
- Identify the archetype within two turns using the color read, and pick your side of the triangle immediately.
- As Aggro into Control or Ramp, refuse to slow down - push damage, don't trade politely, and finish through stabilization with reach.
- As Control or Ramp against Aggro, prioritize survival and clean trades - patience is the skill, and greedy setup turns get you killed.
- As Combo, lean on card flow to hit your payoff; race against Aggro, take your time against Control.
- As Disruption, hunt Combo and Ramp and pivot to defense against fast Aggro, which gives you nothing to disrupt.
- In mirrors, win on execution - sequencing, card advantage, and playing around FLIP.
- Count the Break Area every turn, drill your worst matchup, and read the current regional meta before you commit.
Frequently Asked Questions
Keep Reading
Related Guides
Cookie Run: Braverse Extra Deck Guide — All 17 Cards
The Extra Deck is six free cards that most Braverse players fill wrong. Here is how the zone actually works, all 17 EXTRA cards broken down by their printed conditions, and the build rule that decides whether your slots ever fire.
Cookie Run: Braverse Sideboard Guide — Tech Without One
Braverse locks your deck at registration - there's no sideboard to hide behind. This guide covers the tech binder system, flex-slot math, and database-verified swaps for aggro, control, mill, and midrange, so your 60 is already right before round one.
Cookie Run: Braverse Tech Cards Guide (Flex Slots That Win Games)
Tech cards are the flex slots that answer the deck your list has no plan for. Here's which Braverse answer traps, removal, bounce, and hate cards are worth running - all verified against the official database - plus how many slots to give them.
Cookie Run: Braverse Boss Cards Guide - Best Finishers
Braverse's biggest bodies max out at 6 HP, and every single one is a Level-3 boss. Here's what the top finishers actually do, which ones are worth the deck slot, and how many bosses a deck should really run before they start losing you games.

How to Play Cookie Run: Braverse - A Complete Beginner Guide
Cookie Run: Braverse is the rare TCG you can teach in a single match. This guide covers everything a first-time player needs: card types, setup, turn structure, how you pay for cards, the FLIP mechanic, and how to win.

Cookie Run: Braverse Meta Tier List — Best Decks & Archetypes Ranked
Which Cookie Run: Braverse decks are actually carrying right now? Here's a meta tier list of the strongest archetypes - the real cards that anchor each one, why they rank where they do, and what's overrated.