Cookie Run: Braverse Midrange Deck Guide (Build & Pilot Green/Yellow Midrange)
Midrange is the deck that beats aggro because it's bigger and beats control because it's faster - and asks you to actually read the game to know which one you're being. Here's how to build a value-driven Green/Yellow midrange deck in Cookie Run: Braverse, a real 60-card list you can buy, and how to pilot it.

There's a reason "just play midrange" is the most common advice handed to anyone who keeps losing in a card game. Midrange is the deck of fair, efficient threats backed by enough value that you rarely run out of gas - it beats aggro because your Cookies are bigger, and it beats control because you have a clock control can't fully answer. In Cookie Run: Braverse, the Green/Yellow value pair is the cleanest home for it.
One honesty note up front: this is an informed build, not a tournament-proven netdeck. The English meta is young, so treat the list as a strong, fact-checked starting point and confirm the current card pool against the official database before an event. If you want the format-wide map first, our deck archetypes guide shows where midrange sits between aggro and control - the two decks midrange is built to prey on.
What midrange actually wants to do
Midrange isn't "a deck with no plan that plays good cards." It's a real strategy with a clear shape:
- Play efficient, self-sufficient threats. Every Cookie should be worth its cost on its own - a fair body that also draws a card, buffs a teammate, or pings the opponent. You're not building toward one combo; you're stacking small advantages.
- Win every trade by a margin. Because your Cookies do a little extra, trading bodies with the opponent leaves you ahead - up a card, up an HP point, up a buff. Do that ten times and the game is over.
- Apply a steady clock. Braverse's main win condition is pushing your opponent's break area to a combined Cookie Level of 10. Midrange gets there at a measured pace: too fast for control to fully stabilize, with bodies too big for aggro to race.
- Grind out the long game. When the dust settles, your recursion and value engine mean you're the one still drawing live cards. Midrange's late game is quietly excellent.
The midrange truth: you don't need the best card in any matchup. You need the better average card every turn. Consistent two-for-ones win more games than any single bomb.
Why Green and Yellow are the value colors
Braverse's five colors each have an identity (the full rundown is in colors explained), and the two that define midrange are Green and Yellow:
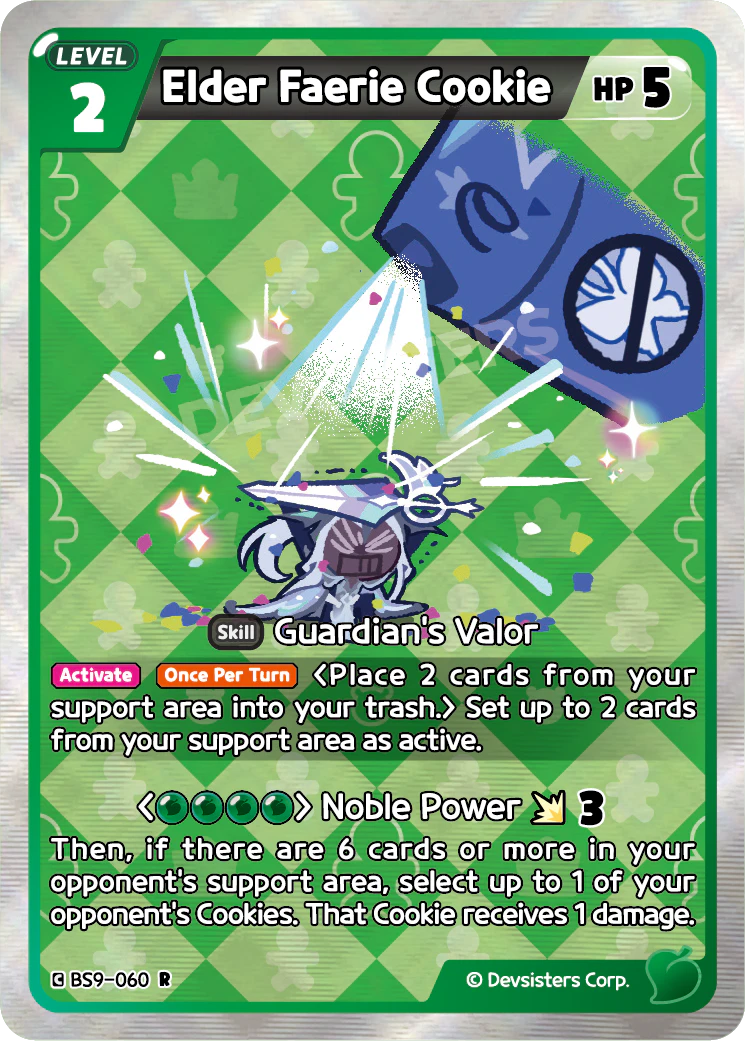
- Green is the value and support-engine color. Its identity is the support area - banking resources, refreshing them, and turning a steady stream of cards into a board that snowballs. Elder Faerie Cookie (BS9-060) sets support cards active and pressures the opponent's; Strawberry Crepe Cookie (BS7-049) digs and stocks support every turn.
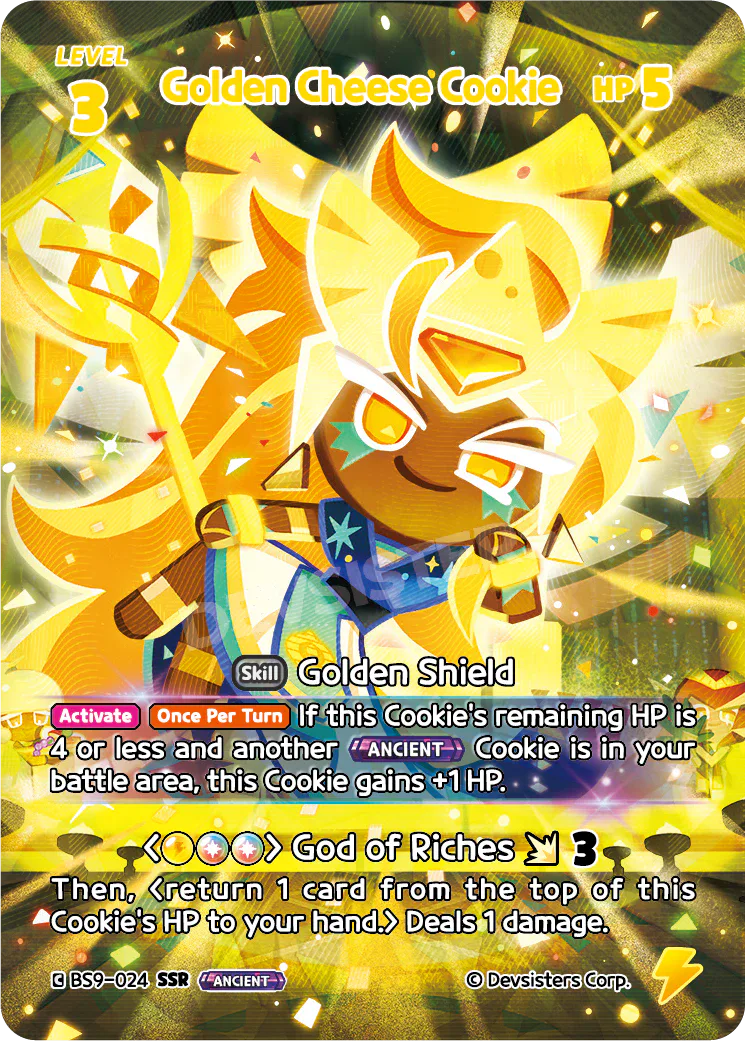
- Yellow is the durable, resilient-body color. Its identity is sticky Cookies that gain HP, refuse to die, and keep swinging. Golden Cheese Cookie (BS9-024), a Yellow Ancient, gains HP when it's low and tacks extra damage onto its attack; Dino-Sour Cookie (BS5-023) pumps its own attack and heals when wounded.
Together they give midrange exactly what it wants: Green keeps the cards flowing so you never run dry, and Yellow gives you bodies the opponent can't profitably remove. That's the recipe for a deck that grinds. For the wider toolboxes, our best Green cards and best Yellow cards guides go deeper; this one stays locked on the value-midrange shell.
The value engine that makes midrange tick
The reason this deck is more than "a pile of fair Cookies" is the value engine humming underneath. Green's support-area mechanics and Yellow's resilience layer two kinds of advantage on top of every body.
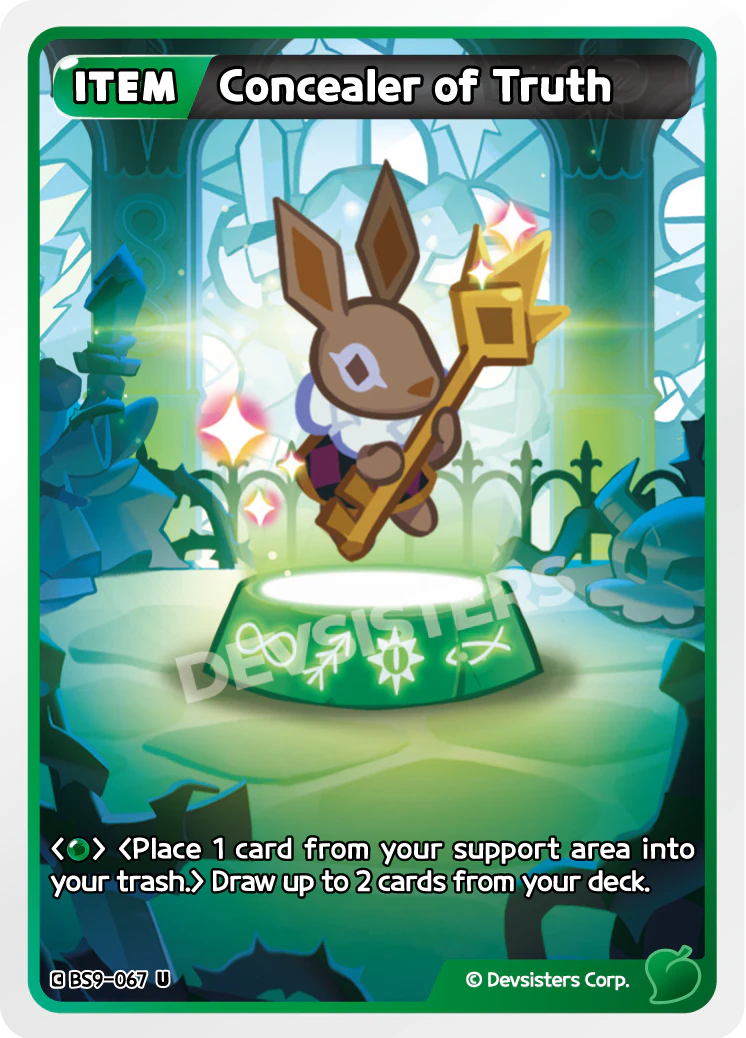
- Card flow. Concealer of Truth (BS9-067) is a clean "draw up to 2," GingerBrave (BS9-033) refills your hand when it's low, and Strawberry Crepe Cookie (BS7-049) digs each turn. You almost never topdeck blanks.
- Recursion and reuse. Green's support area lets you set cards active again and replay value - Elder Faerie Cookie (BS9-060) refreshes two support cards a turn, and Shining Glitter Cookie (BS7-055) replays Cookies from support. Every turn you're effectively getting more cards than the opponent.
- Resilient bodies. Yellow's Cookies gain HP and stick around. Golden Cheese Cookie (BS9-024) heals itself, Dino-Sour (BS5-023) heals when low, and Chess Choco Cookie (BS9-038) buffs the whole team's HP with a second copy out. Sticky bodies mean your threats survive removal and keep applying pressure.
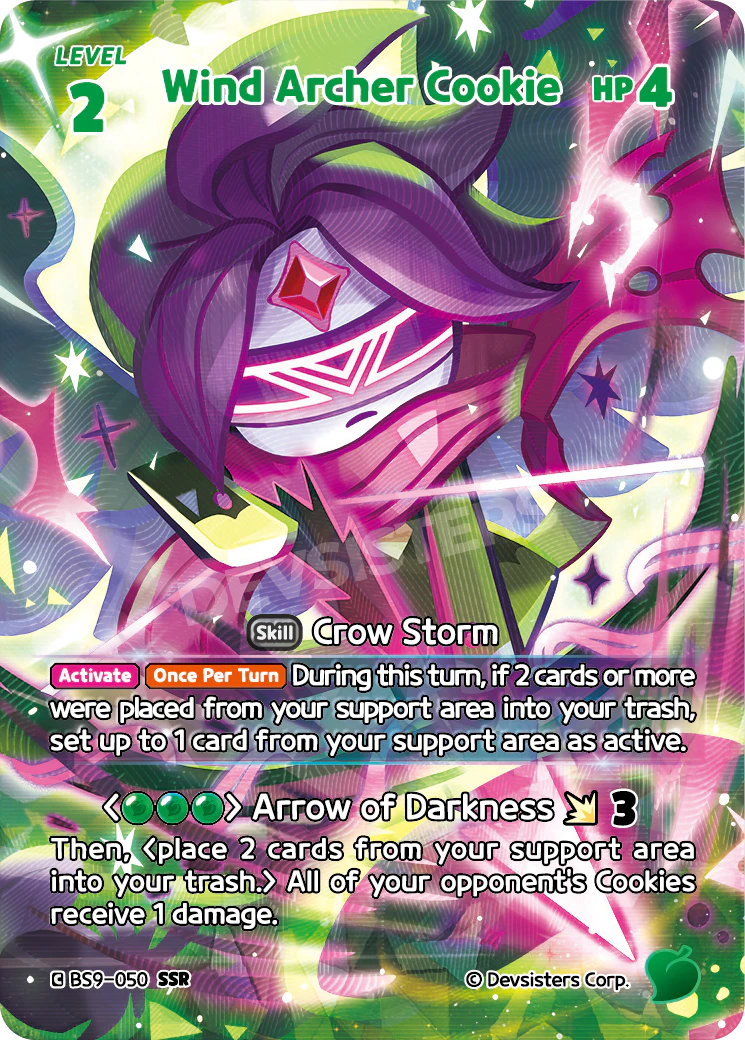
- Built-in interaction. You're not pure beatdown. Wind Archer Cookie (BS9-050) pings the opponent's whole board on attack, Candy Drop Cookie (BS7-033) deals 2 to a Cookie on play, and a small Trap package (Broken Seal BS9-069, Petrification BS5-065) blunts the swings you can't block. That's enough disruption to win the trades that matter.
The engine truth: midrange wins by being resource-positive. If every Cookie you play either draws a card, buffs a teammate, or removes a threat, you'll simply have more board and more hand than the opponent by turn six - and that's the whole game.
A sample Green/Yellow midrange decklist
Here's a complete 60-card Green/Yellow value-midrange shell built entirely from real, verified cards. It respects the construction rules: exactly 60 cards, at least one Cookie, and up to 4 copies of any card number. Card numbers are cited so you can find each one in the official database.
Cookies - LV.1 (early plays & enablers):
- 4x Mercurial Knight Cookie (BS9-054) - one-cost Green body that pumps a Cookie's attack each turn; cheap and flexible.
- 4x GingerBrave (BS9-033) - one-cost Yellow that refills your hand when it's low; your early card-flow piece.
- 3x Fig Cookie (BS9-049) - Green LV.1 that disrupts an opposing LV.1 when it faints; trades up.
Cookies - LV.2 (the value core):
- 4x Chess Choco Cookie (BS9-038) - swings for 3 and buffs the whole team's HP with a second copy out; a sticky two-drop.
- 3x Ring Candy Cookie (BS9-052) - scales its attack as your support area fills; a payoff for the value engine.
- 3x Dino-Sour Cookie (BS5-023) - pumps its own attack and heals when low; a resilient Yellow body.
- 3x Strawberry Crepe Cookie (BS7-049) - digs and stocks your support area every turn; the consistency engine.
- 4x Elder Faerie Cookie (BS9-060) - refreshes two support cards a turn and pressures the opponent's support; the backbone.
- 4x Wind Archer Cookie (BS9-050) - swings for 3, then pings the opponent's whole board for 1; board-wide reach.
Cookies - LV.3 (the durable top end):
- 3x Candy Drop Cookie (BS7-033) - deals 2 to an opposing Cookie on play; removal stapled to a body.
- 3x Clover Cookie (BS9-064) - a LV.3 body that strips the opponent's support when it faints; value even in death.
- 3x Golden Cheese Cookie (BS9-024) - the Yellow Ancient; self-healing, extra damage, near-impossible to trade with.
- 3x Pure Vanilla Cookie (BS9-065) - the Green Ancient; refreshes support and heals a Cookie on attack.
Items (the glue):
- 3x Meat Jelly (BS9-066) - +1 HP to a Cookie; wins a trade or saves a key body.
- 4x Concealer of Truth (BS9-067) - "Draw up to 2 cards from your deck"; your clean card-advantage Item.
Traps (the interaction):
- 3x Radiant Light of Protection (BS9-068) - shrinks all opposing attacks when you're behind on support; an anti-aggro speed bump.
- 3x Broken Seal (BS9-069) - -2 attack to a Cookie, with extra value when the opponent's hand is full.
- 2x Petrification (BS5-065) - cheap -2 attack to blunt the swing you can't block.
That's 4+4+3 + 4+3+3+3+4+4 + 3+3+3+3 + 3+4 + 3+3+2 = 60 cards. It's a coherent two-color list: efficient LV.1 enablers, a deep LV.2 value core, durable Ancient-anchored LV.3 bodies, and just enough card draw and disruption to win the long grind. Counts are a matter of taste - which staples sit at common or uncommon shifts with the card pool, so confirm current printings against the official database. For the build philosophy behind these ratios, pair this with deck-building basics.
How to pilot the deck
Building the deck is the easy half. Midrange asks you to play tightly - it doesn't bail you out the way aggro's raw speed or control's wall of answers can. The principles:
- Curve out, but with intent. Play a one-drop that enables, a value two-drop, then a threat - and make sure each one is doing its job. Don't dump your hand; develop just enough to stay ahead while keeping cards for the trades to come.
- Trade up relentlessly. Your bodies are bigger and stickier, so initiate the trades you win and decline the ones you don't. Use Wind Archer Cookie's board ping (BS9-050) and Candy Drop's 2 damage (BS7-033) to break even fights in your favor.
- Protect your engine. Strawberry Crepe Cookie (BS7-049) and Elder Faerie Cookie (BS9-060) are why you'll out-card the opponent. If they're vulnerable, hold a Meat Jelly (BS9-066) or a Trap to keep them alive - a turn of their value is worth more than a marginal attack.
- Bank value, then convert it. Green wants you to stock the support area, but cards in support aren't winning the game by themselves. Once you're resource-ahead, start cashing that lead into board pressure and break-area damage.
- Mind the break-area math. The game ends at a combined Level of 10 in someone's break area. Your durable LV.3 Cookies are worth a lot when they die, so don't feed them into bad trades - make the opponent overspend to remove them. The win conditions guide covers the Level math in full.
Knowing your role: the midrange superpower
The single most important midrange skill is figuring out, by turn three, whether you're the beatdown or the control deck in this particular game - and it flips by matchup.
- Against aggro, you're the control deck. Your Cookies are bigger and stickier, so trade aggressively, lean on Radiant Light of Protection (BS9-068) and your Traps, and let your card-flow bury them. Don't race a faster deck; out-size it.
- Against control, you're the beatdown. Now you're the fast one. Apply pressure before their answers come online, force them to use removal on bodies that already got their value, and don't durdle - a control deck left alone wins the truly long game. Deploy threats, attack, and make them react.
- Against other midrange, value wins. Mirror matches come down to who got the better trades and drew the better engine. Play tight, protect your Strawberry Crepe and Elder Faerie, and let the resource-positive cards do their work.
Misreading your role is the number-one way midrange loses: durdling against control or racing against aggro hands the game away. Read the matchup, pick a role, and commit.
The pilot's mantra: every game, I decide whether I'm the hammer or the anvil - and then I play that role without flinching.
Mulligan and opening hands
Midrange hands want a curve plus a value engine. You're looking for:
- A one- or two-drop to start. Mercurial Knight (BS9-054), GingerBrave (BS9-033), or Chess Choco (BS9-038) means you're not behind out of the gate.
- An engine piece or card-flow card. Strawberry Crepe Cookie (BS7-049), Elder Faerie Cookie (BS9-060), or Concealer of Truth (BS9-067) so the hand keeps growing.
- A reasonable top end. One LV.3 to land on is plenty - you don't want three.
Ship hands that are all top-end (you'll be behind before you cast them) or all low-impact one-drops with no follow-through (you'll run out of gas). The ideal keep curves out and refuels. Our full mulligan and opening hand guide covers the framework; for this deck, the short version is "keep the hand with a play, an engine, and a payoff."
Midrange mistakes to avoid
The classic ways midrange pilots throw away winning positions:
- Misreading your role. Durdling against control or trying to out-grind aggro is the cardinal sin. Decide whether you're the hammer or the anvil early, and play it.
- Dumping your hand too fast. Midrange isn't aggro. Over-committing into a board sweep or a key Trap loses you the resource edge that's your whole advantage. Develop enough to stay ahead, no more.
- Hoarding value forever. The flip side: a hand full of cards you never convert into board pressure just means you lose the long game to a deck that does. Bank value, then spend it.
- Trading down. Your Cookies are bigger - never initiate a trade you lose. If the math isn't in your favor, hold and pass; a fair deck that makes only good trades wins almost by default.
- Forgetting your own break-area math. Feeding your durable LV.3 bodies into bad fights can advance your break total and hand the opponent the alternate win. Always know whose break total a trade feeds.
The cheapest mistake to avoid is autopilot. Aggro forgives a brain-off attack; midrange punishes every loose trade. Slow down half a second and ask who the trade favors.
Quick Action Checklist
- Build two-color Green/Yellow - Green for the value and support engine, Yellow for durable, sticky bodies.
- Make every card resource-positive - a fair body that also draws, buffs, or removes; stack small advantages.
- Curve out with intent - develop just enough to stay ahead while keeping cards for the trades to come.
- Trade up relentlessly - initiate fights your bigger Cookies win, decline the ones you don't.
- Protect the engine - keep Strawberry Crepe and Elder Faerie alive; a turn of value beats a marginal attack.
- Know your role - control deck vs aggro, beatdown vs control; decide by turn three and commit.
- Bank value, then convert it - cash your resource lead into board pressure and break-area damage.
- Verify current printings against the official database - the English card pool is young and shifts set to set.
Frequently Asked Questions
Keep Reading
Related Guides

Cookie Run: Braverse Tempo Deck Guide (Build & Pilot Blue Tempo)
Tempo is aggro that learned to play defense. Here's how to build a Blue-Red tempo shell in Cookie Run: Braverse, a real decklist of cards you can buy, and how to keep the clock running while the other deck flails a turn behind.
Cookie Run: Braverse Combo Deck Guide (Build & Pilot Purple Recursion)
Combo in Braverse isn't a one-card instant-kill - it's a Purple value engine that replays Cookies out of your trash until the opponent runs out of answers. Here's the real decklist, the loop, and how to pilot it without bricking.

Cookie Run: Braverse Mill Deck Guide (Build & Pilot Purple Deck-Out)
Mill in Braverse won't deck someone to zero for an instant win - the game doesn't work that way. But a Purple deck-out shell weaponizes the opponent's trash, fuels its own payoffs, and starves their Cookie supply. Here's the real list.

Cookie Run: Braverse Control Deck Guide (Build & Pilot Blue/Purple Control)
Control is the deck that says "go ahead, swing" and then makes you regret it. Here's how to build a reactive Blue/Purple control shell in Cookie Run: Braverse, a real 60-card list of cards you can actually buy, and how to pilot it without drowning in your own clever answers.

How to Play Cookie Run: Braverse - A Complete Beginner Guide
Cookie Run: Braverse is the rare TCG you can teach in a single match. This guide covers everything a first-time player needs: card types, setup, turn structure, how you pay for cards, the FLIP mechanic, and how to win.
Cookie Run: Braverse Meta Tier List — Best Decks & Archetypes Ranked
Which Cookie Run: Braverse decks are actually carrying right now? Here's a meta tier list of the strongest archetypes - the real cards that anchor each one, why they rank where they do, and what's overrated.