Super Mario 64 Health Guide: Damage Values and How to Heal
Every enemy hit in Super Mario 64 costs one, two or three wedges, every coin colour heals a fixed amount, and floating at the surface of water repairs damage that water never caused. The health system is small enough to learn completely — here is the whole thing, with the exact numbers.
Super Mario 64 hides its health bar. The Power Meter only pops up when you take damage or enter water, it disappears again the moment it refills, and the game never once explains what a wedge of it is worth. So you learn health by vibes: coins help, falls hurt, drowning is bad.
The actual system is small enough to learn completely. Every damage source in the game costs one, two or three wedges — four for the biggest falls — every coin colour heals a fixed amount, and the fastest full heal is not an item at all, it is floating at the surface of any warm water. Here is the whole machine, with the exact values, from the Super Mario Wiki's Power Meter documentation and Ukikipedia's HP page.
Everything below is the N64 original — which is also what runs in Super Mario 3D All-Stars and Nintendo Switch Online — with the DS remake's changes collected at the end.
The eight wedges are really 2,176 HP
The meter shows eight wedges on a wooden Mario-head dial, and the wedges change colour as they drain: blue at seven or eight, green at five or six, yellow at three or four, red at one or two. At red, Mario pants while standing still — which the Super Mario Wiki records as a purely cosmetic effect, because he can still perform every move.
Under the display, per Ukikipedia's HP page, health is a number from 0 to 2,176, and one wedge is 256 units. Two consequences of that are worth knowing:
- The maximum is actually 8.5 wedges — 2,176 divided by 256 — and the display truncates, so a "full" meter is holding half a wedge more than it shows.
- Mario dies below 256 units, not at zero. One displayed wedge is the last one. And once he is below that line, healing stops working entirely: the game's heal counter still ticks up if you grab a coin mid-death-animation, but it no longer applies. There is no clutch save from a coin once the meter is empty.
Health also does not move in single points. Ukikipedia documents an increase counter and a decrease counter that pay out in 64-unit steps, one per frame — a quarter wedge each. Touch a Goomba and the decrease counter is set to 4, so the wedge drains over four frames. That is why the meter visibly winds down rather than snapping.
Every way to heal, and what each is worth
Between Ukikipedia's HP page and the Super Mario Wiki's Power Meter section, the list of things that add health is short:
| Source | Wedges restored |
|---|---|
| Yellow coin | 1 |
| Red coin | 2 |
| Blue coin | 5 |
| Spinning Heart | 1 per full rotation |
| Air bubble (underwater) | 5 |
| Manta ray ring (Dire, Dire Docks) | 2 |
| Surface of warm water | Refills to full |
| Collecting a star that exits the course | Refills to full |
Three rows in that table are worth a second look.
Blue coins heal as much as any pickup in the game. Five wedges from one grab — the same value they carry toward the 100-coin star, which is why killing a Boo or a Mr. I at low health solves two problems at once.
Air bubbles heal five wedges, not "some air." The bubbles that drift up in underwater caves are worth as much as a blue coin. In a long swim they are a bigger deal than the coins around them.
The manta ray in Dire, Dire Docks is a swimming Spinning Heart. Each ring it leaves behind restores two wedges when you swim through it.
There is no healing item you can carry, no health upgrade, and nothing that raises the cap. The system is entirely pickups and placement — which is exactly why knowing where the Spinning Hearts are changes how you play.
Spinning Hearts: run, don't walk
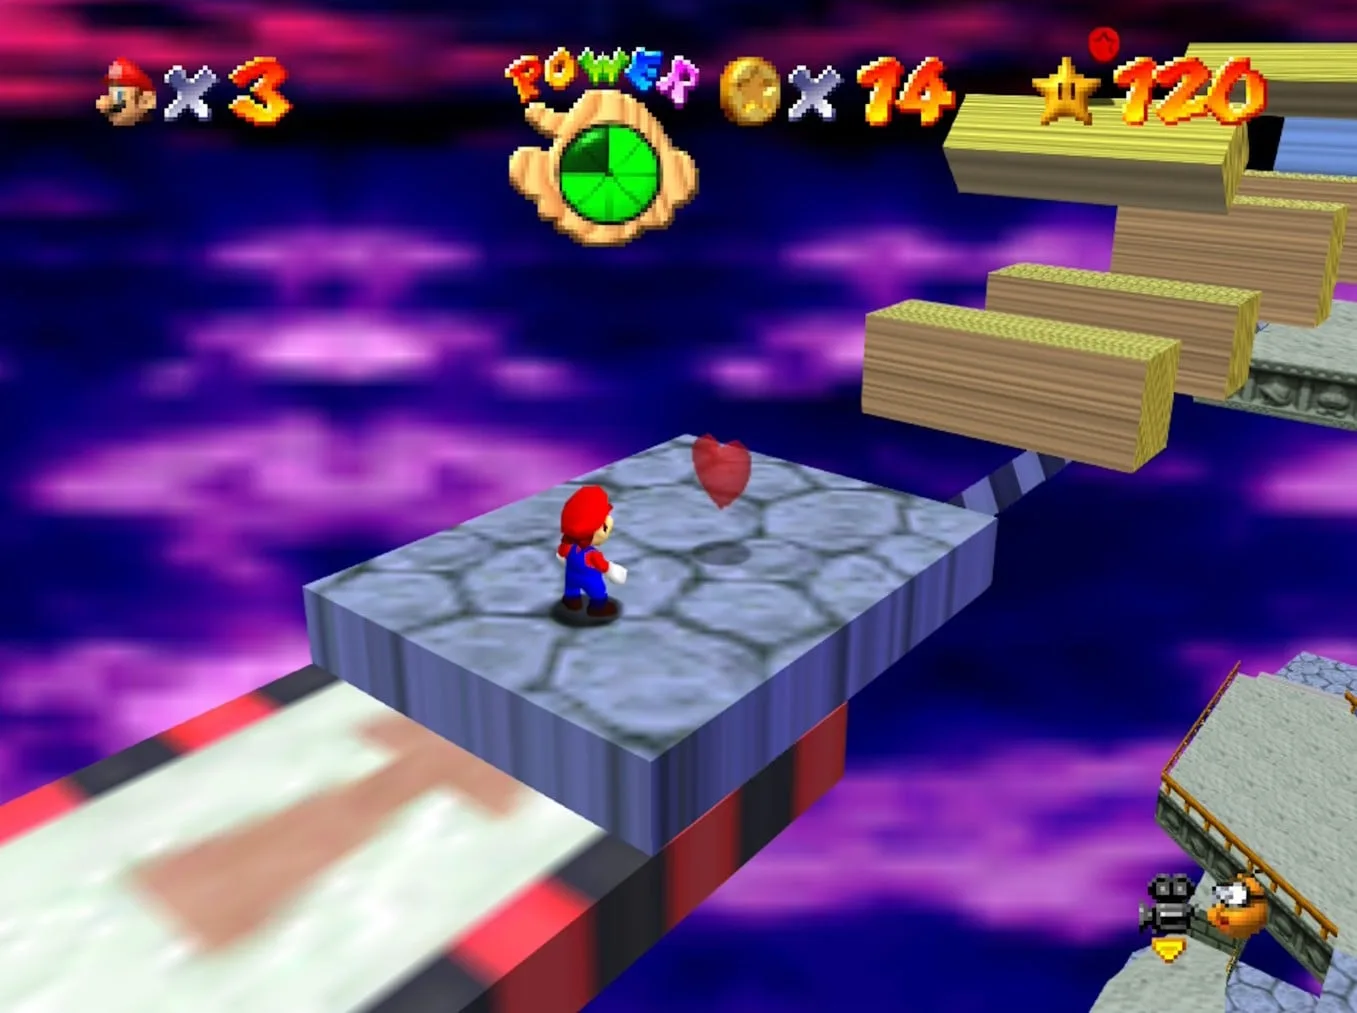
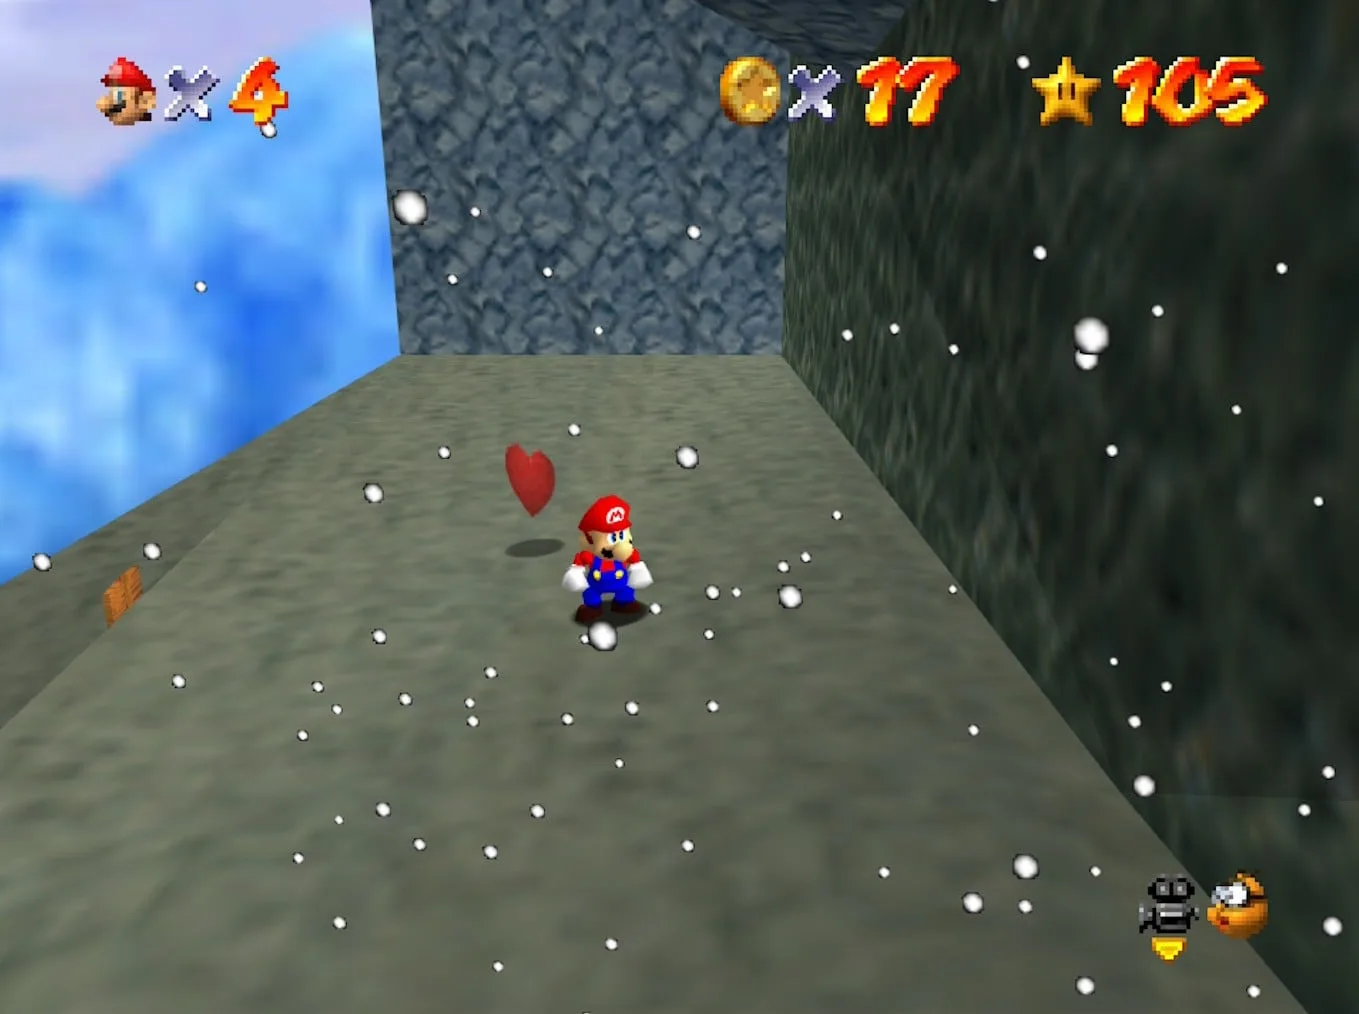
The translucent red hearts revolve slowly on the ground, and the sign next to the first one in Bob-omb Battlefield tells you the mechanic without giving you the number: the faster you move through the heart, the more power you recover. The Super Mario Wiki's page — citing the same HP research as Ukikipedia — makes it exact: the heart spins in proportion to your speed through it, slows back down over time, and heals one wedge per full rotation for as long as it is turning faster than its idle rate. A dead-slow walk through a heart is worth almost nothing. A long jump through it sets it blurring and pays out for seconds afterwards.
The Super Mario Wiki catalogues 15 hearts across the two versions of the game, and on the N64 that comes to 13 — the second Tick Tock Clock heart is N64-only, and the DS remake trades it for two hearts of its own in Goomboss Battle. The placement is a map of where Nintendo expected you to be hurting — hazard gauntlets and the runway into boss fights. On the N64:
| Course | Where |
|---|---|
| Bob-omb Battlefield | Near the top of the mountain, next to the sign |
| Cool, Cool Mountain | Under the "Wall Kicks Will Work" star |
| Hazy Maze Cave | Ledge beside the pit in the boulder area |
| Lethal Lava Land | Floating platform inside the volcano |
| Shifting Sand Land | Inside the pyramid, between the Spindel and the stairs |
| Tick Tock Clock | Under the rotating bars; a second beside the Amp pole |
| Rainbow Ride | One on the spinning-platform hub; one at the red-coin maze |
| Bowser in the Fire Sea | Bottom-level Goomba platform; top level before the poles |
| Bowser in the Sky | Halfway up on the arrow-platform path; before the final pipe |
Read the gaps in that table, because they are course-design statements. Big Boo's Haunt, whose enemies mostly hit for two or three wedges, has no heart at all — the course guide covers how much that changes the mansion. Neither does Tall, Tall Mountain, Jolly Roger Bay, or most of the water courses, where the surface itself is the heal. The two hearts each in Bowser in the Fire Sea and Bowser in the Sky are the closest thing the game has to a mercy rule.
Every enemy hit is one, two or three wedges
Ukikipedia's HP page sorts every damaging enemy in the game into a handful of tiers, and once you see the tiers you can price any room at a glance:
| Damage source | Wedges | Wedges without cap |
|---|---|---|
| Amp shock | 1 | 2 |
| Light contact (Goomba, Scuttlebug, Swoop) | 1 | 2 |
| Standard contact (Bob-omb, Boo, Mr. I, Lakitu, Spiny, Snufit, Mr. Blizzard, Pokey, Bookend, Fly Guy, Grand Goomba) | 2 | 3 |
| Heavy contact (Big Boo, Bullet Bill, Chain Chomp, Mad Piano, Piranha Plant, Sushi, Unagi) | 3 | 5 |
| Squish (Thwomp, Whomp, King Whomp, Grindel, Spindel, Tox Box) | 3 | 4.5 |
| Small fall | 2 | 3 |
| Lava touch | 3 | 4.5 |
| Big fall | 4 | 6 |
The practical read of the top tiers: the ordinary shuffling enemies cost a wedge, everything that explodes, floats or throws a projectile costs two, and the game's genuinely scary contact — the shark, the eel, the piano, the Chomp — costs three. A full meter gives you two heavy hits of margin, and the hidden half wedge does not buy a third: 2,176 minus three 768-unit hits lands below the 256 death line.
And then there is the tier the table cannot show: enemies that deal no damage at all but kill you anyway. Ukikipedia lists Bullies, Chuckyas, Heave Hos, Klepto, Koopas and Bomps as dealing zero wedges. Bullies win by shoving you into lava. Chuckyas and Heave Hos win by throwing you — into a pit, or high enough that the landing is a fall-damage problem. The damage system is not the only way to lose a fight; the boss guide is full of enemies whose whole threat is the floor.
Losing your cap costs more than 50 percent on some hits
The right-hand column of that table deserves its own section, because the Super Mario Wiki's own blanket summary — capless Mario takes 50% more damage — undersells the worst cases. Ukikipedia's exact values:
- One-wedge hits become two. That is double damage, not half again: a bare-headed Mario is paying two wedges per Goomba.
- Three-wedge heavy hits become five. An Unagi or Mad Piano hit takes five of your eight wedges.
- The 50% figure is accurate for the middle of the table: two-wedge hits become three, squishes and lava go from three to 4.5, and falls go from two and four to three and six.
So the cap-stealing courses punish sloppy play on a different scale. Lose your hat to the Ukiki or the wind on Tall, Tall Mountain and every number in the damage table inflates until you take it back.
Fall damage has two thresholds
Ukikipedia's fall damage page gives the actual rules, and they are about distance fallen, not where you land:
- Small fall damage — 2 wedges — when Mario is falling faster than 55 units per frame and has dropped more than 1,150 units below his peak height. It also squishes him flat for 30 frames, which is its own little tax on your momentum.
- Big fall damage — 4 wedges — same speed condition, but a drop of more than 3,000 units from the peak. If Mario is carrying something, a big fall also knocks it out of his hands.
Just as useful is the list of surfaces and states that cancel it entirely: sufficiently steep slopes, snow, sand and lava landings take no fall damage, and neither does Mario while twirling — the slow spin he does after a Fwoosh or a fan launches him. Lava "landing safely" is the game's little joke: you skip the fall damage and take the three-wedge lava bounce instead. The other cancel is technique — diving into a rollout before you land — which is a movement input rather than a property of the floor.
Water is the best healer in the game, except when it is cold
Underwater, the Power Meter stops being health and becomes air: per the Super Mario Wiki it drains one wedge every eight seconds submerged, with an alarm when it goes red, and hitting empty drowns you like any other death.
The other half of the mechanic: floating with Mario's head above the surface refills the meter to full — including damage that had nothing to do with water. Walk into Jolly Roger Bay after a Goomba and a fall have chewed your meter down to three wedges, bob at the surface for a moment, and you are back to eight. Warm water is a free, unlimited Spinning Heart, and none of the water-heavy courses — Jolly Roger Bay, Dire, Dire Docks, Wet-Dry World — carries a real one. Coins collected underwater apply their normal healing values too — one, two or five wedges — which in a tight course like Jolly Roger Bay makes the coin line the oxygen line.
The exception is deliberately cruel, and Snowman's Land actually has two versions of it, per the Super Mario Wiki's ice water page. The pool under the Chill Bully's platform is not a swim at all: touching it costs three wedges — 4.5 without the cap — and bounces Mario out, the same way lava does. The freezing pond past the Chill Bully, where Whirl from the Freezing Pond happens, is the one that acts like real water — except it drains about a wedge every three seconds, roughly three times faster than normal water drains air, and it keeps draining even while Mario's head is above the surface. There is no refill from floating in that pond; the surface is not safe. Get out — dry land is the fix.
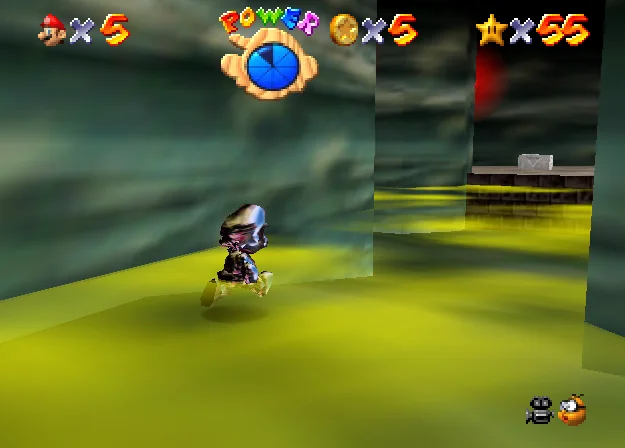
Water is also not alone in bypassing the hit system. Ukikipedia's HP page groups it with a family of effects that change Mario's health directly rather than through the frame-by-frame damage counter: being underwater, floating at the surface, cold water, the toxic gas in Hazy Maze Cave, and being burned by fire. That is why the haze in Hazy Maze Cave ticks your meter down for as long as you stand in it instead of hitting you once and knocking you back — it is weather, not an enemy.
The deaths that skip the meter entirely
A handful of things in the game do not bother with the damage system, and Ukikipedia's HP page is explicit that they kill or doom Mario without meaningfully touching the number:
- Bubba, the giant fish in Tiny-Huge Island, swallows Mario whole. The meter visibly dumps every remaining wedge at once, and no health total survives it.
- The death barrier under every bottomless pit, the whirlpool in Dire, Dire Docks and the quicksand in Shifting Sand Land all kill without changing HP at all — a full meter and a red one die identically.
- Staying squished — under a Thwomp, a Grindel, a Tox Box — for ten straight seconds sets health to just below the death line and kills Mario, even if he had a full meter when the block landed on him.
Death itself has one generosity built in: lose a life and the game ejects you from the course, and the meter winds back up to full as Mario lands outside it. Every life starts at eight wedges. There is no such thing as respawning hurt.
What Super Mario 64 DS changes
The remake keeps the eight-wedge meter and the coin values, and adjusts the edges, per the Super Mario Wiki:
| N64 | Super Mario 64 DS | |
|---|---|---|
| Character switch | — | Refills the meter |
| Star that does not eject you (100-coin, Bowser red coins) | No refill | Refills the meter |
| Meter animation | Fast drain/refill | Noticeably slower |
| Bubba swallow | All wedges visibly dump at once | No instant-depletion animation, still an instant kill |
| Spinning Hearts | 13, incl. a second Tick Tock Clock heart | The extra clock heart is gone; two added in Goomboss Battle |
| Cold water | Snowman's Land (two ponds) | Snowman's Land, plus a lava-style cold pool in the Chief Chilly Challenge fight |
The character-switch refill is the quietly big one: in the DS version, swapping to Luigi and back is a full heal from anywhere. The N64 gives you nothing so kind — which is, honestly, part of why its health system is worth learning at all.
Mistakes the meter punishes
- Walking through Spinning Hearts. The heal rate is the heart's spin rate. Sprint or long jump through it, and come back through at speed if you need more.
- Fighting heavy-contact enemies at yellow. Anything in the three-wedge tier — eel, piano, Chomp, Big Boo — kills you from three wedges in one touch.
- Staying capless. Every hit is inflated, and the one-wedge chip damage you normally ignore is costing two. Get the hat back before farming anything.
- Treating cold water like water. Snowman's Land has two kinds: the Chill Bully's pool bounces you out like lava for three wedges, and the freezing pond past him drains you even at the surface. There is no bobbing to safety in either.
- Ignoring air bubbles. A bubble is five wedges — blue-coin value — on a route where the coins may not be.
- Trusting a full meter near pits, quicksand and Bubba. None of the three consults your health.
- Healing before leaving water. Pointless in reverse: surface first, and the water heals everything on its own before you climb out.
Quick Action Checklist
- Read the meter's colour as your margin: blue survives two heavy hits, green one, and at yellow or red the next three-wedge touch can kill you.
- Heal by value: blue coin or air bubble 5, red coin 2, yellow coin 1, Spinning Heart 1 per rotation at speed.
- Bob at the surface of any warm water for a free full refill — including damage water did not cause.
- Underwater you lose a wedge every 8 seconds; keep a coin or bubble on the route, not just at the end of it.
- Wear the cap. Without it, small hits double and heavy hits take five wedges.
- Falls hurt past 1,150 units of drop (2 wedges) and 3,000 (4 wedges) — dive-roll, or aim for snow, sand or steep slopes.
- Snowman's Land has two cold ponds: the Chill Bully's pool is a three-wedge lava-style bounce, and the freezing pond past him keeps draining you at the surface — leave the water entirely.
- Before both late Bowser courses, use their two Spinning Hearts; before Big Boo's Haunt, remember there are none.
Frequently Asked Questions
How do you heal in Super Mario 64?
How much health does Mario have in Super Mario 64?
How much damage do enemies do in Super Mario 64?
Does Mario take more damage without his cap?
How does the Spinning Heart work in Super Mario 64?
How long can Mario stay underwater in Super Mario 64?
What kills Mario instantly in Super Mario 64?
Keep Reading
Related Guides
Super Mario 64 Swimming Guide: Tap A, Don't Hold It
Holding A is the slow way to swim in Super Mario 64. Here is the stroke rhythm the code rewards, how the stick steers, how to jump out of the water, what each current does, and the eight seconds of free speed hiding in two clams.
Super Mario 64 Lives and Game Over: What You Actually Lose
A Game Over in Super Mario 64 is a file reload: you keep everything you saved and lose everything you did not. Here is when the game actually writes your file, exactly what a Game Over rolls back, the five courses where a fall is free, and every way to earn a life, from the coin tally to the Monty Mole streak that never runs dry.
Super Mario 64 Music: Every Track and Where It Plays
Super Mario 64 scores 15 courses with seven songs, and only one of them belongs to a single course. Here is which track plays in every course and secret level, the five levels whose music rearranges itself as Mario moves, what triggers the boss music and the jingles, all 36 soundtrack tracks under their 1996 and current names, and where to listen today.
Super Mario 64 Bowser Levels Guide: All 24 Red Coins
Bowser in the Dark World, the Fire Sea and the Sky each hide one Power Star behind eight red coins on the obstacle course in front of the fight. Here is the route through all three, where every red coin sits, and what else the level data holds.
Super Mario 64 Beginner Guide: Your First 30 Power Stars
Super Mario 64 does not gate you on difficulty, it gates you on Power Stars. Here is exactly which doors need what, which stars are fastest to grab, and the route that gets a first-timer from one star to thirty without wandering the castle in circles.
Super Mario 64 120-Star Reward: Yoshi and the Castle Roof
Super Mario 64 does not announce your 120th Power Star. The reward is outside: a cannon grate that stops loading, Yoshi on the castle roof, and a gift that quietly resets the next time you load your file. Here is what 120 stars changes, checked against the wikis and the decompiled code.